

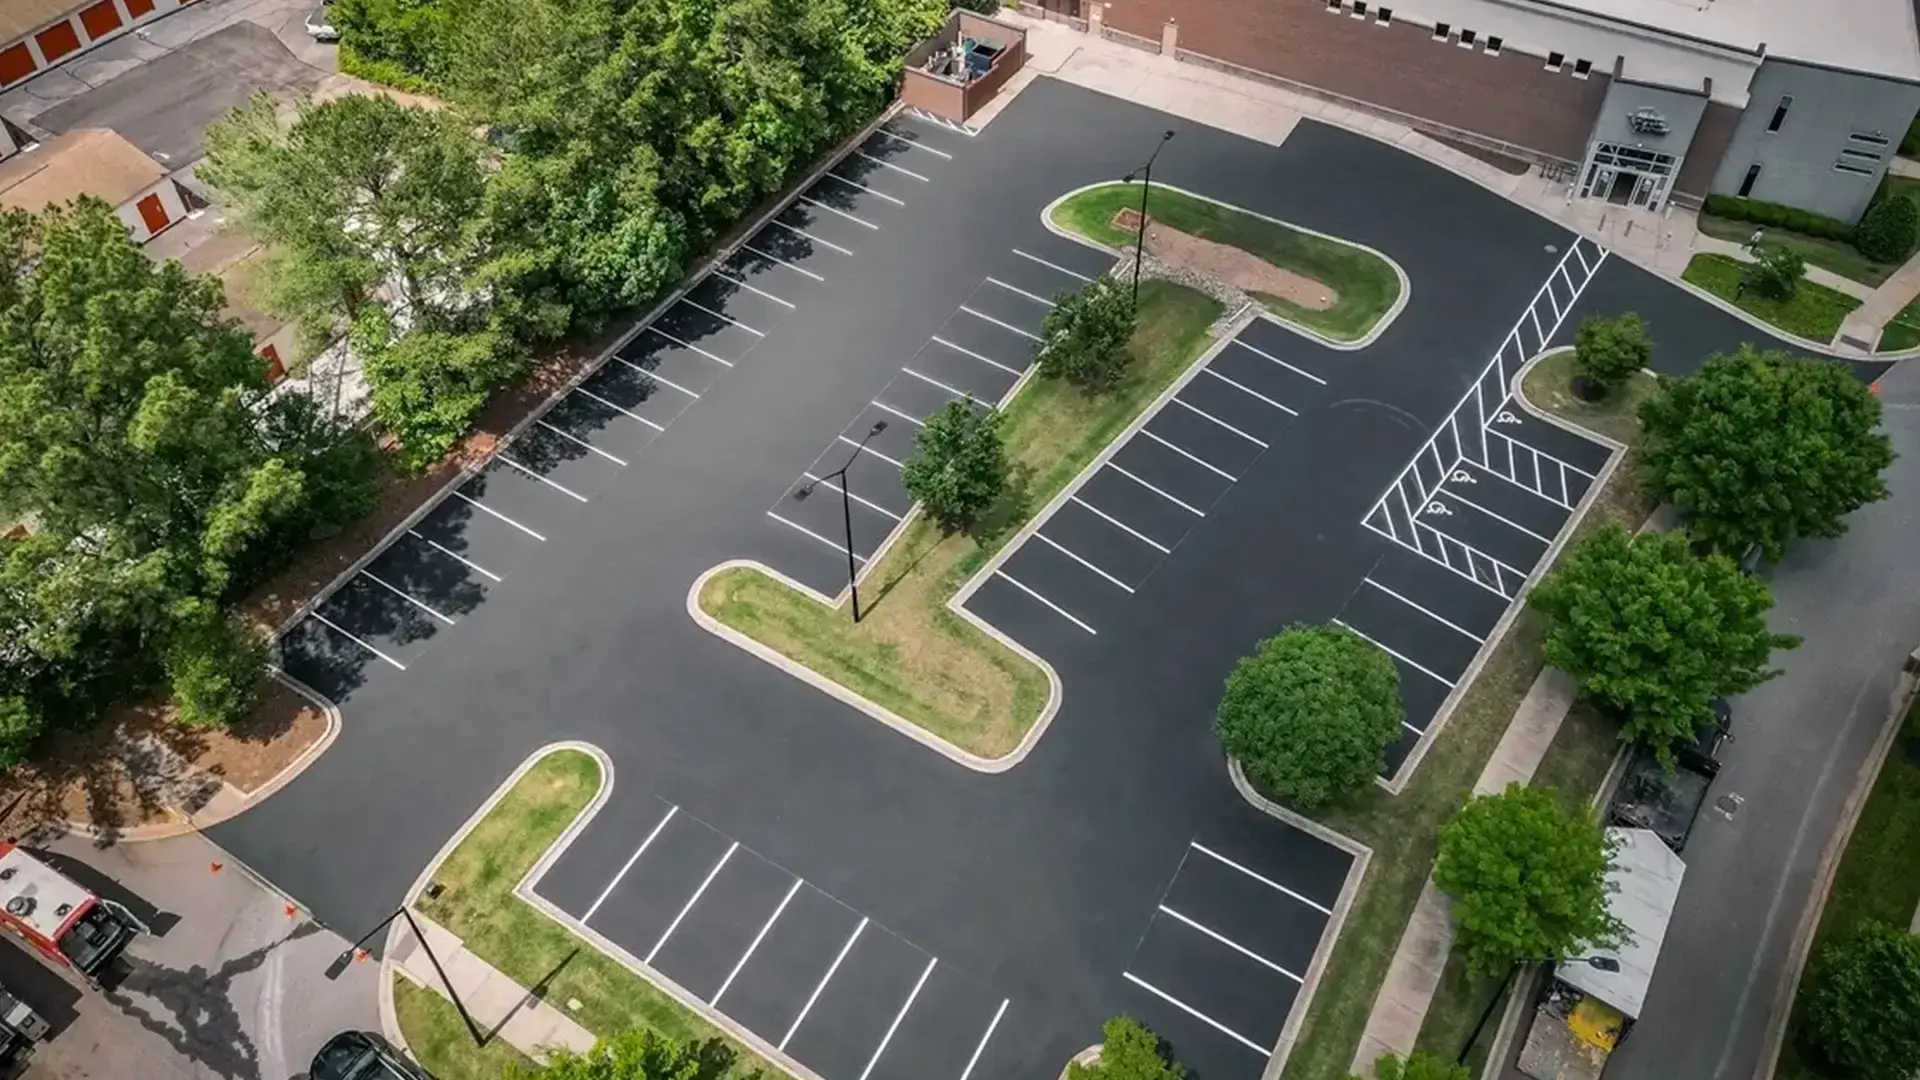
Plan asphalt repairs before permanent striping. Confirm surface conditions, utility-location requirements for any excavation, and the selected products’ application instructions with the project team.
This article explains how to sequence asphalt repairs and striping and coordinate closures with an occupied apartment property.
Why the Order of Operations Matters More Than the Individual Steps
Complete necessary repairs and allow the surface to meet the marking system’s application requirements before striping. Repairs performed later can cover new markings, while an unready surface can affect adhesion.
The Standard Sequence for an Asphalt and Striping Project
Here is the order we follow on nearly every project that combines asphalt repair with new striping:
| Step | What Happens | Why the Order Matters |
| 1. Utility locate | The contractor calls 811 to have underground lines marked | Prevents cutting a gas, electric, or water line during milling or deep repair |
| 2. Crack sealing and patching | Crew fills and levels cracks and potholes | Sealcoat applied over unrepaired cracks traps water underneath and fails early |
| 3. Milling or overlay, if needed | Crew removes the old surface or adds a new layer | Changes the lot’s elevation, so grading and drainage need rechecking before anything else proceeds |
| 4. Sealcoating | Crew applies a protective seal coat over the repaired asphalt | Needs a full cure before paint will bond correctly |
| 5. Cure period | Typically 24 to 48 hours minimum, longer in cool or humid weather | Striping over uncured sealcoat is the single most common cause of paint failure |
| 6. Layout re-verification | Crew rechecks ADA thresholds, fire lanes, and stall counts against the current layout | Elevation changes from milling or overlay can shift slope compliance at accessible spaces |
| 7. Striping | Crew paints the final layout | The last step, only once the surface has fully cured and the crew has confirmed the layout |
Utility Locates Before Any Milling or Full-Depth Repair
Before excavation or other ground-disturbing work, confirm the applicable utility-location requirements with the state’s 811 service and the contractor. Keep the required markings current and resolve unclear or missing locations before work begins.
Sealcoat Cure Time and Why Rushing It Ruins the Paint Job
Sealcoat has to cure for a certain period before it can support paint as it should, and this curing time is influenced by factors other than the date. It is generally possible for foot traffic to use a newly sealed surface within a couple of hours and for light vehicles to do so within about 24 hours, but full curing for striping usually takes at least 24 to 48 hours, and contractors often leave the curing period until 72 hours in cases of cool, humid, or shaded conditions. Advice from bodies such as the Asphalt Institute identifies temperature and humidity as the main factors affecting curing time, which is why sealcoat can be ready for striping in one day during a hot, dry week and yet still feel tacky two days later in a cooler, damp period. Not waiting long enough and carrying out striping too early not only puts the paint from that visit at risk but can also cause the uncured sealcoat to become trapped beneath the paint film, keeping the entire section soft and susceptible to tire marks and tracking a long time after the normal curing period would have been complete.
Ghost Striping: Keeping the Old Layout Visible During Resurfacing
Sealcoating covers the whole surface, including all existing stall lines, arrows, and fire lane markings. As a result, a newly sealed lot becomes a blank canvas with no visual reference for where things were originally located. Instead of trying to remember the old arrangement or relying on an out-of-date site plan, we usually put in a simple set of temporary guide lines—commonly known as ghost striping—before applying the final paint, especially when the new layout must closely match the old one. Ghost striping is applied with a lighter hand and more speed than the final paint, giving the team just enough guidance to ensure stall spacing, angles, and accessible-space locations are correctly aligned before setting the permanent lines. This stage matters most on properties that aren’t altering their layout, since residents expect their assigned or usual spaces to stay in the same positions, and a striping crew working entirely from memory on a blank site is much more likely to make small mistakes that add up over dozens of stalls.
Phase the Project Around Resident Access
A retail car park can close one night and reopen the following morning without inconveniencing anyone. With an apartment building, however, this isn’t possible because residents need a place to park every night of the project, not just during business hours. Usually, we split the car park into sections and carry out the entire process—including the striping—on one section before moving to the next, so residents lose access to only part of their normal parking at any one time. Temporary parking areas, whether they consist of part of the car park that has been left aside for the work or an overflow area such as a grass plot or parking on an adjacent street that has been arranged in coordination with the local public works department, must have clear temporary signage and their own striping, not just cones, since cones alone do not inform residents of how many temporary spaces are available. We work directly with the property’s leasing office to schedule the phases and post notices about move-by dates well before each phase begins, so residents know exactly which nights they must use the temporary area instead of their normal spot.
Re-Verifying Layout Compliance After Elevation Changes
A mill-and-overlay project involves removing a layer of existing asphalt and replacing it with new material, while a full-depth reconstruction goes further; in both cases, it can change the finished elevation of the property. This elevation change can alter the slope of an accessible space just enough to cause it to fail the 1:48 maximum slope permitted by the 2010 ADA Standards, even if the space fully met that requirement before the project started. It can also affect how water drains toward a catch basin or a low point on the property, so it’s important to confirm the drainage matches the terms of the property’s stormwater permit before repainting the lots and restoring the layout. After any milling or overlay work, we recheck the slope of the accessible space and the general drainage pattern before striping, rather than assuming the new surface will behave exactly like the old one simply because the layout on paper has not changed.
Checklist for Coordinating Contractors
Use this list to keep an asphalt repair and striping project in the right sequence:
- Confirm the utility locate through 811 is complete and markings are visible before milling or deep patching starts
- Verify all cracks and patches are finished and cured before sealcoating begins
- Confirm sealcoat has cured fully, typically 24 to 48 hours minimum, before scheduling the striping crew
- Request ghost striping if the new layout needs to match the old one closely
- Re-check accessible space slope and drainage flow after any milling or overlay before finalizing striping
- Confirm temporary parking areas have their own clear signage and striping, not just cones
- Get the final striping layout in writing from whoever managed the asphalt work, not just a verbal handoff between contractors
How ProLine Coordinates Striping With Asphalt Repair
Coordinate the paving and striping teams before work starts. Share the approved layout, surface-readiness requirements, closure plan, and reopening responsibilities with the property manager.
Worried About Disruption During Your Next Paving Project?
Coordinate repairs, surface readiness, striping, and reopening in a phased schedule. Contact ProLine Parking Lot Maintenance to discuss markings and access planning for your property.
Frequently Asked Questions
Whether the same contractor should do both the asphalt repair and the striping or whether two separate companies should be hired?
Either method can work, but the key factor is coordination, not which company handles which part of the contract. When one contractor handles both the asphalt repair and the striping, scheduling is usually simpler because there is only one crew timetable to manage and one point of contact responsible for the entire process from start to finish. You can also hire two different companies, which may be appropriate if a property already has a trusted striping contractor or paving company, provided the two contractors communicate directly about cure times and layout details rather than the property manager passing information between them. The problem does not arise from the number of contractors involved; it is due to a handoff situation in which the striping crew turn up without knowing precisely when the sealcoat was applied or what the confirmed layout is supposed to be.
What happens if striping is applied before the surface is ready?
The coating may fail to bond or may need removal and reapplication. Have the contractor assess the affected area and identify the required preparation and curing conditions before corrective work begins.
Can you carry out striping in cold weather, or does the project have to be put off until spring?
The selected marking system determines acceptable air and surface temperatures, moisture conditions, and reopening requirements. If conditions are unsuitable, reschedule permanent markings and discuss an appropriate temporary access plan with the property team.
What is the difference between crack sealing and crack filling, and does this affect the project timeline?
The material used in crack sealing is flexible and rubber-based so that it can expand and contract with the asphalt as the temperature changes; for this reason, it is the better option when the cracks are still active and moving, that is to say, when they widen and narrow with the seasons. On the other hand, crack filling uses a more rigid material and suits cracks that have mostly stopped moving, since a rigid filler in an active crack is likely to crack up again in the same place within a season or two. Sealing generally requires a longer curing time than filling does, since the rubberized material has to have time to set before it can cope with traffic without coming apart, and this can add a day or so to the start of the project schedule depending on the weather conditions. One of the most frequent reasons why a property ends up having to pay for crack repair twice within a few years rather than just once is because the wrong method has been chosen for the type of crack it has.
How much in advance should property owners give residents notice of an asphalt and striping project?
Most communities find it helpful to receive at least two or three weeks’ advance notice before an asphalt and striping job begins, as people need that time to make arrangements for temporary parking changes—particularly when the project involves several phases lasting over a number of weeks. A single notice given at the outset is seldom sufficient on its own, so we suggest sending a written notice at the two- to three-week stage, giving a further reminder a few days before each phase starts, and putting up clear signage at the site on the day that work actually begins in that area. People who work at night or have irregular hours should be given particular consideration in the notice schedule, since a notice posted only during business hours may easily fail to reach the residents most affected by having to park overnight. For better resident compliance, it’s generally better to coordinate the notice schedule with the leasing office rather than leaving it entirely to the contractor.
Should a full-depth asphalt reconstruction necessitate a new site survey before the road markings are reinstalled, unlike in the case of a simple mill-and-overlay?
Yes, a full-depth reconstruction removes the asphalt down to the base or subgrade and rebuilds the entire section, which changes elevation, grading, and sometimes even the exact footprint of the paved area far more than a mill-and-overlay does. That level of change generally calls for a new survey or, at minimum, a detailed as-built check from a civil engineer before striping locks the layout back in, since assuming the old site plan still matches the rebuilt surface can mean the new striping perpetuates errors the reconstruction was supposed to fix. A mill-and-overlay, by comparison, usually keeps the same base grading and footprint, so re-verifying slope and drainage at key points is often enough without commissioning a full new survey. Skipping the survey step on a full-depth project to save time is one of the more expensive shortcuts a property can take, since restriping over an unverified layout can mean redoing accessible space compliance work after the fact instead of getting it right in the same project.
See also: How to Handle Reserved, Guest, and Resident Parking With Professional Striping, Apartment Parking Lot Striping: What Should Be Included in a Professional Service?


