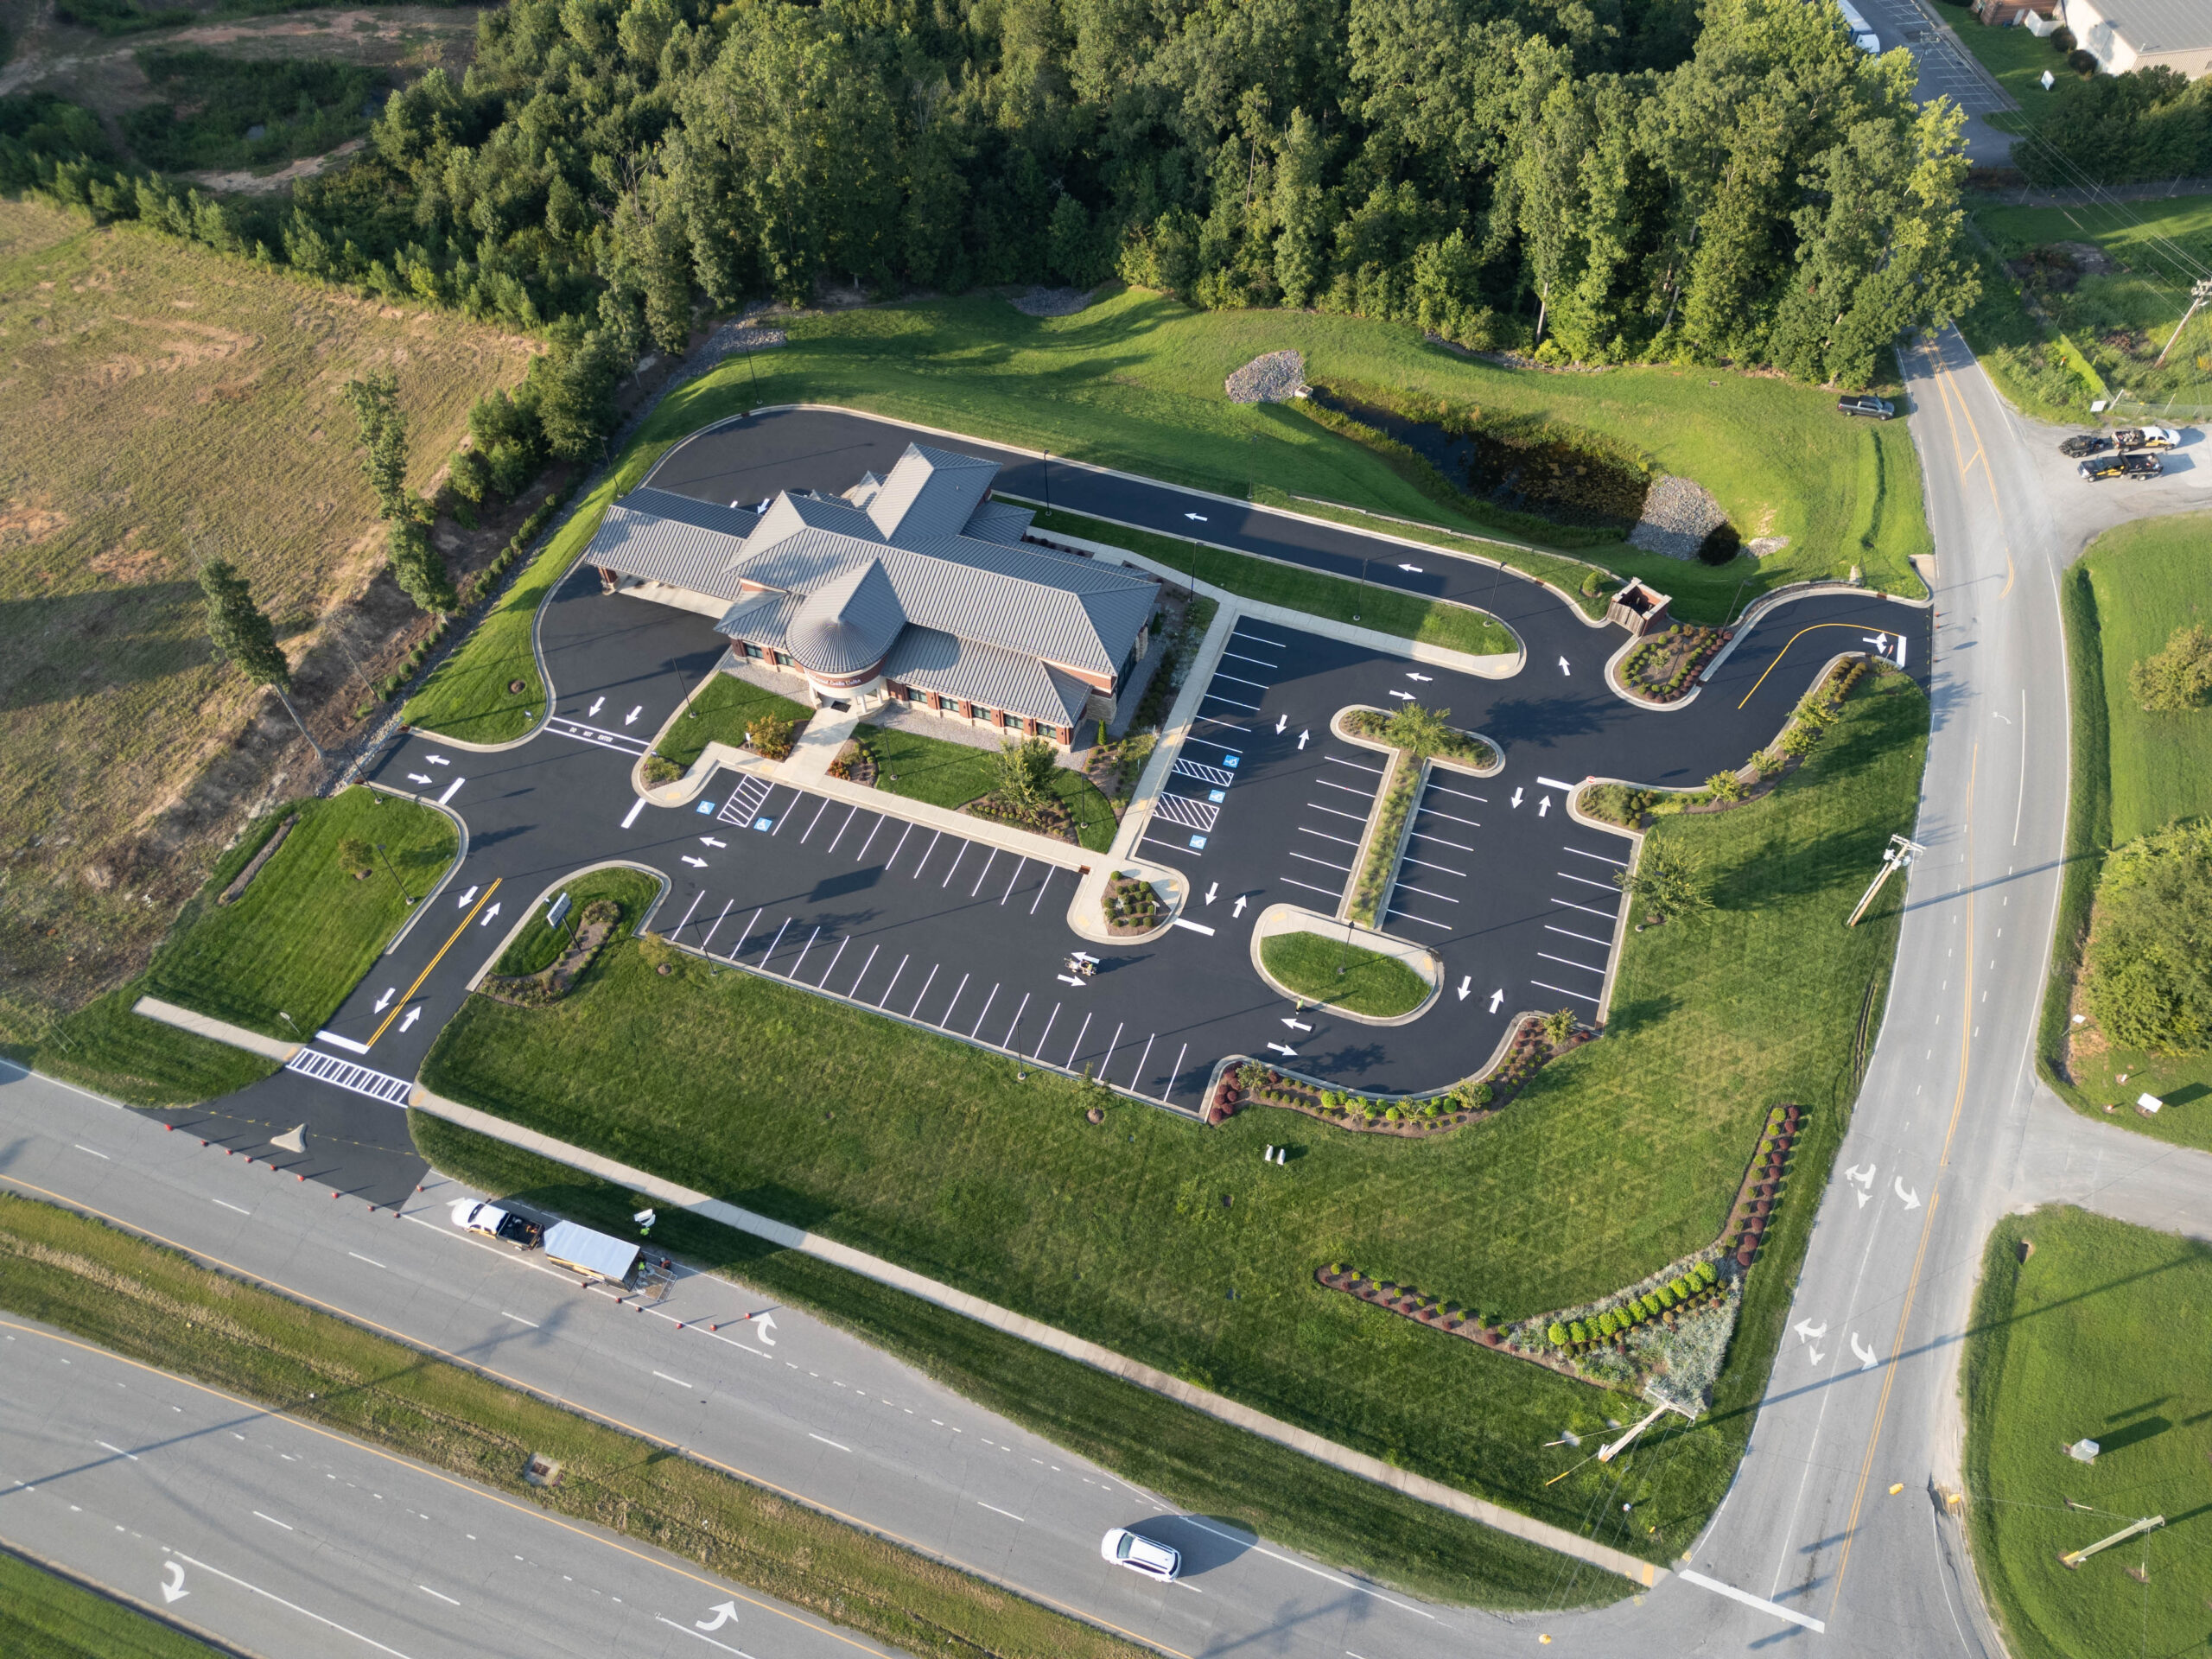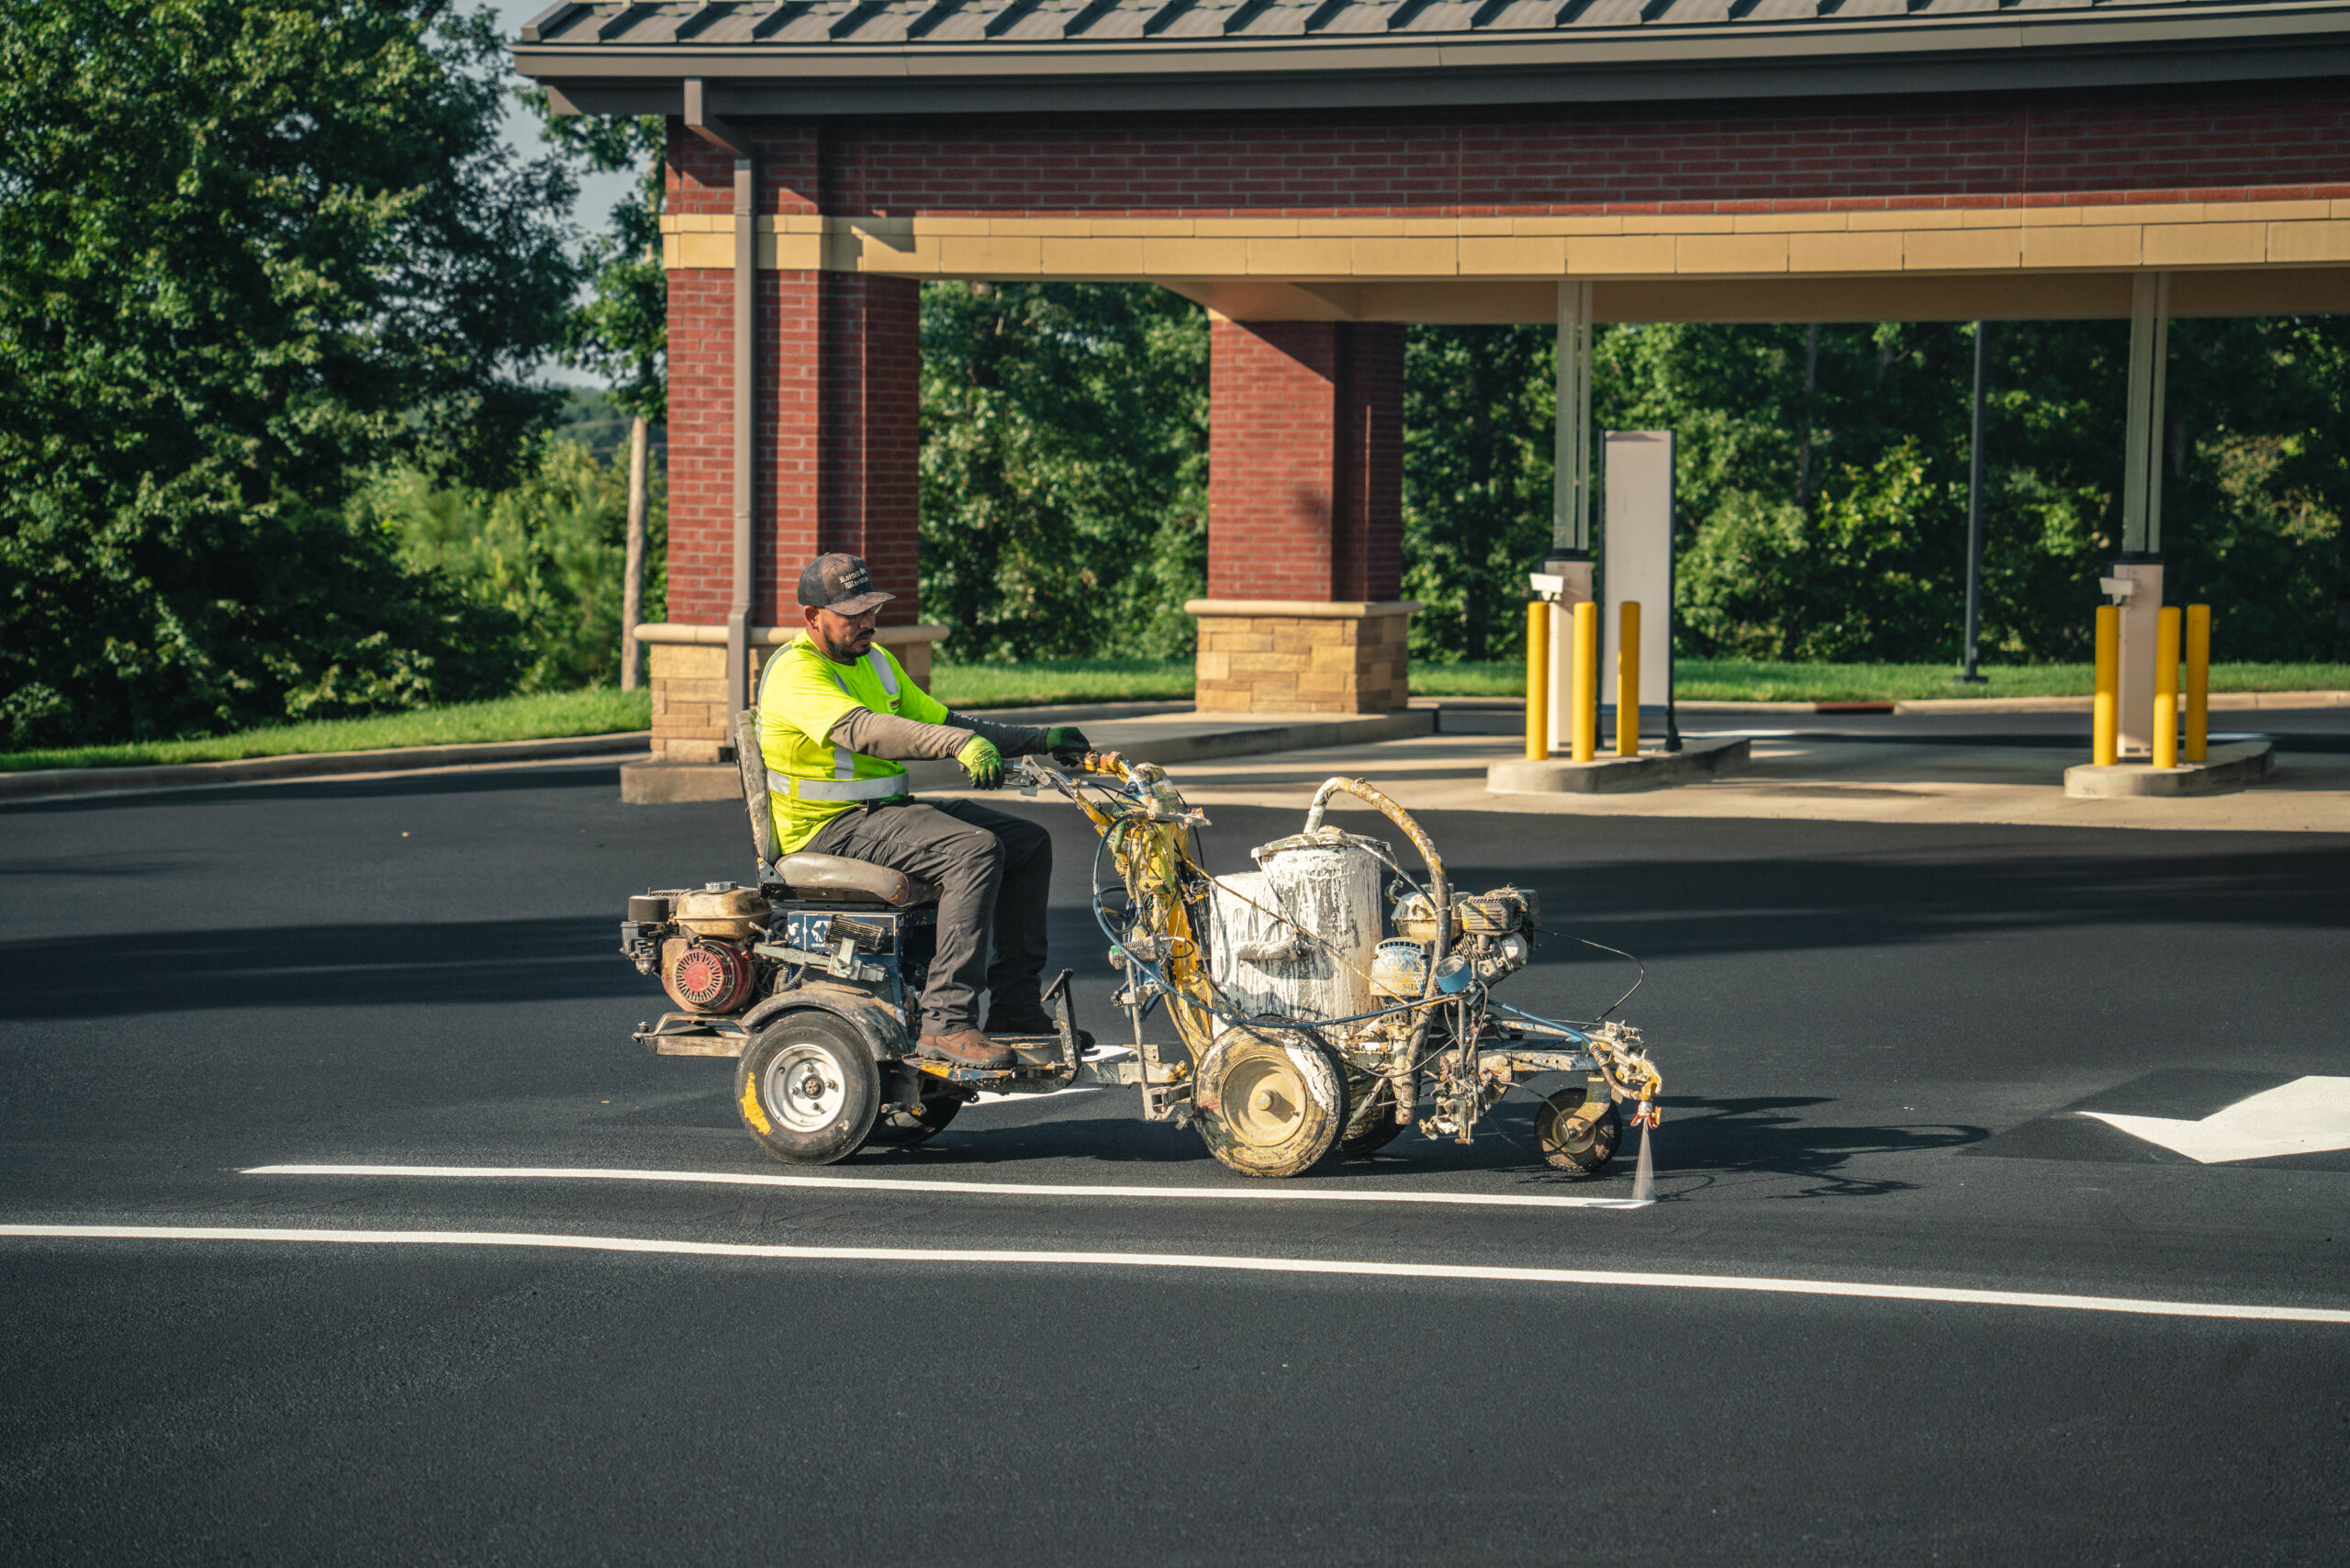

The Americans with Disabilities Act (ADA) requires accessible parking access aisles to measure at least 60 inches wide, and each aisle must extend the full length of the parking space it serves. This requirement highlights why parking lot striping involves more than painting lines on asphalt. Every marking must support how residents park, move through the property, and reach their homes.
Build-to-rent (BTR) communities have different parking demands than traditional apartment complexes. These developments typically feature individually leased homes, private driveways, shared parking areas, internal streets, and common amenities. A poorly planned striping layout can create confusion about parking assignments, restrict vehicle movement, and leave visitors unsure where they can park.
At ProLine Parking Lot Maintenance, we help property owners and managers throughout North and South Carolina maintain organized, functional parking areas. In this guide, we explain how to approach parking lot striping for build-to-rent communities, including parking space arrangements, traffic direction, accessible markings, and the layout decisions that make these developments easier to navigate.
How Build-to-Rent Parking Layouts Differ From Traditional Apartment Communities
Build-to-rent communities combine features of single-family neighborhoods and multifamily developments. Residents may have individual garages or driveways, but they also share common parking areas near clubhouses, recreational facilities, leasing offices, and visitor entrances.
This arrangement requires a striping plan that accounts for several parking functions instead of treating the entire property as one large parking lot.
For example, a community with 120 rental homes might provide two driveway spaces per home, shared visitor parking, and additional spaces near its clubhouse. These areas serve different users and should not follow one identical layout.
Property managers should identify the purpose of each parking area before deciding where to place pavement markings.
| Parking area | Recommended striping approach | Main consideration |
|---|---|---|
| Individual driveways | Define parking boundaries where needed | Prevent vehicles from extending into sidewalks or shared travel areas |
| Shared visitor parking | Use clearly defined parking stalls | Make visitor spaces easy to identify |
| Clubhouse parking | Provide organized stalls and accessible spaces | Accommodate residents, guests, and event visitors |
| Leasing office parking | Identify visitor and designated employee spaces | Prevent confusion during property tours |
| Community amenity parking | Organize spaces near shared facilities | Keep pedestrian access clear |
| Overflow parking | Establish designated parking boundaries | Prevent unauthorized parking along internal roads |
A useful approach is to create separate striping zones for residential parking, visitor parking, and shared amenities. This gives residents a consistent understanding of where they can park while helping property managers enforce community parking policies.
Plan Parking Space Dimensions Around Actual Vehicle Use
One of the most important considerations in BTR parking lot striping is the amount of room available for different vehicles.
A parking layout that looks efficient on a site plan may become difficult to use when residents drive larger SUVs, pickup trucks, and family vehicles. Narrow stalls can make it harder to open doors, reverse safely, and move through parking aisles.
We recommend reviewing the dimensions of each parking area before establishing the final striping layout.
For accessible parking, the ADA Standards provide specific minimum dimensions. Standard accessible car spaces must measure at least 96 inches wide, while van-accessible spaces must measure at least 132 inches wide unless the permitted wider access aisle alternative applies. Access aisles must measure at least 60 inches wide and extend along the full length of the parking spaces.
Property managers can review the 2010 ADA Standards for Accessible Design to understand these requirements.
For other parking spaces, we evaluate the available pavement width, vehicle sizes, parking angles, and turning movements. The goal is to provide usable spaces without unnecessarily reducing the number of stalls or restricting circulation.
Choose the Right Parking Configuration
The parking angle affects how residents enter and leave spaces. It also determines how much room drivers need to maneuver.
| Parking configuration | How it works | Where it may be appropriate |
|---|---|---|
| 90-degree parking | Vehicles park perpendicular to the driving aisle | Large shared parking areas and clubhouse lots |
| 60-degree angled parking | Vehicles park diagonally to the driving aisle | Areas where one-way circulation is practical |
| 45-degree angled parking | Vehicles enter spaces at a shallower angle | Narrower parking areas with a planned one-way flow |
| Parallel parking | Vehicles park along the edge of a roadway | Designated visitor spaces along suitable internal streets |
Ninety-degree parking generally provides an efficient arrangement when the property has enough room for the required driving aisle. Angled parking can make entry and exit easier, but the layout must match the direction of traffic.
We also consider how vehicles turn at the ends of parking rows. A stall that sits too close to a curb return, island, or driveway entrance can make reversing difficult. Adjusting the first or last stall in a row can create additional maneuvering room without requiring a complete redesign.
Separate Resident, Visitor, and Reserved Parking Areas
Parking assignments can become a major source of disagreement in build-to-rent communities. Unlike traditional neighborhoods where residents may have private driveways, shared parking areas often serve multiple households and visitors.
Clear pavement markings help establish parking boundaries and reduce uncertainty.
We recommend identifying the following areas in the striping plan:
- Resident parking: Designated spaces for households that use shared parking instead of private driveways.
- Visitor parking: Clearly marked spaces near convenient entrances without interfering with residential access.
- Reserved parking: Spaces assigned to specific units, employees, maintenance personnel, or authorized users.
- Accessible parking: Spaces and access aisles that meet applicable ADA requirements.
- Service parking: Designated areas for maintenance vehicles and other authorized service providers.
Property managers should coordinate these markings with their written parking policies. For example, a space labeled for visitors should not become an informal overflow area for residents who already have assigned parking.
We also recommend using consistent pavement legends and signs throughout the property. If one section uses a particular designation, other comparable sections should follow the same marking system.
This consistency makes it easier for new residents, delivery drivers, maintenance personnel, and visitors to understand the parking arrangement.
Design Traffic Flow Around Parking Rows and Internal Roads
A BTR development may contain several internal streets connecting individual homes, shared parking lots, and recreational facilities. These roads need clear traffic guidance, especially where vehicles enter and exit shared parking areas.
Striping should help drivers recognize where they can travel, where they can park, and where they should yield.
For larger shared parking areas, directional arrows can indicate one-way circulation and reduce conflicting vehicle movements. Centerlines may help separate opposing traffic where the road configuration and applicable design requirements call for them.
We also pay attention to intersections between internal streets and parking aisles. These areas should provide enough visibility for drivers approaching from either direction.
A practical traffic marking plan should address:
Parking aisle direction: Use directional arrows to establish the intended vehicle movement in one-way parking sections.
Intersection visibility: Keep parking stalls away from corners where parked vehicles could obstruct drivers’ views.
Entry and exit identification: Use appropriate directional markings to help visitors recognize designated entrances and exits.
Pedestrian crossings: Identify suitable crossing locations between parking areas and community facilities.
Fire access routes: Coordinate pavement markings with approved emergency access plans and applicable local fire requirements.
The Federal Highway Administration explains that traffic control devices promote uniformity and safety on roads open to public travel. Its MUTCD guidance also clarifies that ordinary parking areas and driving aisles within parking areas are not automatically subject to the MUTCD. Property owners should determine which requirements apply to their specific internal roads and parking areas.
Position Parking Markings Around Community Amenities
Shared amenities often attract more vehicle activity than individual residential sections. Clubhouses, fitness centers, swimming pools, playgrounds, and recreational facilities may experience concentrated parking demand during certain hours.
A striping layout should account for how residents approach these destinations.
For example, clubhouse parking should provide a logical arrangement that allows residents to reach the entrance without walking unnecessarily through active vehicle lanes. Pedestrian crossings should connect parking areas to suitable walkways, and accessible spaces should provide compliant routes to accessible entrances.
We also recommend keeping parking stalls away from areas where vehicles could block access to pedestrian paths, facility entrances, or designated service areas.
For developments with several amenity buildings, property managers may benefit from using consistent pavement markings and directional signs throughout the property. Residents who understand the layout near one facility can navigate other sections more easily.
Account for ADA Parking Requirements Before Finalizing the Layout
Accessible parking should form part of the original striping plan rather than an adjustment made after the contractor finishes the standard parking stalls.
The ADA Standards establish minimum accessible parking requirements based on the number of spaces in each parking facility. The required number is not calculated by simply combining every parking area across the entire development.
For example, a parking facility with 76 to 100 spaces requires at least four accessible parking spaces under the general ADA parking table. At least one out of every six accessible spaces, or fraction of six, must be van accessible.
The location of these spaces also matters. Accessible spaces must connect to accessible entrances through compliant routes, and access aisles must remain free of parked vehicles.
We recommend reviewing the ADA.gov accessible parking requirements before finalizing the parking layout. Property owners should also have qualified design professionals verify how the standards apply to the development’s residential facilities, dwelling units, and shared parking areas.
For build-to-rent communities, accessible parking should not be treated as an isolated section. Its placement must work with the overall pedestrian circulation plan.
Use Consistent Markings Across Multiple Residential Sections
Some build-to-rent developments contain several residential phases built at different times. The first section may have a completed parking area while another section remains under construction.
Without a consistent striping plan, these separate phases can develop different parking arrangements, line placements, and pavement marking styles.
We recommend establishing a property-wide marking standard before striping individual sections.
The plan should identify:
- Standard parking stall dimensions and line placement.
- Approved colors and pavement marking styles.
- Directional arrow designs and placement.
- Accessible parking symbols and access aisle layouts.
- Reserved parking legends and visitor designations.
- Locations of crosswalks and other pedestrian markings.
A consistent layout also makes future maintenance easier. When property managers need to restripe one section, the contractor can follow the original plan instead of recreating the layout from scratch.
For larger BTR communities, we recommend maintaining a striping diagram that identifies each parking zone, its markings, and any approved changes. This document can support future maintenance, property expansion, and changes in parking assignments.
What We Check Before Striping a Build-to-Rent Community
Before applying new pavement markings, we evaluate the existing parking arrangement and compare it with the property’s intended use.
Our assessment includes the available pavement area, existing parking boundaries, vehicle circulation, pedestrian access, and the condition of the surface.
We also review whether the proposed markings conflict with existing pavement features or approved site plans. If the property needs a layout change, we recommend resolving those details before applying new paint.
The following steps help us organize the work:
1. Review the site layout. We identify residential parking, shared spaces, visitor areas, internal roads, and community amenities.
2. Confirm parking assignments. We coordinate the proposed markings with the property manager’s parking rules and designated spaces.
3. Check accessible parking. We review space dimensions, access aisles, signs, and connections to accessible routes.
4. Plan traffic circulation. We identify appropriate locations for directional arrows, crossings, and other pavement markings.
5. Establish the striping layout. We determine where lines, symbols, and pavement legends should go before applying paint.
6. Coordinate project scheduling. We divide the work into manageable sections when necessary so residents can continue accessing their homes and designated parking areas.
This preparation helps prevent misplaced markings and unnecessary rework. It also gives property managers a clearer understanding of what the completed parking layout will look like.
What Our Clients Say About ProLine Parking Lot Maintenance
We understand that parking lot maintenance requires more than completing the physical work. Property managers also need a contractor who communicates clearly, respects the property, and follows through on project details.
Our clients have shared positive feedback about their experiences working with ProLine Parking Lot Maintenance.
Jennifer Burrell shared the following feedback about our team’s parking lot sealing and striping work:
“I am blown away by how Professional, prompt and talented each crew member exhibited while on our property sealing and striping our parking lots.”
She also highlighted how our team handled scheduling challenges and weather-related delays throughout the project.
You can read more verified client feedback on our ProLine Parking Lot Maintenance testimonials page.
Give Your Build-to-Rent Community a Better Parking Layout
Clear parking lot markings make it easier for residents and visitors to find designated spaces, follow traffic patterns, and navigate shared parking areas. ProLine Parking Lot Maintenance offers professional parking lot striping and pavement marking services for build-to-rent communities. Whether you need fresh parking space lines, directional arrows, pedestrian crossings, or updated traffic markings, we can help keep your parking lot organized and functional.
Contact Us TodayFrequently Asked Questions
Should build-to-rent communities use different parking colors for residents and visitors?
Using different colors can help distinguish parking categories, but property managers should prioritize consistent symbols, legends, and signs. Color alone should not determine whether a resident or visitor can use a space. We recommend choosing a marking system that residents can understand quickly and that property management can enforce consistently. The final color scheme should also follow applicable accessibility and local requirements. A written parking plan can help prevent confusion when management changes or the community adds new residential phases.
Can a build-to-rent community change its parking layout after residents move in?
Yes, property owners can revise parking layouts when the development’s needs change, provided they follow applicable approvals and accessibility requirements. Before changing the markings, managers should review parking agreements, assigned-space arrangements, emergency access, and the approved site plan. They should also communicate the changes to residents before restricting or reallocating existing spaces. A contractor can then remove or cover obsolete markings and apply the updated layout. Property managers should obtain any required engineering, zoning, or municipal approval before implementing substantial site changes.
Do build-to-rent communities need separate parking for maintenance and emergency vehicles?
The answer depends on the community’s site design, approved fire access plan, and local requirements. Property managers should identify where maintenance vehicles can stop without blocking residential driveways, pedestrian routes, or normal traffic circulation. Emergency access routes must remain available according to the applicable fire code and approved plans. Managers should coordinate the required markings with the local fire authority rather than choosing fire lane locations based solely on convenience. A clearly documented service and emergency access plan helps contractors place pavement markings in the correct locations.
Should property managers keep a record of their parking lot striping layout?
Yes, maintaining an updated striping plan can make future parking lot maintenance more efficient. The record should identify parking stall locations, accessible spaces, assigned areas, traffic directions, and any special pavement markings. Property managers should also document approved layout changes whenever the community adds homes, modifies shared facilities, or changes parking policies. Photographs taken after each striping project can provide a useful visual reference for future contractors. Keeping these records reduces the risk of inconsistent markings during subsequent maintenance projects.
When should a newly developed build-to-rent community schedule its first restriping project?
Property managers should schedule an inspection when pavement markings begin to lose visibility or no longer match the property’s parking arrangement. They should also evaluate the markings after construction work, pavement repairs, or changes to residential parking assignments. A new development may need adjustments once residents begin using the spaces and management identifies problems with the original layout. The timing of restriping depends on the pavement condition, marking material, traffic patterns, and maintenance history. We recommend documenting the initial striping condition so property managers can compare future inspections and schedule maintenance before markings become difficult to recognize.