
Most sealcoats dry within a few hours, but one pavement contractor says it can take up to 30 days to fully cure. The difference between drying and curing determines whether your new stripes stay sharp or turn into a brown, blotchy mess. Property managers feel pressure to restripe quickly because residents want their stalls back, and that pressure leads to most early striping failures.
We do striping work in apartment complexes throughout North Carolina and South Carolina from our base in Denver, NC, and we see this decision made in Charlotte, Raleigh, Greenville, Columbia, Charleston, and Myrtle Beach. Our answer is straightforward: we require the final sealer coat to cure for at least 24 to 48 hours in dry weather before we strip. Because Carolina weather often extends that period, this guide explains how we determine when the site is ready.
Quick Overview
- Stay at the site for a period of at least 24 to 48 hours after the last sealer coat has been applied in dry and warm weather.
- If conditions are humid, overcast, cool, or shady, extend the wait.
- Before the crew begins painting the entire area, do a touch test and a trial stripe.
- Take a record of the layout before the sealer covers the old lines.
- The sealer will continue to cure for weeks after the stripes have been applied.
Dry Does Not Mean Cured
The sealer appears dry long before it is actually ready to be painted. The surface water escapes from the emulsion first, while the layer beneath remains soft. Industry specifications require the last coat of sealer to be completely dry for 24 hours before applying water-based traffic paint, and crews should not stripline when the sealer is soft, damp, or tacky. Paint applied too early won’t bond to a surface that is still giving off moisture , so it will either fail to stick or bleed.
The classic example of failure is bleed-through. When water-based white paint is applied, it appears bright, but the sealer beneath it then turns the paint brown. According to the supplier’s guidance, a sealer that still feels tacky after 24 hours has not cured, and it cautions that in humid or overcast conditions the lines may bleed. Customers who followed that guidance had to repaint weeks later in order to cover the stain.
Carolina Weather Changes the Clock
Carolina’s conditions tend to increase curing time rather than decrease it; in Charlotte and coastal areas, humid, overcast summer mornings slow evaporation from the sealer coat. Afternoon thunderstorms also pose a risk. The City of Austin states that fresh sealant wash-off is the most significant type of pollution discharge from a parking lot, since a single storm can remove a newly applied sealer layer from the pavement and carry it to the nearest storm drain.
We plan based on the forecast rather than the calendar; fall generally offers the most favorable period because humidity decreases and storms become less frequent, though we continue to watch for tropical systems through the end of hurricane season. In spring, pollen and sudden storms are problems, and in winter, cool nights can stop the cure overnight.
Our Carolina Cure Guide
| Condition | Effect on the Sealer | Our Planned Wait Before Striping | Our Check |
| Warm, dry, sunny after the final coat | Water leaves the emulsion quickly | 24 to 48 hours | Touch test and trial stripe |
| Humid or overcast, common in summer and along the coast | Water evaporates slowly | 48 hours or until the sealer stops feeling tacky | Touch test in several spots |
| Cool nights in early spring or late fall | Cure stalls overnight | Add a day and start striping after the pavement warms | Surface check after the sun hits the lot |
| Rain or heavy dew within the first 24 hours | Wash-off, streaks, or bare patches | Re-inspect, touch up the sealer, and restart the clock | Walk the lot and the drain inlets |
| Shaded areas under trees, buildings, or carports | Slowest drying on the property | Test each shaded area separately | Touch test at every shaded stall row |
| Two coats or a heavy application | Holds moisture longer | Add time beyond the standard range | Touch test and trial stripe |
We regard these waiting times as minimums; the pavement, not the table, makes the final decision.
How We Decide the Lot Is Ready
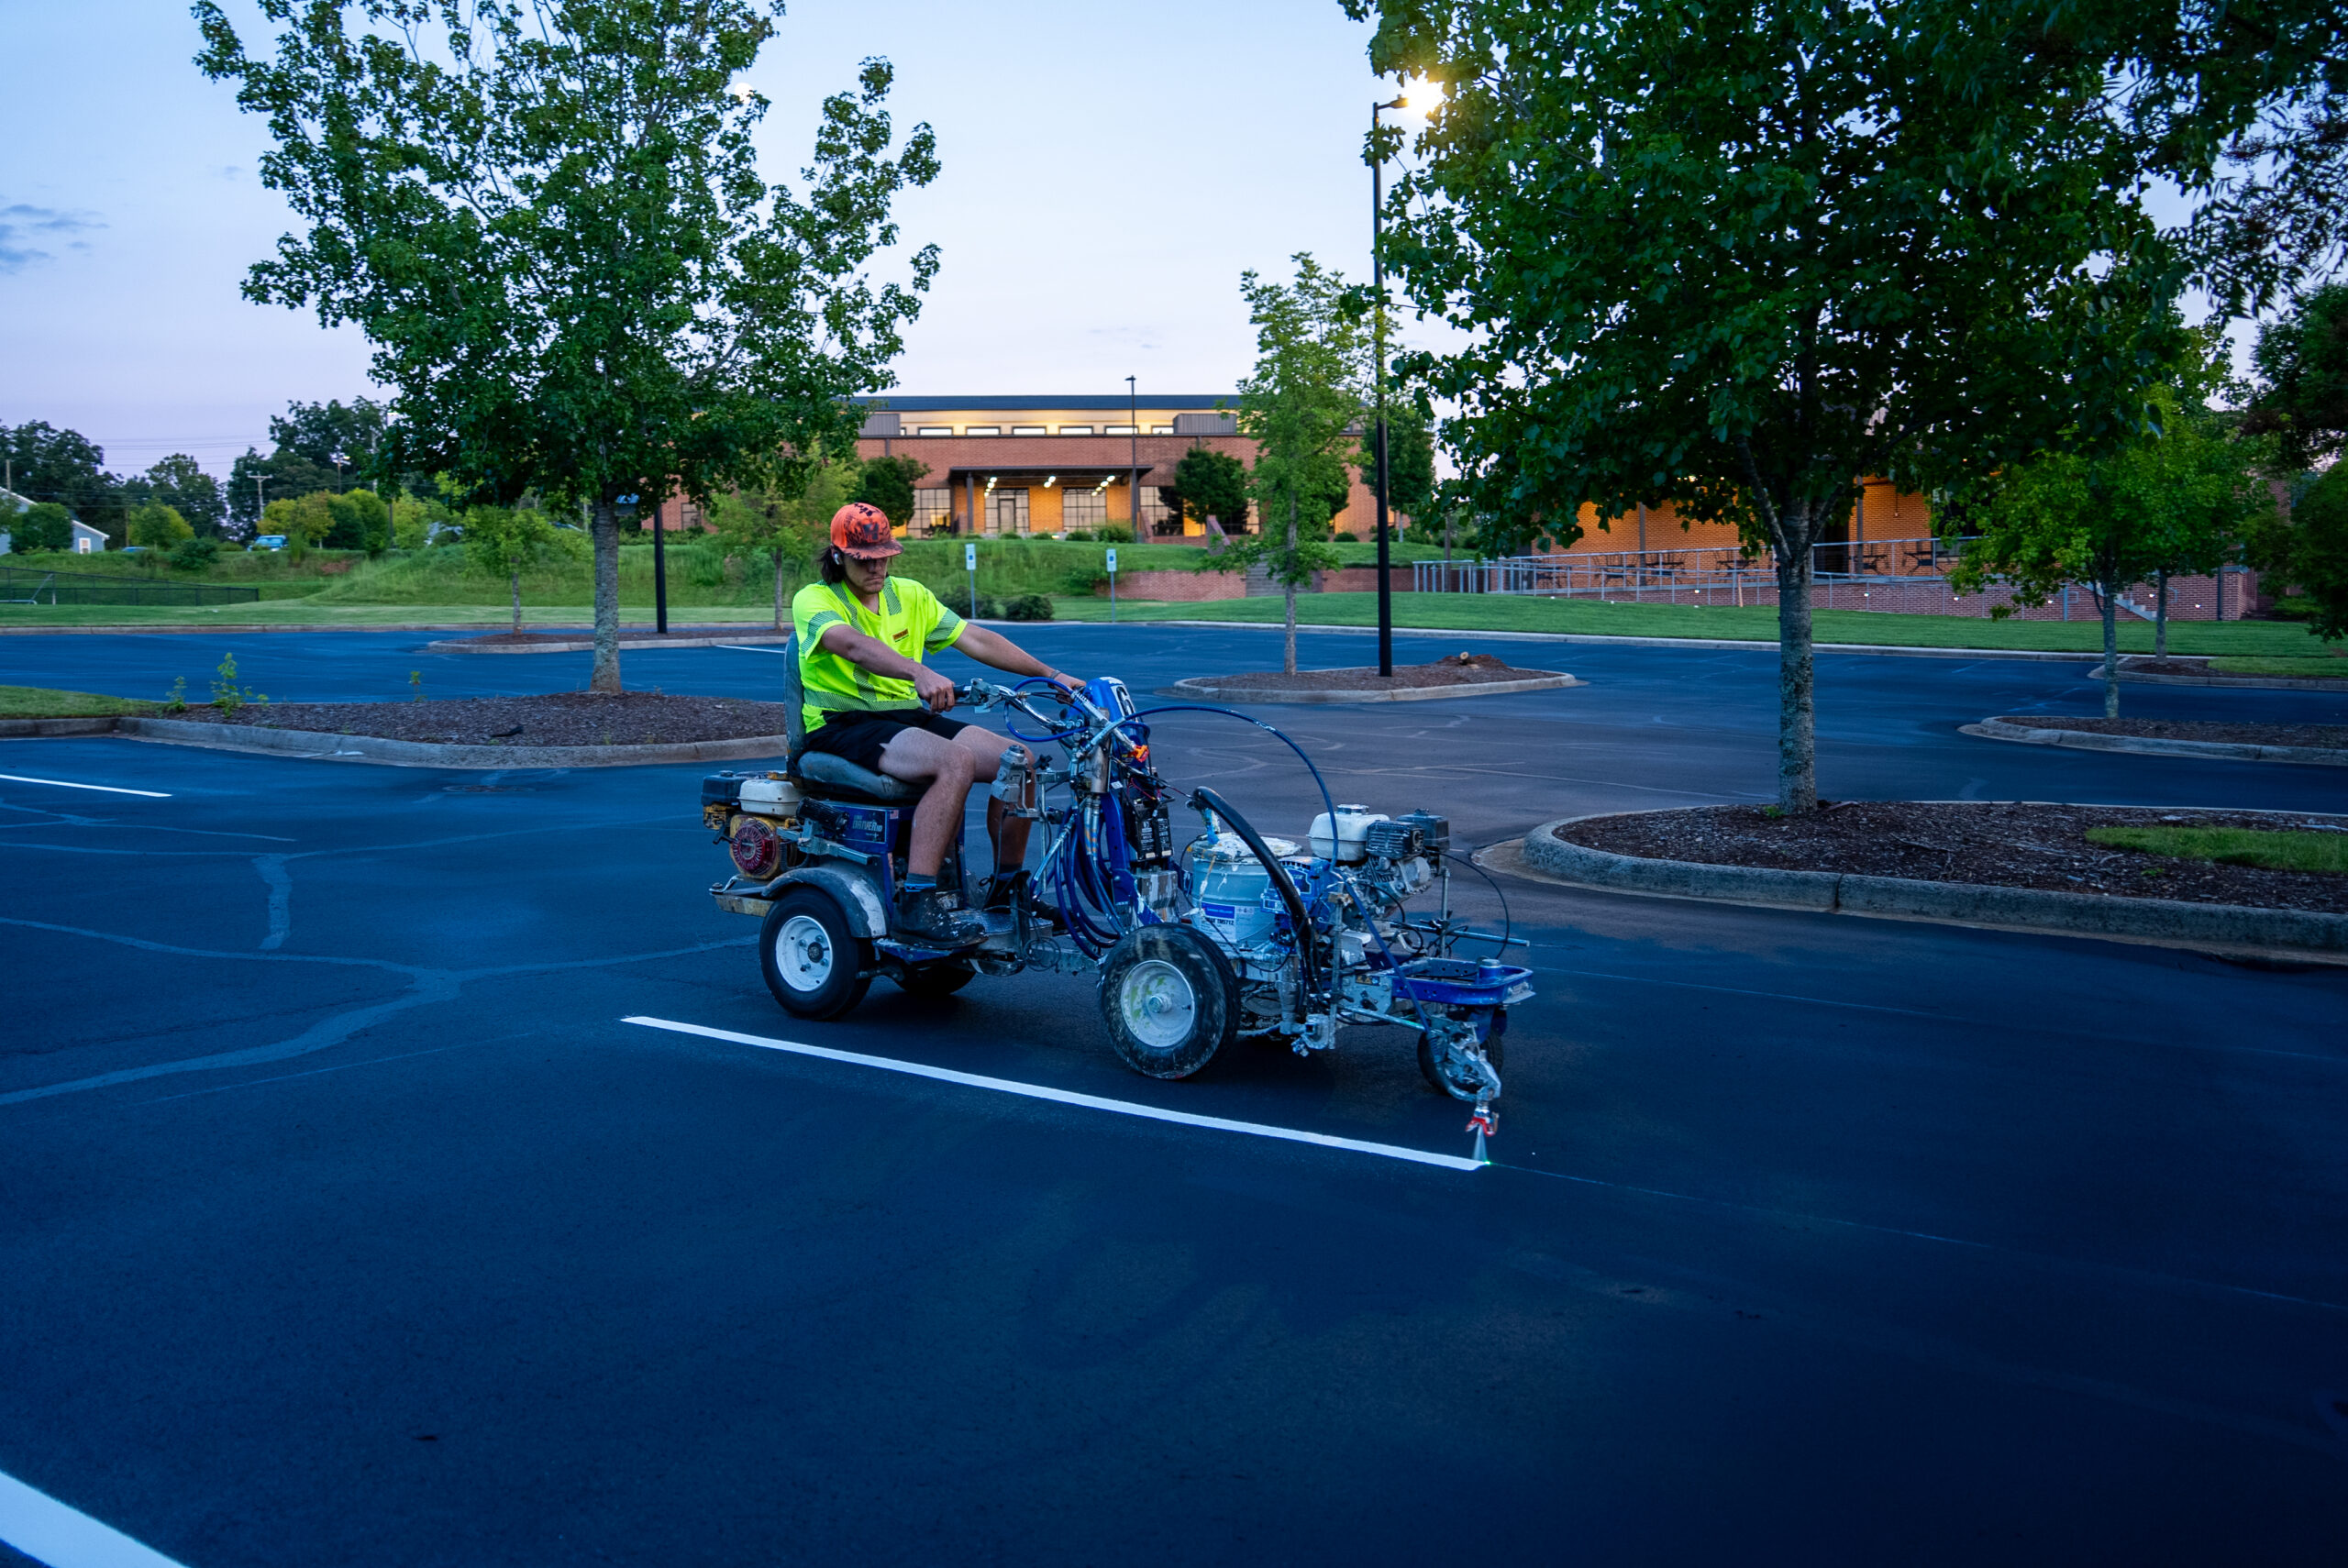
We don’t rely on a timer alone; before the striping team begins, a gloved finger is pressed into the sealer at various locations, such as the shaded rows, the low areas near the drains, and the edges where the coat is thickest. If the surface feels tacky, we go home and do the job another day. Then we paint a small test stripe in a not-noticeable place, wait, and check for brown bleed before deciding whether to do the full stripe.
We also check the forecast for the next 24 hours, since rain or heavy dew on freshly painted surfaces can damage both the paint and the schedule. If the conditions fail any of these checks, then we wait. Delaying by a day costs much less than repainting.
Record the Layout Before the Sealer Buries It
The sealer must cover the existing lines entirely, so the layout must survive the sealing process. Before the sealcoat team arrives, we take measurements and make marks, since the striping crew needs the exact positions when the old lines are no longer there. This procedure is most important when accuracy determines whether the layout functions properly.
The length of tandem rows has to be precise. As our article on striping tandem parking spaces explains, a 36-foot pair leaves no room for guessing. For gate areas, alignment is essential. The stop bars must align with both the keypad and the detection loop, as explained in our guide to controlled-access gates and keypads. We first mark those positions, then ensure they match when we stripe.
Follow the Right Order of Work
The order in which we carry out the work is just as important as the waiting period. We start by patching and repairing cracks, then apply the sealer after the repairs have cured, allow the sealer to cure, and only then apply the stripe. If you reverse this sequence, moisture gets trapped, the paint gets buried, or the patches show through the new coat. A single crew plan ensures one stage doesn’t compromise the next.
Schedule Your Parking Lot Striping After Sealcoating
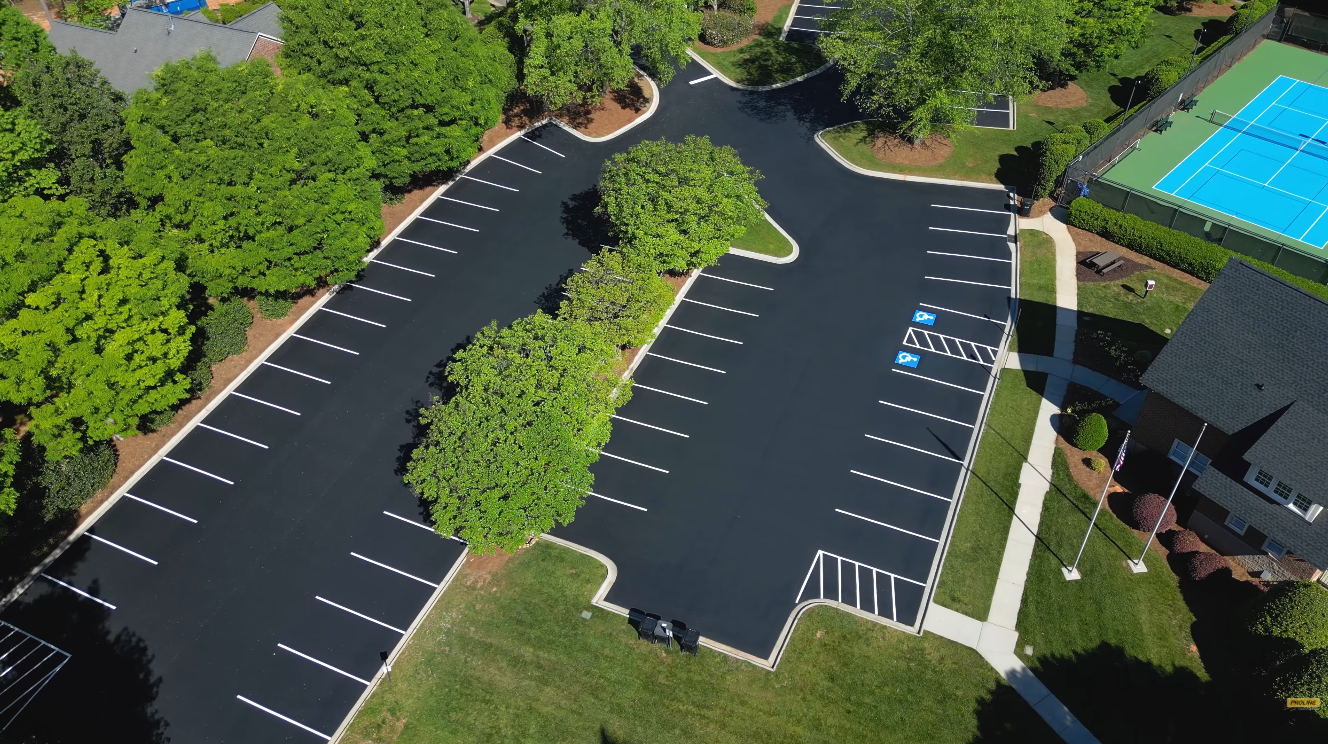
Fresh sealcoating needs adequate curing time before new parking lot markings are applied. Striping too early can affect paint adhesion and compromise the finished results. At ProLine Parking Lot Maintenance, we help multifamily property managers coordinate sealcoating and professional line striping to minimize parking disruptions while achieving clean, durable markings. From parking spaces and directional arrows to fire lanes and accessible parking areas, we help restore your apartment parking lot’s layout with precision.
Contact UsFrequently Asked Questions
What do we do if new lines turn brown after striping?
We pause, let the sealer complete its moisture-release process, and then repaint. Brown bleed occurs because the sealer rises through the paint, so if you apply a second coat too early, it will bleed the same way. We wait until the surface passes a touch test, remove any loose paint or debris, and then apply new paint in thin, even coats. A reputable contractor should include the cost of repainting the bleed caused by early striping, and you should confirm this policy before work begins.
What can we do if the lines must be in place by a deadline?
While the sealer is curing, we can install temporary markings. Cones, temporary signs, chalk, or removable tape lines keep traffic in order without interfering with the fresh coat. As soon as the surface passes the cure checks, we prioritize safety-critical markings, such as fire lanes and accessible stalls. If a lender, inspector, or fire marshal sets a date, we should be informed early so we can plan both the sealcoat and the striping around it.
Will tire marks ruin the new stripes?
For a few weeks, the fresh sealer is prone to scuffing, and the marks are most noticeable in tight turns. Power-steering marks and tire scuffs appear where cars enter the stalls and where residents turn the wheel while parked. These marks are caused by the sealer, not bad striping, and they disappear as the coating cures. We advise residents in the notice, then repair any damaged stripes after the surface has settled.
Should one contractor handle both the sealcoating and the striping?
One contractor usually produces better results because one team owns the cure decision from start to finish. When two companies split the work, the striper often waits on the sealcoater’s word, and no one takes responsibility if the lines fail. If you hire two firms, write a clear sign-off into both contracts so the sealer releases the surface and the striper accepts it in writing. That record prevents arguments about who caused a failure.
How soon can residents park on the new stripes?
Once the paint has dried and the sealer has completed its 24 hours of traffic exposure, residents may park. Although the paint usually becomes touch-dry within an hour in warm, dry conditions, we still do a touch check to confirm and leave the cones in place until we are sure. Heavy vehicles and moving trucks require more care because they can twist the freshly laid surface when turning. We send a notice to residents with a clear reopening date so they don’t have to guess.
What should we put in the contract about curing and weather?
Your contract should state the minimum cure time before striping, the weather conditions that trigger a delay, and who pays for rework if the lines fail. It should also name who tests the surface and who signs off before the crew paints. A contractor who refuses to commit to a cure window is guessing. A written plan protects the stalls you just sealed and the budget you spent on them.