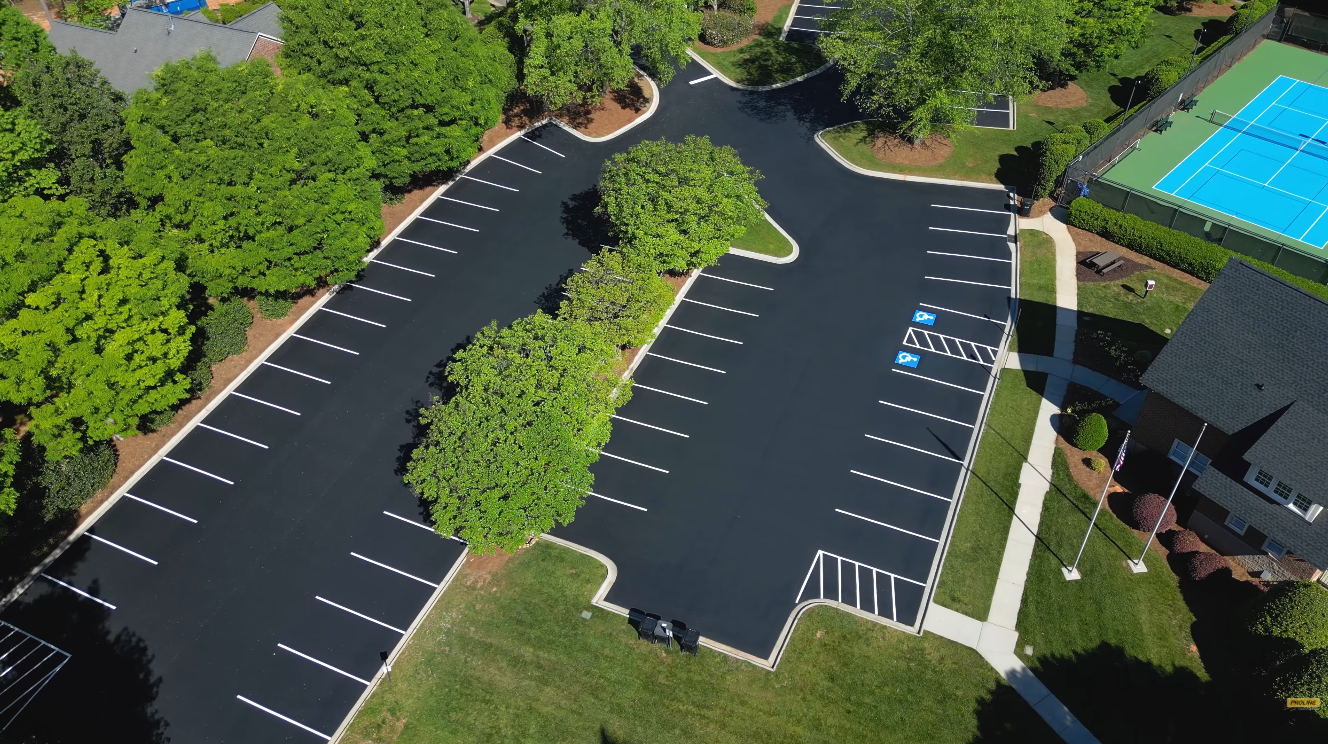
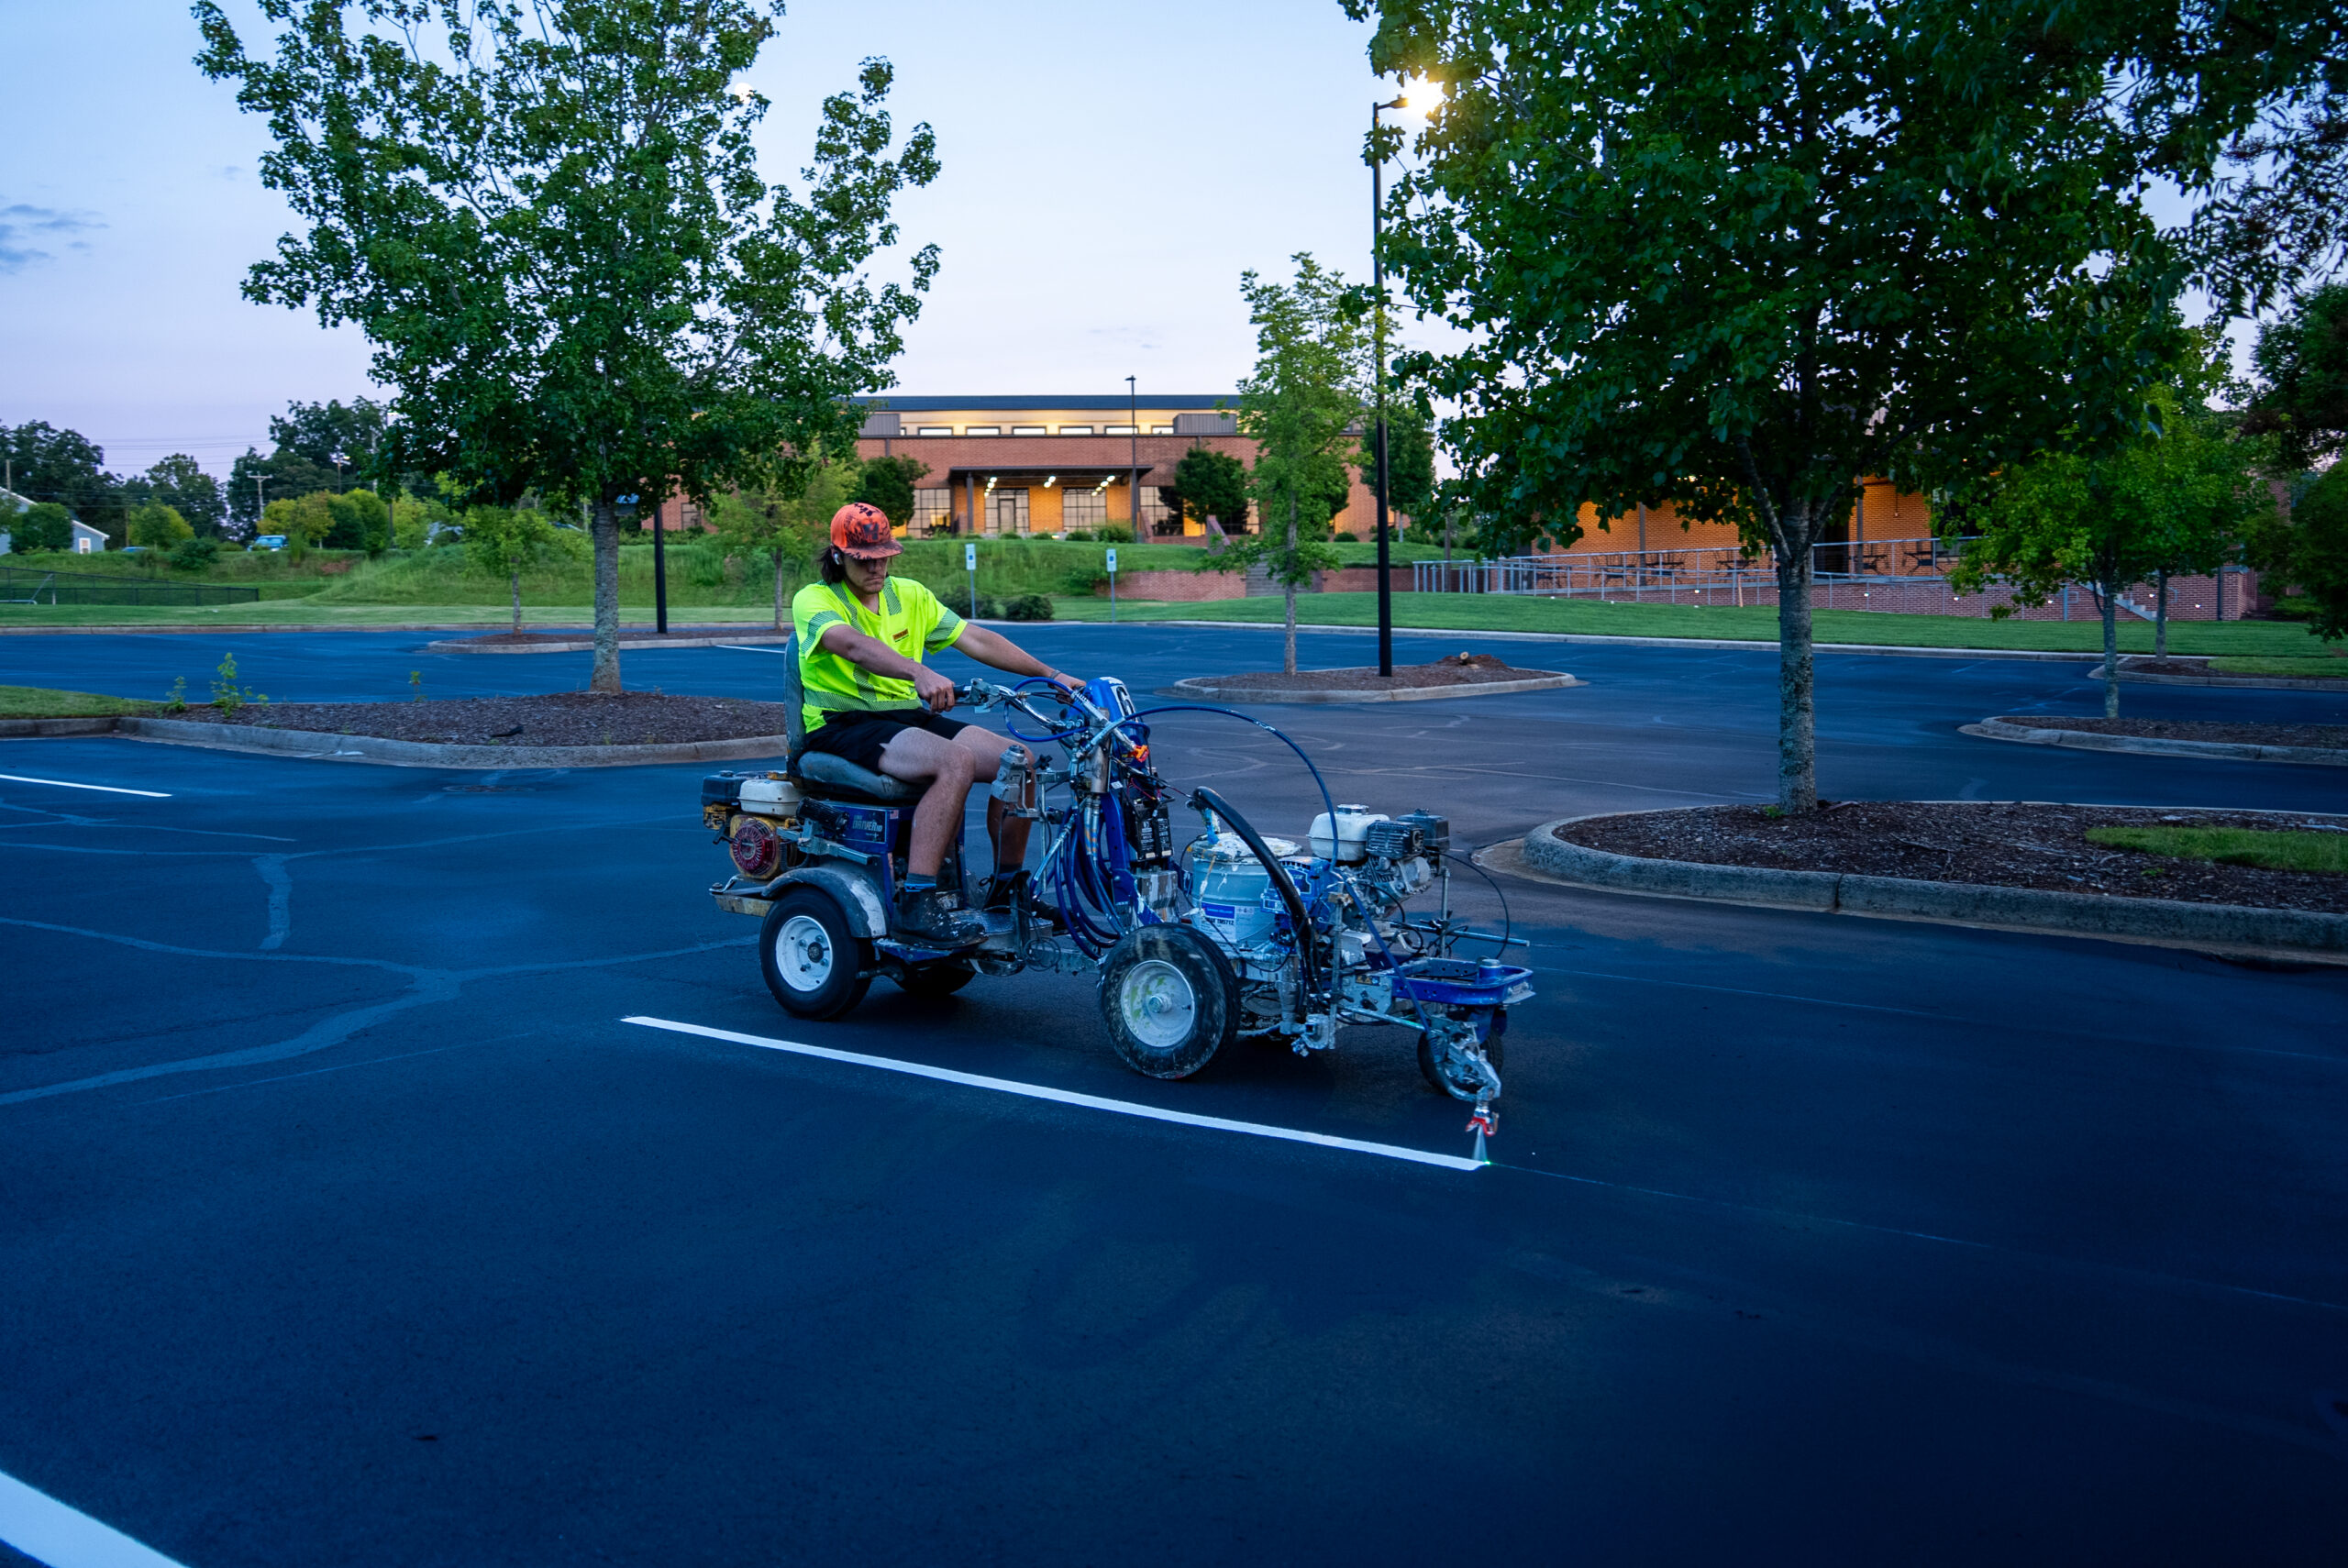
According to eDriving, the National Safety Council records 51 deaths every year in car parks and parking lots that occur when drivers are reversing. Many of these reversing movements start at the end of a parking space, where the curbed island meets the driveway, and drivers, pedestrians, and delivery trucks must make a decision in that moment. By marking parking lot islands and the end caps at multi-family buildings, we treat each as a decision point, not merely a decorative feature.
We work in apartment complexes across North Carolina and South Carolina, including Charlotte and Huntersville, as well as Raleigh, Greenville, Columbia, Charleston, and Myrtle Beach; the same islands create the same issues on each property, and proper striping solves most of them.
Quick Overview
- Treat the end caps and interior islands as separate tasks.
- Build the end-cap markings in three layers: the approach, the edge, and the buffer.
- Secure the stall lines to the curb face so each stall maintains its full length.
- Before you paint, make sure the surfaces can handle Carolina pollen, mulch, and afternoon storms.
- Make sure to list each island on your striping map so that future teams can repeat the arrangement.
Islands and End Caps Carry Different Jobs
Most planter owners group all curbed planters together, but we divide them because they interact with traffic differently. The ITE end island study examines multifamily developments and states that end islands define circulation, protect the vehicle at the end of a parking bay, and ensure unobstructed sight distance where the aisles meet. Interior islands break up long sequences of stalls, and drivers seldom drive towards them from the front.
Position end caps at the aisle entrance, where cars turn around, back out, and take corners. As a result, the end cap needs the most striping. Interior islands should have clear edges, and that’s about it.
Build the End Cap Marking in Three Layers
End caps are striped in three layers, each designed to solve a different problem.
The initial stage is the approach; per MUTCD Section 3B.10, approach markings for obstacles are specified, including tapered lines that direct traffic away from the obstacle and yellow diagonal crosshatching in the adjacent area. We apply the same principle to private driveways. A hatched apron placed in front of the driveway, bordered by a solid yellow line, indicates to drivers where the pavement no longer forms a lane.
The next layer is the edge. According to MUTCD Chapter 3I, islands are considered to be traffic-control devices, and the markings on them should be retroreflective white or yellow when the islands are defined by curbs or by pavement markings; we color the face of the curb on the aisle side yellow since traffic in both directions uses that side, and we carry the paint round the nose so that the headlights can strike the corner at night.
The third layer is the buffer; when a car turns around an end cap, it needs space to swing, and the stall next to the island may sometimes be in that swing area. On site, we conduct a turning check with a full-size SUV and a box truck, and we hatch the stall if the check shows it obstructs the turn. Hatching a buffer costs one stall, and it prevents the bumpers, mirrors, and curbs from being damaged by the stall.
In this case, we should also increase the buffer. For more on blind corner no-parking areas, see how we measure the line of sight.
Tie Every Stall Line to the Curb
Parking spaces next to an island must terminate at the curb face and not fall short. Although various municipal codes permit vehicles to overhang a planting area slightly, for instance, the two-foot overhang rule in Inkster, Michigan, requires wheel stops or curbs to prevent vehicles from going beyond two feet. When measuring the space, we measure to the curb face to ensure the space retains its full length, and before finalizing the layout, we check the local bylaws of Charlotte, Raleigh, Greenville, or Charleston.
Prepare for Carolina Conditions Before You Paint
Island striping doesn’t work in the Carolinas for local reasons: in Charlotte and Raleigh, spring pollen covers the curbs and pavement, and the paint cannot bond to a dusty surface. During summer storms, mulch and pine straw wash out of the island beds and bury newly hatched plants, and UV radiation and humidity then cause the paint to deteriorate faster than most owners anticipate.
We pressure wash the face of the curb, sweep the surrounding pavement, and wait until the window is dry before painting; we also request that the landscaper keep the mulch below the top of the curb since mulch that overflows the edge conceals the marking we have just applied and causes soil to be dragged onto the pavement.
Match the Marking to the Property Type
A community designed in the style of a garden and having surface rows requires simple end caps, while a mixed-use property needs more elaborate ones. For example, at a garden-style apartment complex, end caps are often marked with basic white or yellow paint to outline the curb and guide vehicles, since all parking serves residents. By contrast, in a mixed-use site with both apartments and retail storefronts, end caps near storefront entrances often include directional arrows, zone stencils, or colored hatching that show visitors which parking areas are for residents versus guests or retail customers. When a boundary separates residential and retail parking, the end cap must also tell drivers which zone they are entering, which is why directional arrows and zone stencils are placed next to the island. The striping guide for mixed-use apartments illustrates how these zones fit together.
Island and End Cap Striping Specification
| Feature | Marking | Color | Starting Dimension | Purpose |
| End cap nose apron | Diagonal hatching inside a solid border | Yellow | 4-inch lines at 45 degrees, about 24 inches apart; length set by the turning check | Keeps drivers from cutting the nose |
| Aisle-side curb face | Solid curb paint | Yellow | Full face, wrapped around the nose | Marks the island where two-way traffic passes |
| Stall-side curb face | Curb paint at the nose only | Yellow | First 3 to 4 feet from the nose | Shows the island corner to drivers who back out |
| Stall lines at the island | 4-inch stall lines ending at the curb face | White | Full stall length measured to the curb | Preserves stall size |
| Interior island ends | Curb paint at each end | Yellow or white by traffic direction | About 6 feet from each end | Marks where aisles turn |
| Buffer stall | Diagonal hatching | Yellow | One stall width where the turning check requires it | Gives vehicles swing room |
We present these dimensions as a starting point; the final layout will be determined by the turning check and local ordinance. To help ensure compliance and avoid costly mistakes, we recommend verifying your proposed layout with your city or county planning department before starting work. Always consult the latest parking and fire lane codes for your jurisdiction, and consider creating a simple checklist that covers dimension requirements, turning radii, designated accessible spaces, and local marking standards. This extra step makes it easier to confirm your striping plan meets all regulatory requirements.
Keep Parking Lot Islands and End Caps Clearly Marked
Faded or poorly defined markings around parking lot islands and end caps can confuse drivers, encourage improper parking, and restrict vehicle maneuvering space. At ProLine Parking Lot Maintenance, we help multifamily property managers improve parking lot organization with professional line striping, pavement markings, and clearly defined restricted areas. Whether your apartment community needs fresh striping or updates to an existing parking layout, we provide dependable solutions that improve visibility, guide traffic, and help protect your property’s parking areas.
Contact UsFrequently Asked Questions
How do we phase island striping without closing the whole lot?
We carry out the work in sections so residents always have access to an open parking space on the premises. Each phase involves a small number of rows, and we complete the rows in groups before moving to the next group. Cones and temporary signs indicate which parking stalls are closed, and the schedule is displayed at the leasing office and emailed to residents. Since island curbs and hatching dry quickly in dry weather, most closed stalls reopen the same day.
What happens if the island curb is cracked or crumbling?
Before painting the curb, we complete repairs. If the curb is failing, the paint will flake within a few weeks, and cracks will let water into the island bed, causing the curb to become even more out of shape. The contractor can patch spalled areas or replace severely damaged ones, and we’ll arrange striping after the repair cures. This sequence protects your striping investment and ensures the new paint has a solid surface to grip.
Should we use paint or thermoplastic on end caps?
Most end cap work uses durable traffic paint because it is cheaper and suitable for curb faces and hatching. Thermoplastic, on the other hand, has a longer lifespan and is appropriate for high-wear areas, for example, the hatching in front of a nose used by heavy trucks every week. We select the material based on traffic volume rather than habit. For a delivery route that passes through the end cap, we suggest using thermoplastic there and traffic paint elsewhere.
Should we mark a crosswalk across an island?
We will only provide a crosswalk where the walking-path layout and island design allow it. Since residents take the shortest route from the island to the building, we base our decisions on where they actually walk rather than marking crossings arbitrarily. Any crosswalk that goes through a planting bed must have a solid, level surface as well as a curb cut or a ramp. If no accessible path is available, we suggest moving the crossing to a safer location rather than marking a path residents can’t use.
How does an island beside an accessible stall change the striping?
An island curb must never intrude on the access aisle of an accessible stall. Many ordinances keep islands away from accessible stalls for that reason, so we check the aisle width and the route before we paint anything. We keep the access aisle hatching clear of the curb and the island markings, and we confirm the final layout against current ADA requirements. If an existing island crowds the aisle, the owner should consult an accessibility specialist before restriping.
How often should we refresh island and end cap markings?
We recommend inspecting islands every six months and refreshing the markings when contrast fades. End cap noses take the most punishment, because tires scuff hatching and bumpers chip curb paint. Most properties need an end cap refresh every one to two years, while interior island edges often last longer. Photograph each island at every inspection so you can compare wear and schedule the work before drivers start cutting corners again.