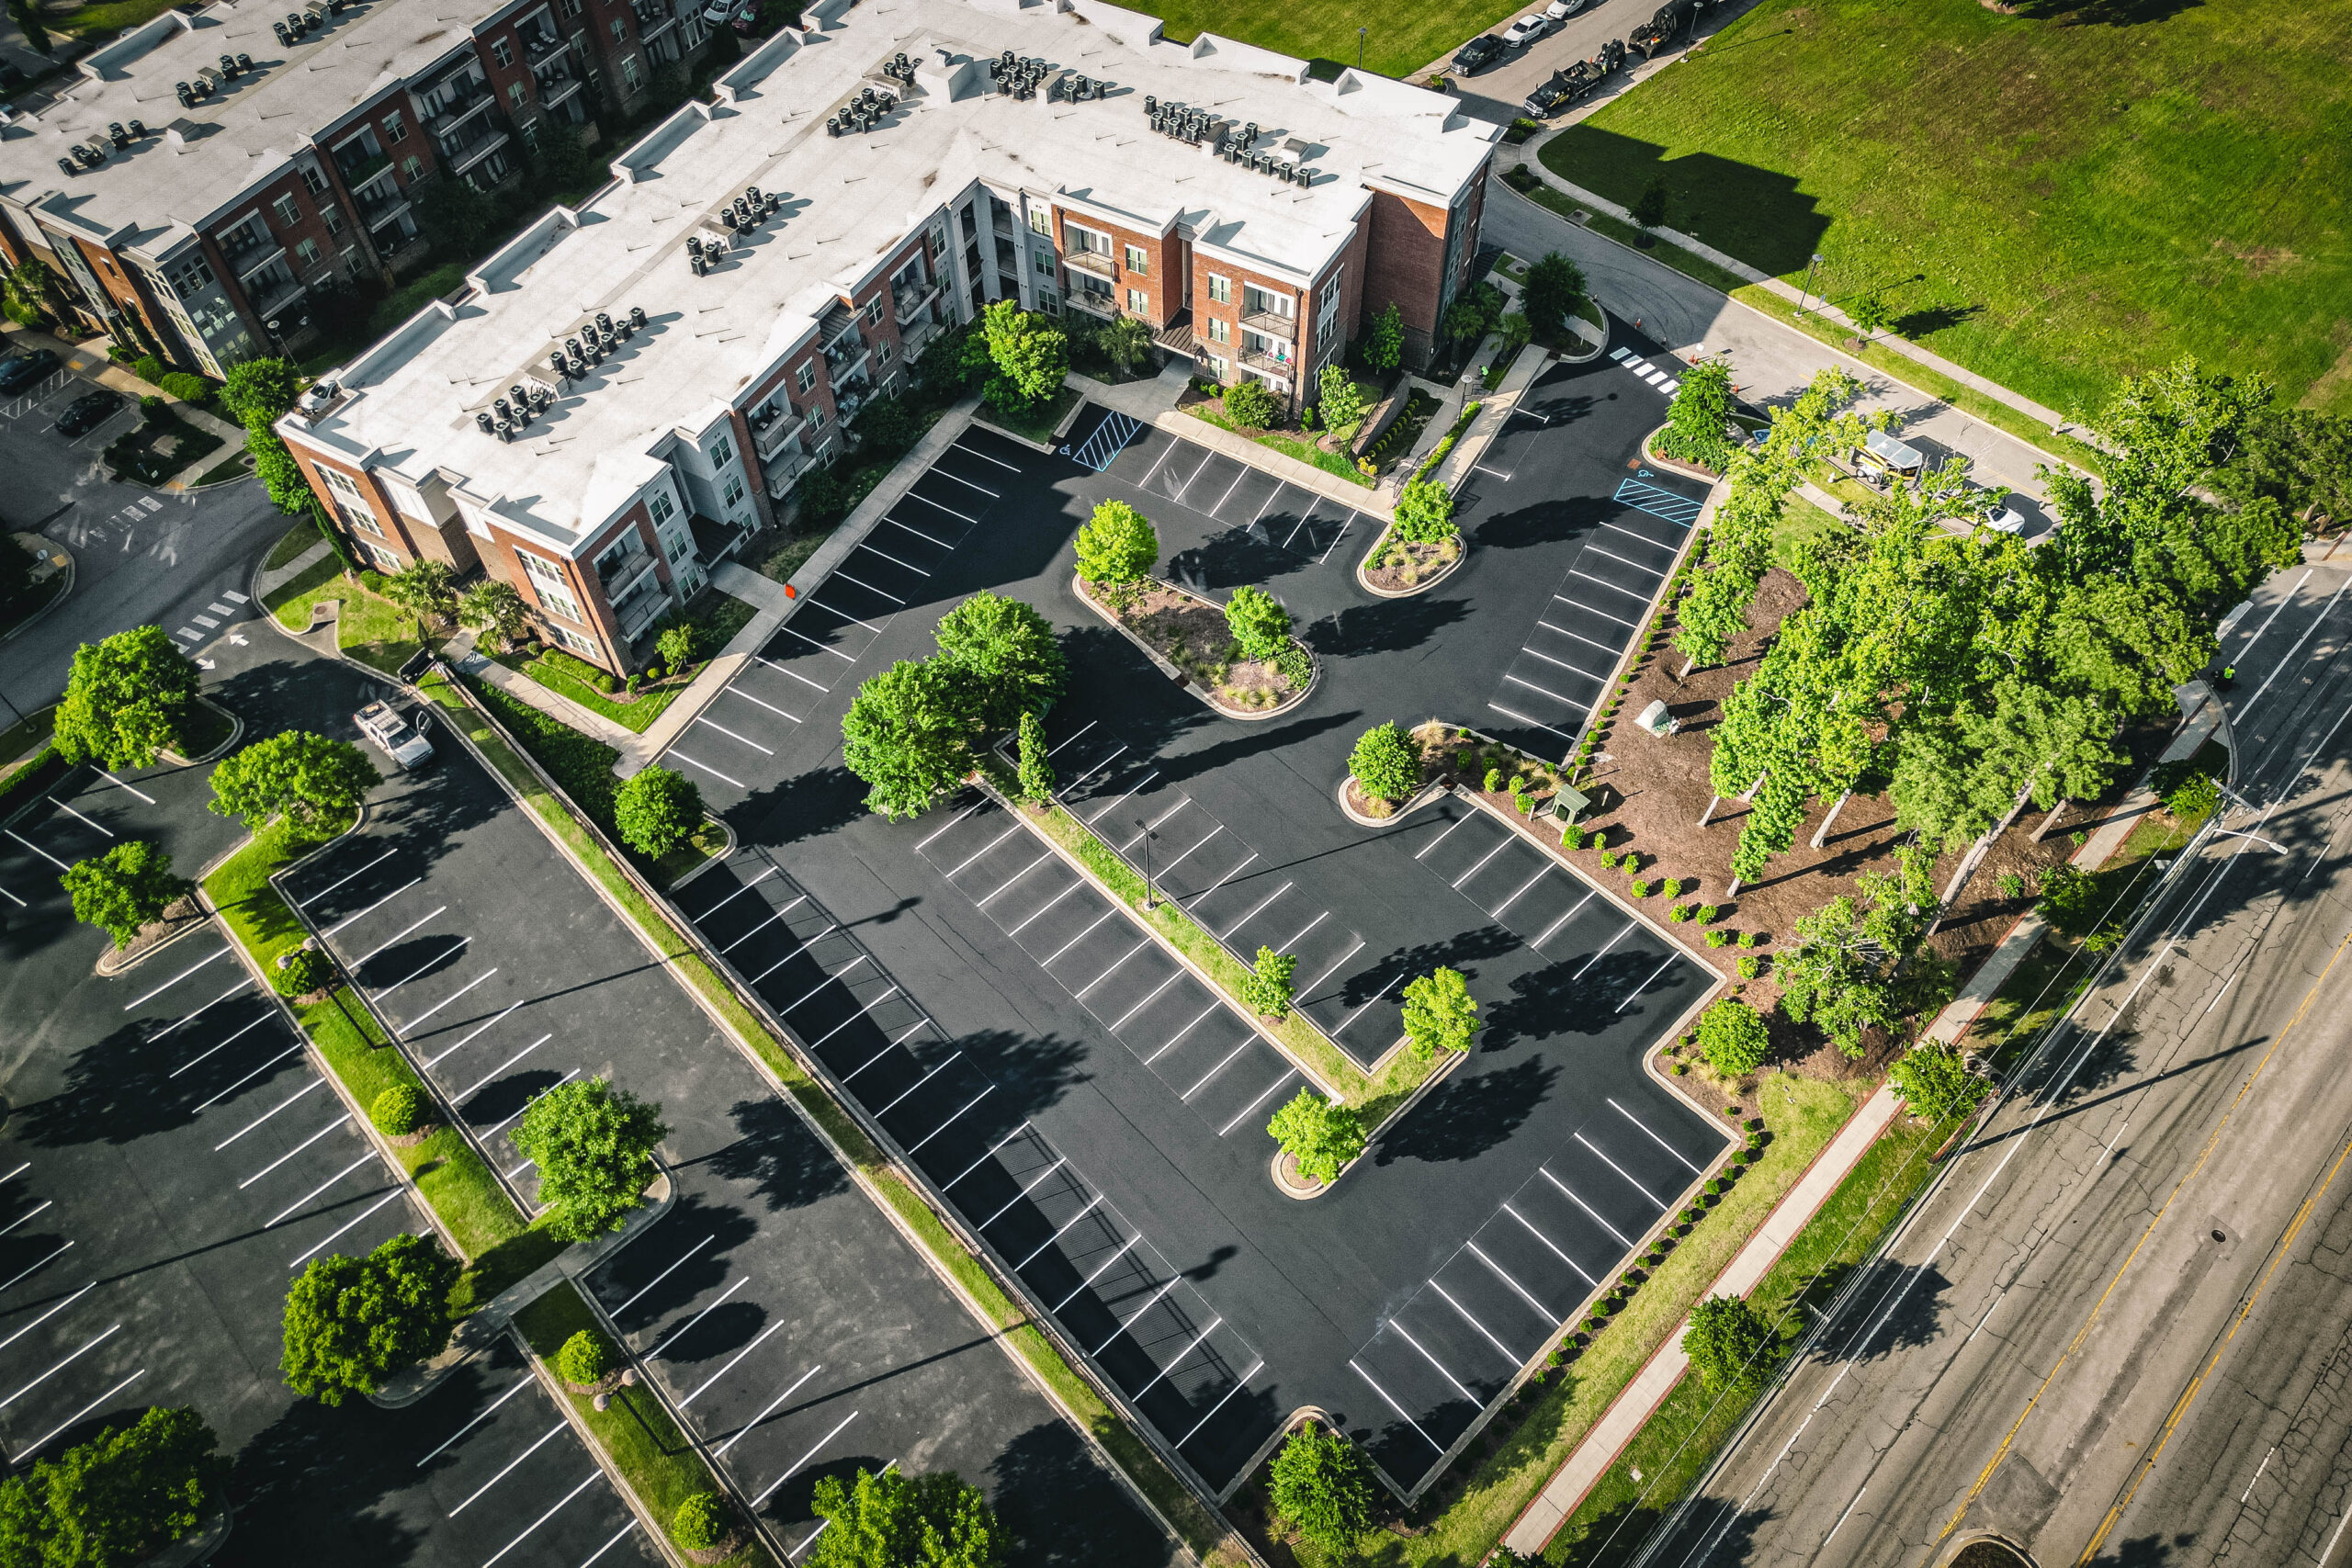
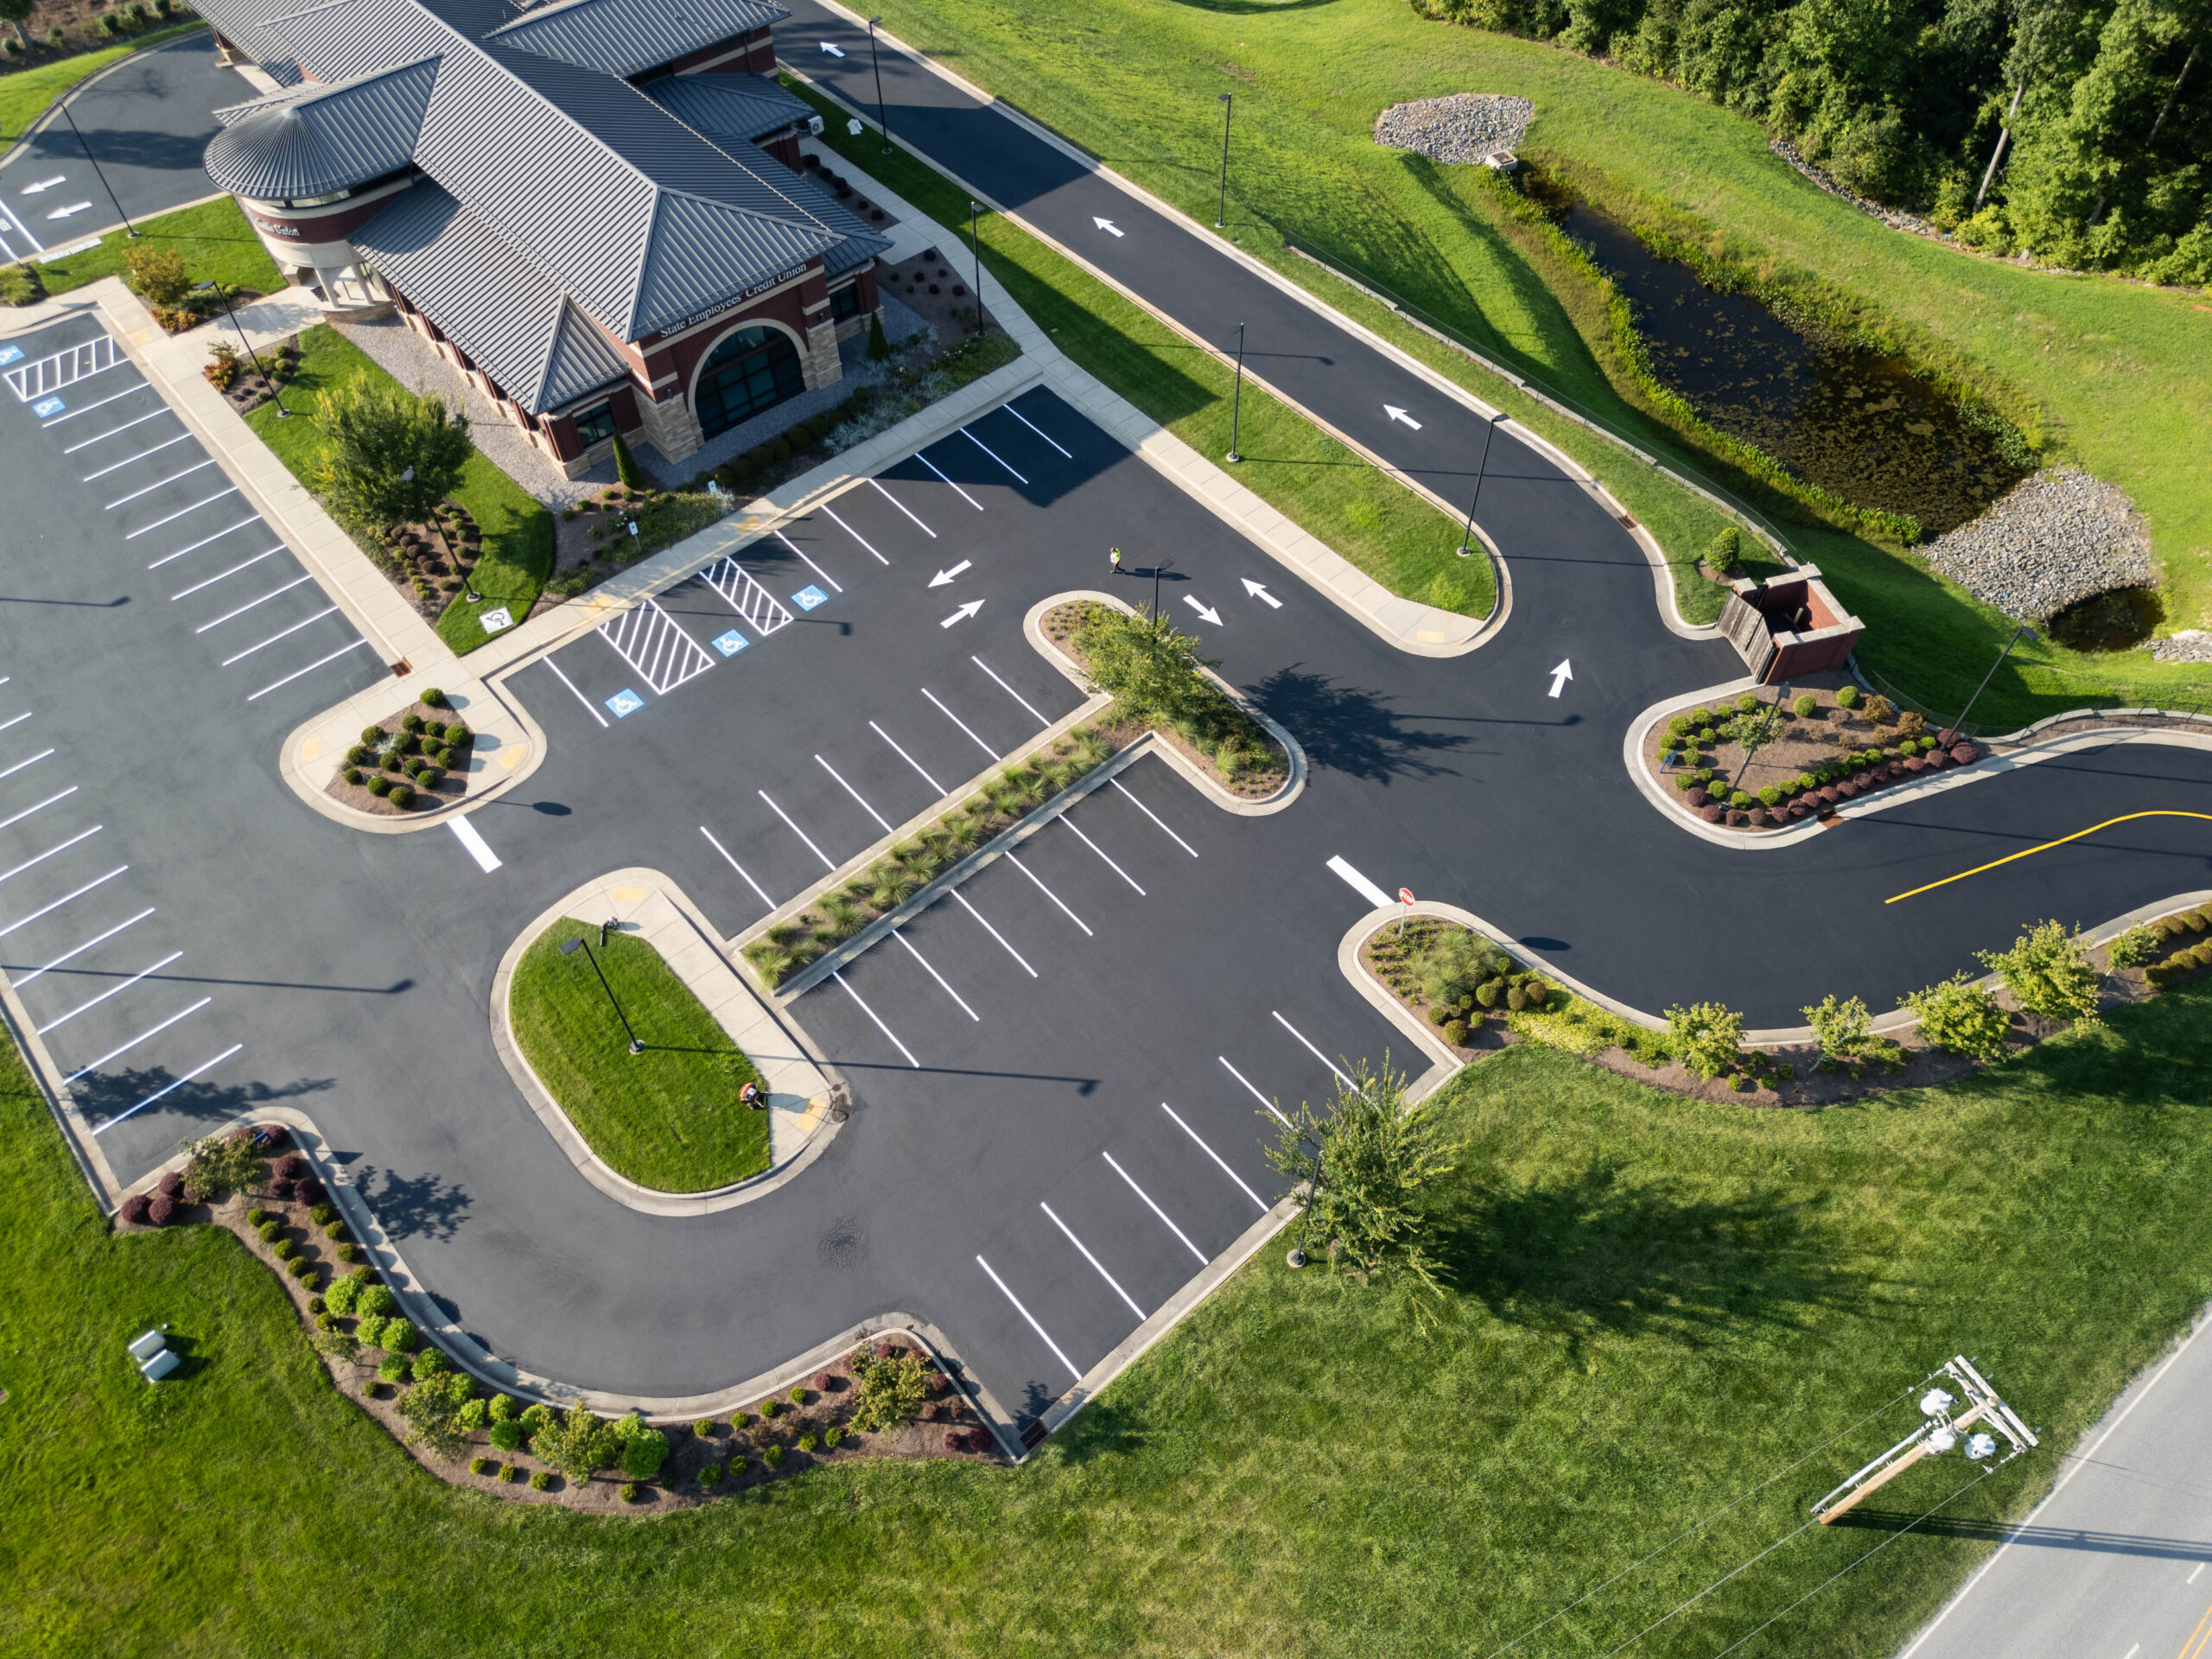
Federal ADA parking standards define the marked space in terms of the centerline of the paint and separately call for the use of wheel stops to prevent the overhang of the vehicle from reducing the clear width of the accessible route. That’s why wheel stops are such a problem when it comes to striping. There’s a concrete block in the middle of the stall that the paint has to define; a pedestrian path frequently runs right behind it, and the residents will trip over it if they can’t see it. At ProLine Parking Lot Maintenance, we stripe apartment communities from our home base in Denver, NC, out to Charlotte, Raleigh, Greenville, Columbia, Charleston, and Myrtle Beach, and we also serve communities all over the country. We treat every wheel stop as a layout issue rather than something we have to work around.
Overview
- The wheel stop (not the painted line) dictates where the vehicle actually parks.
- We measure stall depth from the face of the stop and ensure the stop is clear of accessible aisles.
- We paint the stop itself in a contrasting color so residents see it day and night.
- New concrete stops need curing and cleaning before paint will bond.
- Carolina pollen, clay, and storms change how we prep and when we paint.
Why Wheel Stops Change the Striping Plan
A painted stall tells a driver where to park, but a wheel stop tells the tire where to stop. When those two cues disagree, residents follow the block. If the stop sits two feet farther back than the layout assumed, cars park short, the bumper line shifts, and the stall looks wrong even though the paint is perfect. If the stop sits too far forward, a pickup truck overhangs into the drive aisle.
To make sure striping and wheel stops align correctly, we follow a clear step-by-step layout process:
1. Inspect and document the location of every existing wheel stop before any striping begins.
2. Measure the distance from each wheel stop to the end of the stall, verifying it matches the planned stall length and meets local and ADA requirements.
3. Adjust the planned stall layout to reflect the actual position of the wheel stops, including width and setbacks for each space.
4. Chalk-mark the face of each wheel stop as a guide for both the line crew and the stop painters.
5. Paint stall side lines, ensuring each stop is centered and the setback is consistent through the row.
6. Check alignment from multiple angles to confirm stripes and stops are visually straight and evenly spaced.
7. Paint each wheel stop itself in a contrasting color so it stands out against the pavement.
We solve layout errors by designing the stripe plan and the wheel stop layout together, and we never paint a lot without first checking where each stop actually sits.
Safety makes the stakes higher. An AmTrust risk bulletin on wheel stop hazards states that wheel stops cause many trips and falls in parking lots, and it recommends painting them a contrasting color such as yellow while keeping at least three feet between adjacent stops. Striping plays a direct role in that advice, because paint makes a gray block visible against gray pavement.
Setting the Stall Lines Around the Stop
We start every project with a measurement walk. A crew member marks the face of each stop with chalk, measures the distance back to the opposite end of the stall, and compares it to the planned stall length. In our layouts, we set the face of the stop roughly 24 to 36 inches from the head of the stall, depending on how much overhang the property and local code allow. We then paint the side lines to the actual stall depth, not to an old line that a previous crew may have copied from a crooked original.
Centering matters just as much. A standard six-foot stop in a nine-foot stall leaves 18 inches open on each side, which gives adjacent stops a three-foot gap, the same spacing AmTrust recommends. We paint the stall lines so each stop sits in the middle, and we avoid running paint across the top of the block, because tires and plows wear that paint away quickly. Instead, we paint the stop separately, so both the line and the block stay readable.
Stall symbols and numbers need the same care. In assigned parking lots, we place the unit number in the open area between the stop and the aisle so the tire never covers it and the resident can read it from the driver’s seat.
Accessible Stalls and Wheel Stops
Accessible stalls require the most discipline. The ADA Standards require car spaces at least 96 inches wide, van spaces at least 132 inches wide, and access aisles at least 60 inches wide; they also require that a parked vehicle cannot obstruct the clear width of an adjacent accessible route. We apply those rules in three ways. First, we keep every wheel stop out of the access aisle, so a wheelchair user never rolls over a block. Second, we place the stop so the vehicle overhang stays off the sidewalk behind it. Third, we mark the blue symbol and the hatched aisle after we confirm the stop position, not before.
Local code can add requirements, so we check the municipal and fire rules for each city before we finalize a layout. If you manage a property and want to review the codes yourself, start by searching your city or county’s official website for parking, zoning, or fire code documents. You can also contact the local building or planning department to confirm current requirements or ask your fire marshal for parking lot guidance. Staying proactive with local codes helps keep your striping plan compliant.
Matching the Stripe Plan to the Situation
The table below shows how we adjust the plan for common situations on apartment properties.
| Situation | Our striping approach | Reason |
| Standard 90-degree stall | Center the stop, paint side lines to the full stall depth | Keeps stall length consistent across the row |
| Accessible stall | Keep the stop out of the access aisle, paint symbol clear of the stop | Protects the route and keeps the symbol visible |
| Stall facing a sidewalk | Set the stop so overhang stays off the walk, add a contrasting color | Preserves clear width for pedestrians |
| Stall at a landscaped island | Stop the paint at the curb face, keep stop clear of plant growth | Prevents mulch and plants from hiding the stop |
| End-of-row stall | Widen the stall and set the stop away from the aisle corner | Gives drivers room to turn in without clipping the block |
| Freshly installed stops | Wait for curing and clean before painting | Prevents early peeling |
Preparing Concrete Wheel Stops for Paint
Fresh concrete resists paint at first. Sherwin-Williams explains in its alkali burn guidance that fresh concrete starts at a pH of 13 to 14 and takes roughly 30 days to settle near a pH of 9, and that moisture can reactivate alkalinity and cause blistering and peeling. We apply that lesson to new wheel stops. When a property installs new stops, we schedule the stop painting after the concrete cures. For best results, we use alkali-resistant traffic marking paint formulated for masonry or concrete, such as an acrylic latex pavement marking paint or an epoxy-based option rated for concrete surfaces. These paints bond well and hold up to wheel abrasion and weather. Always check for products labeled alkali-resistant or suitable for fresh or previously cured concrete.
Older stops need different prep. We wash off dirt, oil, and loose paint, remove efflorescence, and let the surface dry before we paint. We also check the anchoring. A stop that moves under a tire will crack its paint and shift the stall layout, so we flag loose stops before the stripe crew starts.
Carolina Conditions That Affect the Work
Weather in the Carolinas shapes our schedule. In Charlotte and Raleigh, spring pollen coats the blocks and the pavement, and paint cannot bond through a layer of dust. In the Piedmont and Upstate, red clay splashes onto the low face of the stop and stains it, so we scrub that surface before we paint. Near Charleston and Myrtle Beach, humidity and salt air slow drying and speed up grime, and afternoon storms can wash fresh paint before it sets. We watch the forecast and move the job when the weather turns, because a rained-on stop looks worse than an unpainted one.
Terrain adds another layer. On hillside properties in the Upstate and near Asheville, water collects behind or below a stop and undermines the paint. Our guide to sloped parking areas explains how we check slope before layout, and we use the same audit to decide where each wheel stop belongs.
Coordinating with Landscaping
Wheel stops often sit at the edge of mulch beds and irrigation zones. A sprinkler that hits fresh paint on Tuesday morning can ruin Monday’s work, and mulch that spills against a stop hides it from view. We recommend sharing the striping schedule with the landscaping team, which our guide to new landscaping covers in detail. We also ask crews to keep plants and mulch clear of the stop faces, so paint and visibility stay intact.
Keep Parking Spaces Clearly Marked Around Concrete Wheel Stops
Concrete wheel stops help prevent vehicles from moving too far into sidewalks, landscaping, and other parking lot features. Proper line striping around these barriers helps apartment residents identify parking spaces and park within designated boundaries. At ProLine Parking Lot Maintenance, we provide professional parking lot striping for multifamily communities, helping property managers maintain organized parking areas and clear pavement markings. Contact our team to discuss your apartment parking lot striping needs.
Contact UsFrequently Asked Questions
Should we replace concrete wheel stops with rubber stops or bollards before we restripe?
It depends on the condition of the existing stops and the problem you want to solve. Concrete stops last a long time but can crack, shift, and create trip hazards when residents get tired of seeing them chipped. Rubber stops weigh less, absorb impact, and hold paint differently, while bollards protect a specific object such as a sign or utility box and do not control where a tire stops. We inspect each stop before recommending a change, and we usually replace only stops that are cracked, loose, or poorly positioned.
How often should we repaint the wheel stops themselves?
Plan to refresh the paint on wheel stops about as often as you refresh the stall lines, and sooner in high-traffic areas such as entrances and visitor rows. Tires, bumpers, and mowers scrape the paint off the front face first, and the color fades under summer sun. A faded block loses the contrast that makes it visible, so we check stops during every striping visit and touch up the ones that look dull. A short walk at dusk usually shows which stops disappear into the pavement and need attention first.
Can we remove the wheel stops and rely on striping alone?
In many cases you can, but you should check local code and the property’s accessibility needs first. Some jurisdictions require stops where a stall faces a walkway or a building, and the ADA Standards recommend them when overhang could narrow an accessible route. If the property can remove them, we pull the stops, patch the anchor holes, and restripe the stall to its full length so drivers still know where to stop. We often add a curb or a wider walk behind the stall to protect the route, because paint alone cannot stop a truck bumper.
Does painting wheel stops reduce our liability if a resident trips?
Painting helps because it removes a common cause of trips: a block that blends into the pavement. It does not eliminate risk, and it does not replace maintenance such as fixing broken stops, keeping weeds and mulch clear, and repairing loose anchors. We recommend documenting each inspection with dated photos and a short note on what you fixed, because records show that the property responded to a known hazard. We do not give legal advice, so we encourage you to review your approach with your insurer or attorney.
How do we protect fresh striping while residents keep parking near the stops?
We work in sections, so residents always have open parking while one area cures. We mark each finished area with cones or barricades, post notices at the leasing office and in the resident portal, and give people a clear alternate row. Fresh paint needs time before tires roll over it, and the time depends on temperature, humidity, and shade, so we confirm the surface is dry before we remove the barricades. Residents tend to follow the plan when we explain the dates and the alternate parking in advance, and complaints drop sharply as a result.