
Article Overview
- Pedestrian refuge areas break up one long risky crossing into two shorter ones.
- Different sections of an apartment site will require different refuge layouts.
- A night walk will reveal problems that you simply don’t see during the day.
- The marking is kept consistent and easily readable for drivers by the use of exact measurements.
- Accessible routes need a clear width and a gentle slope, which the painting must not interfere with.
- Carolina pollen, clay, and humidity dictate how we prepare and schedule the work.
Pedestrians account for around 17% of all traffic fatalities each year, and the FHWA tech sheet on refuge islands attributes a reduction in pedestrian crashes of as much as 56% on public roads to their use. Apartment lots are much slower, yet they are full of strollers, delivery people, dog walkers, and teens on scooters all using the same drive aisles. ProLine Parking Lot Maintenance operates from the Charlotte area through North and South Carolina, and we serve properties across the country.
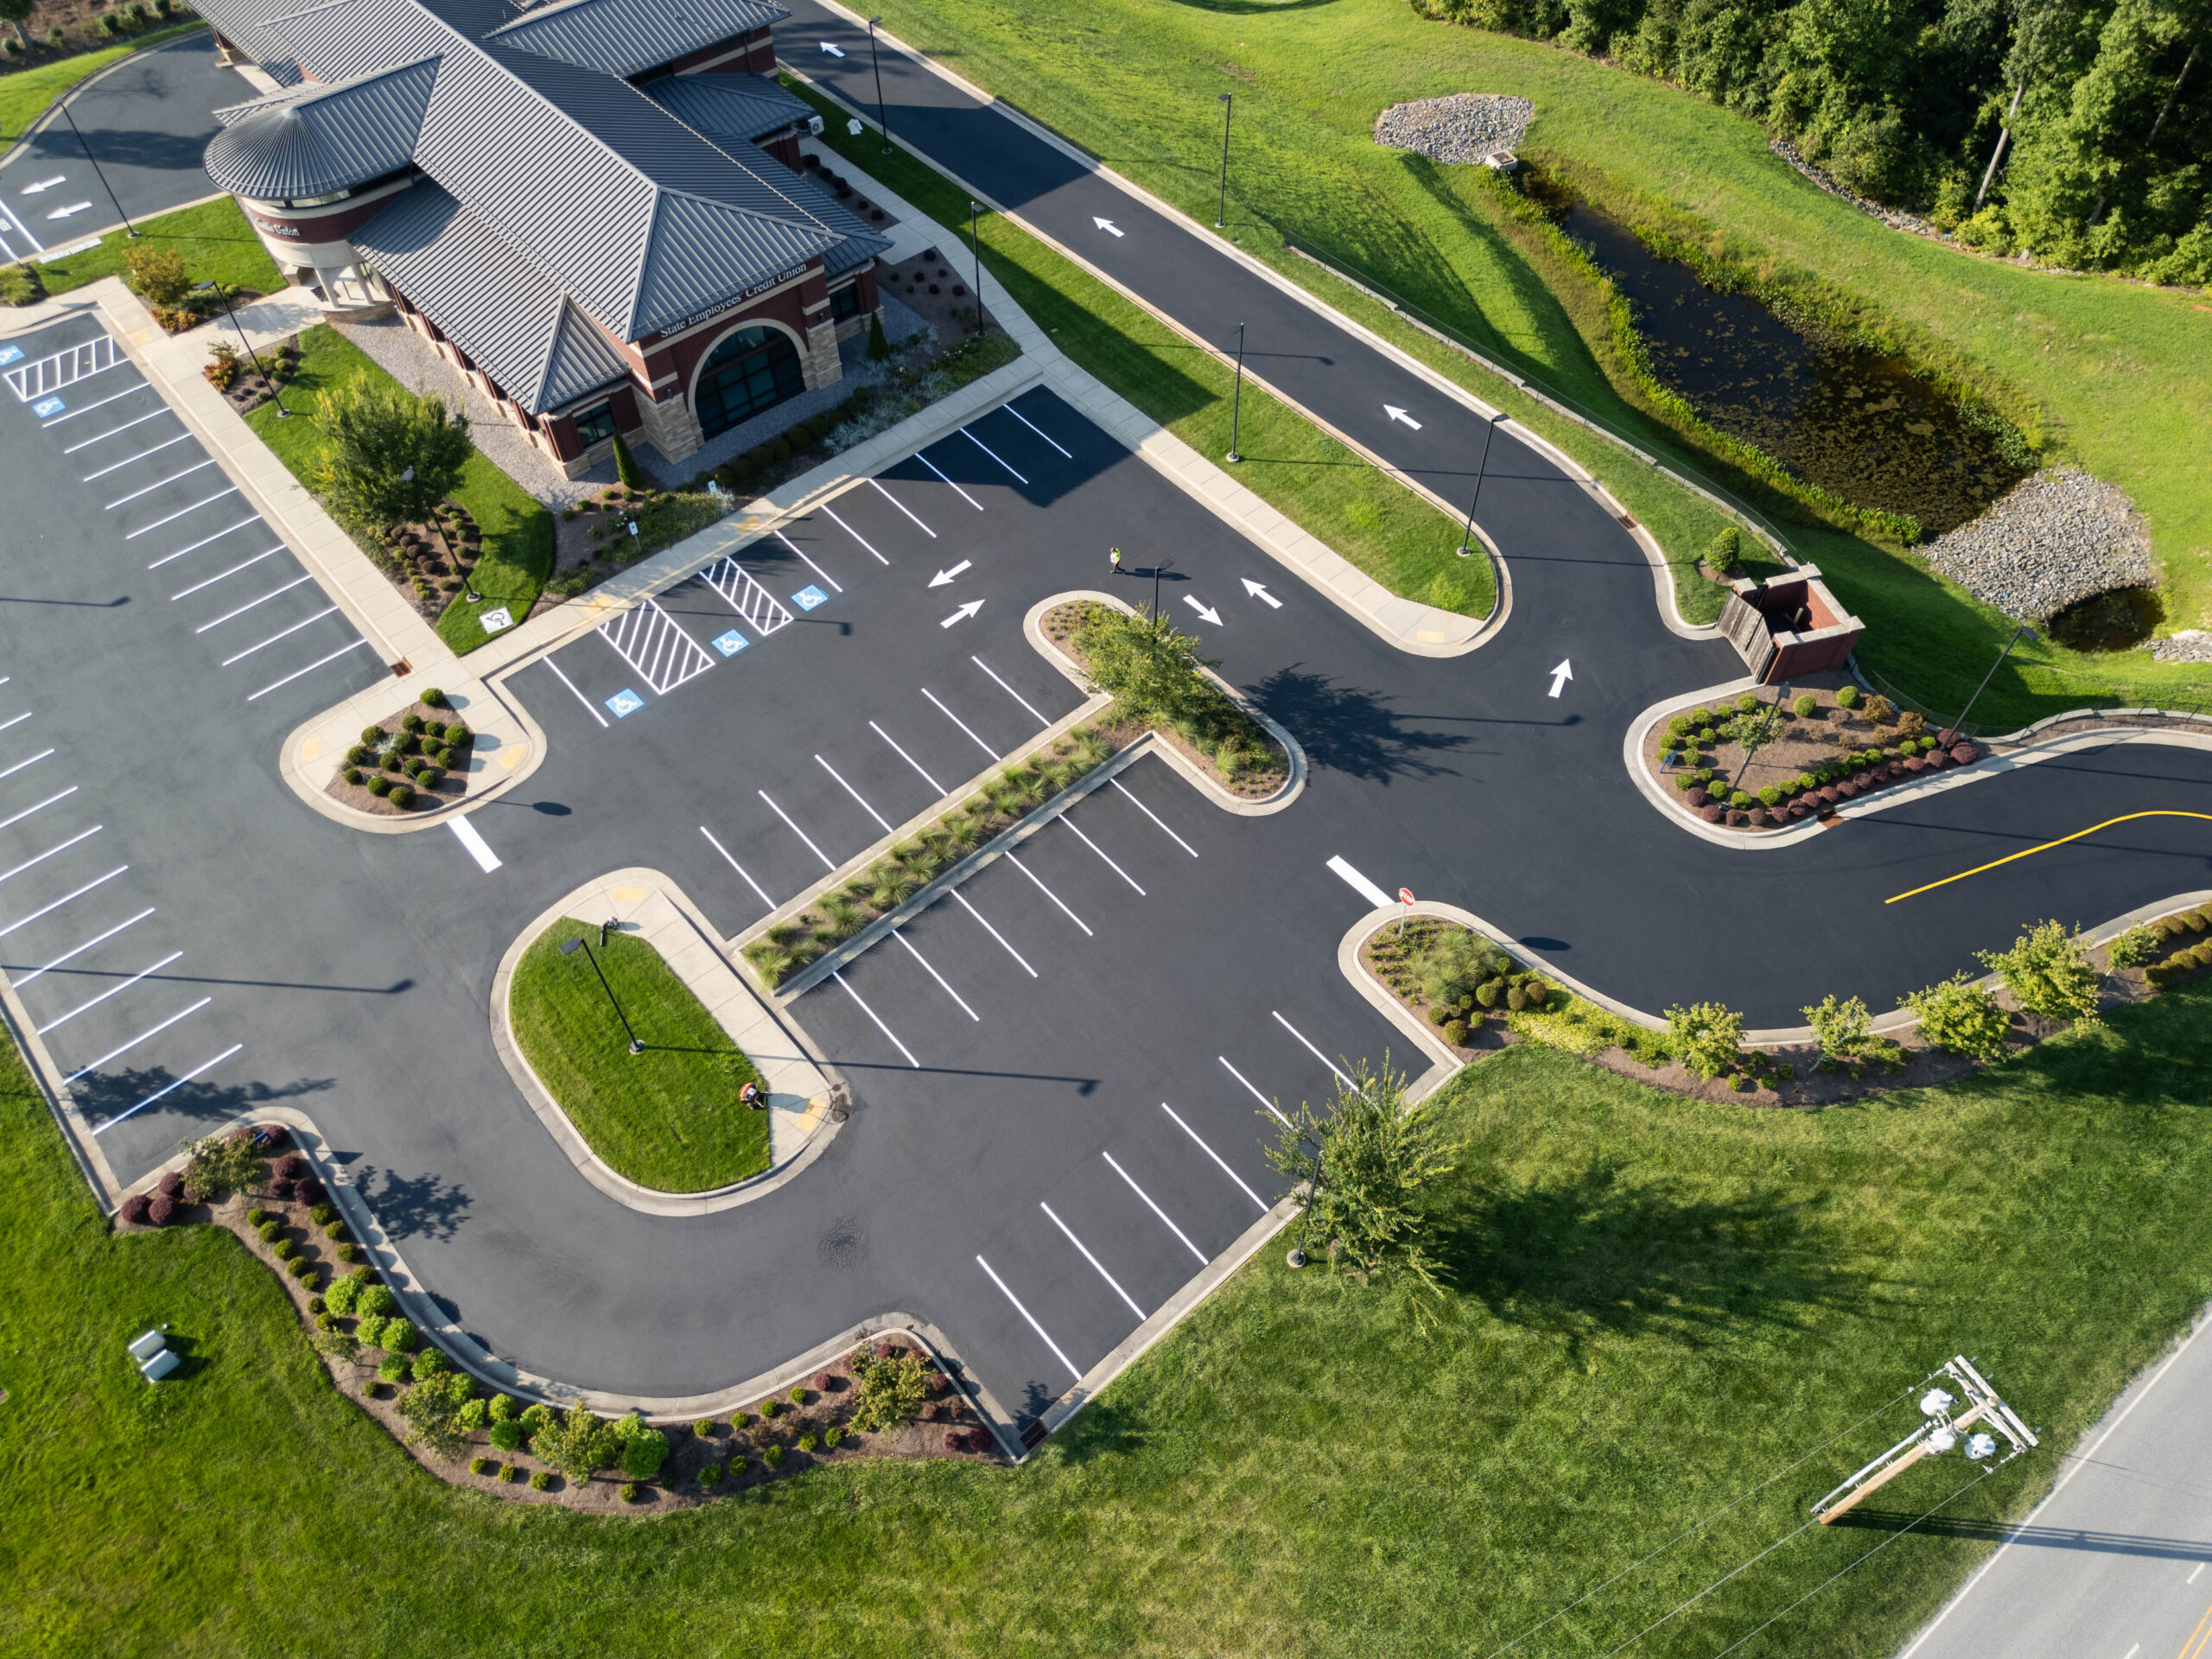
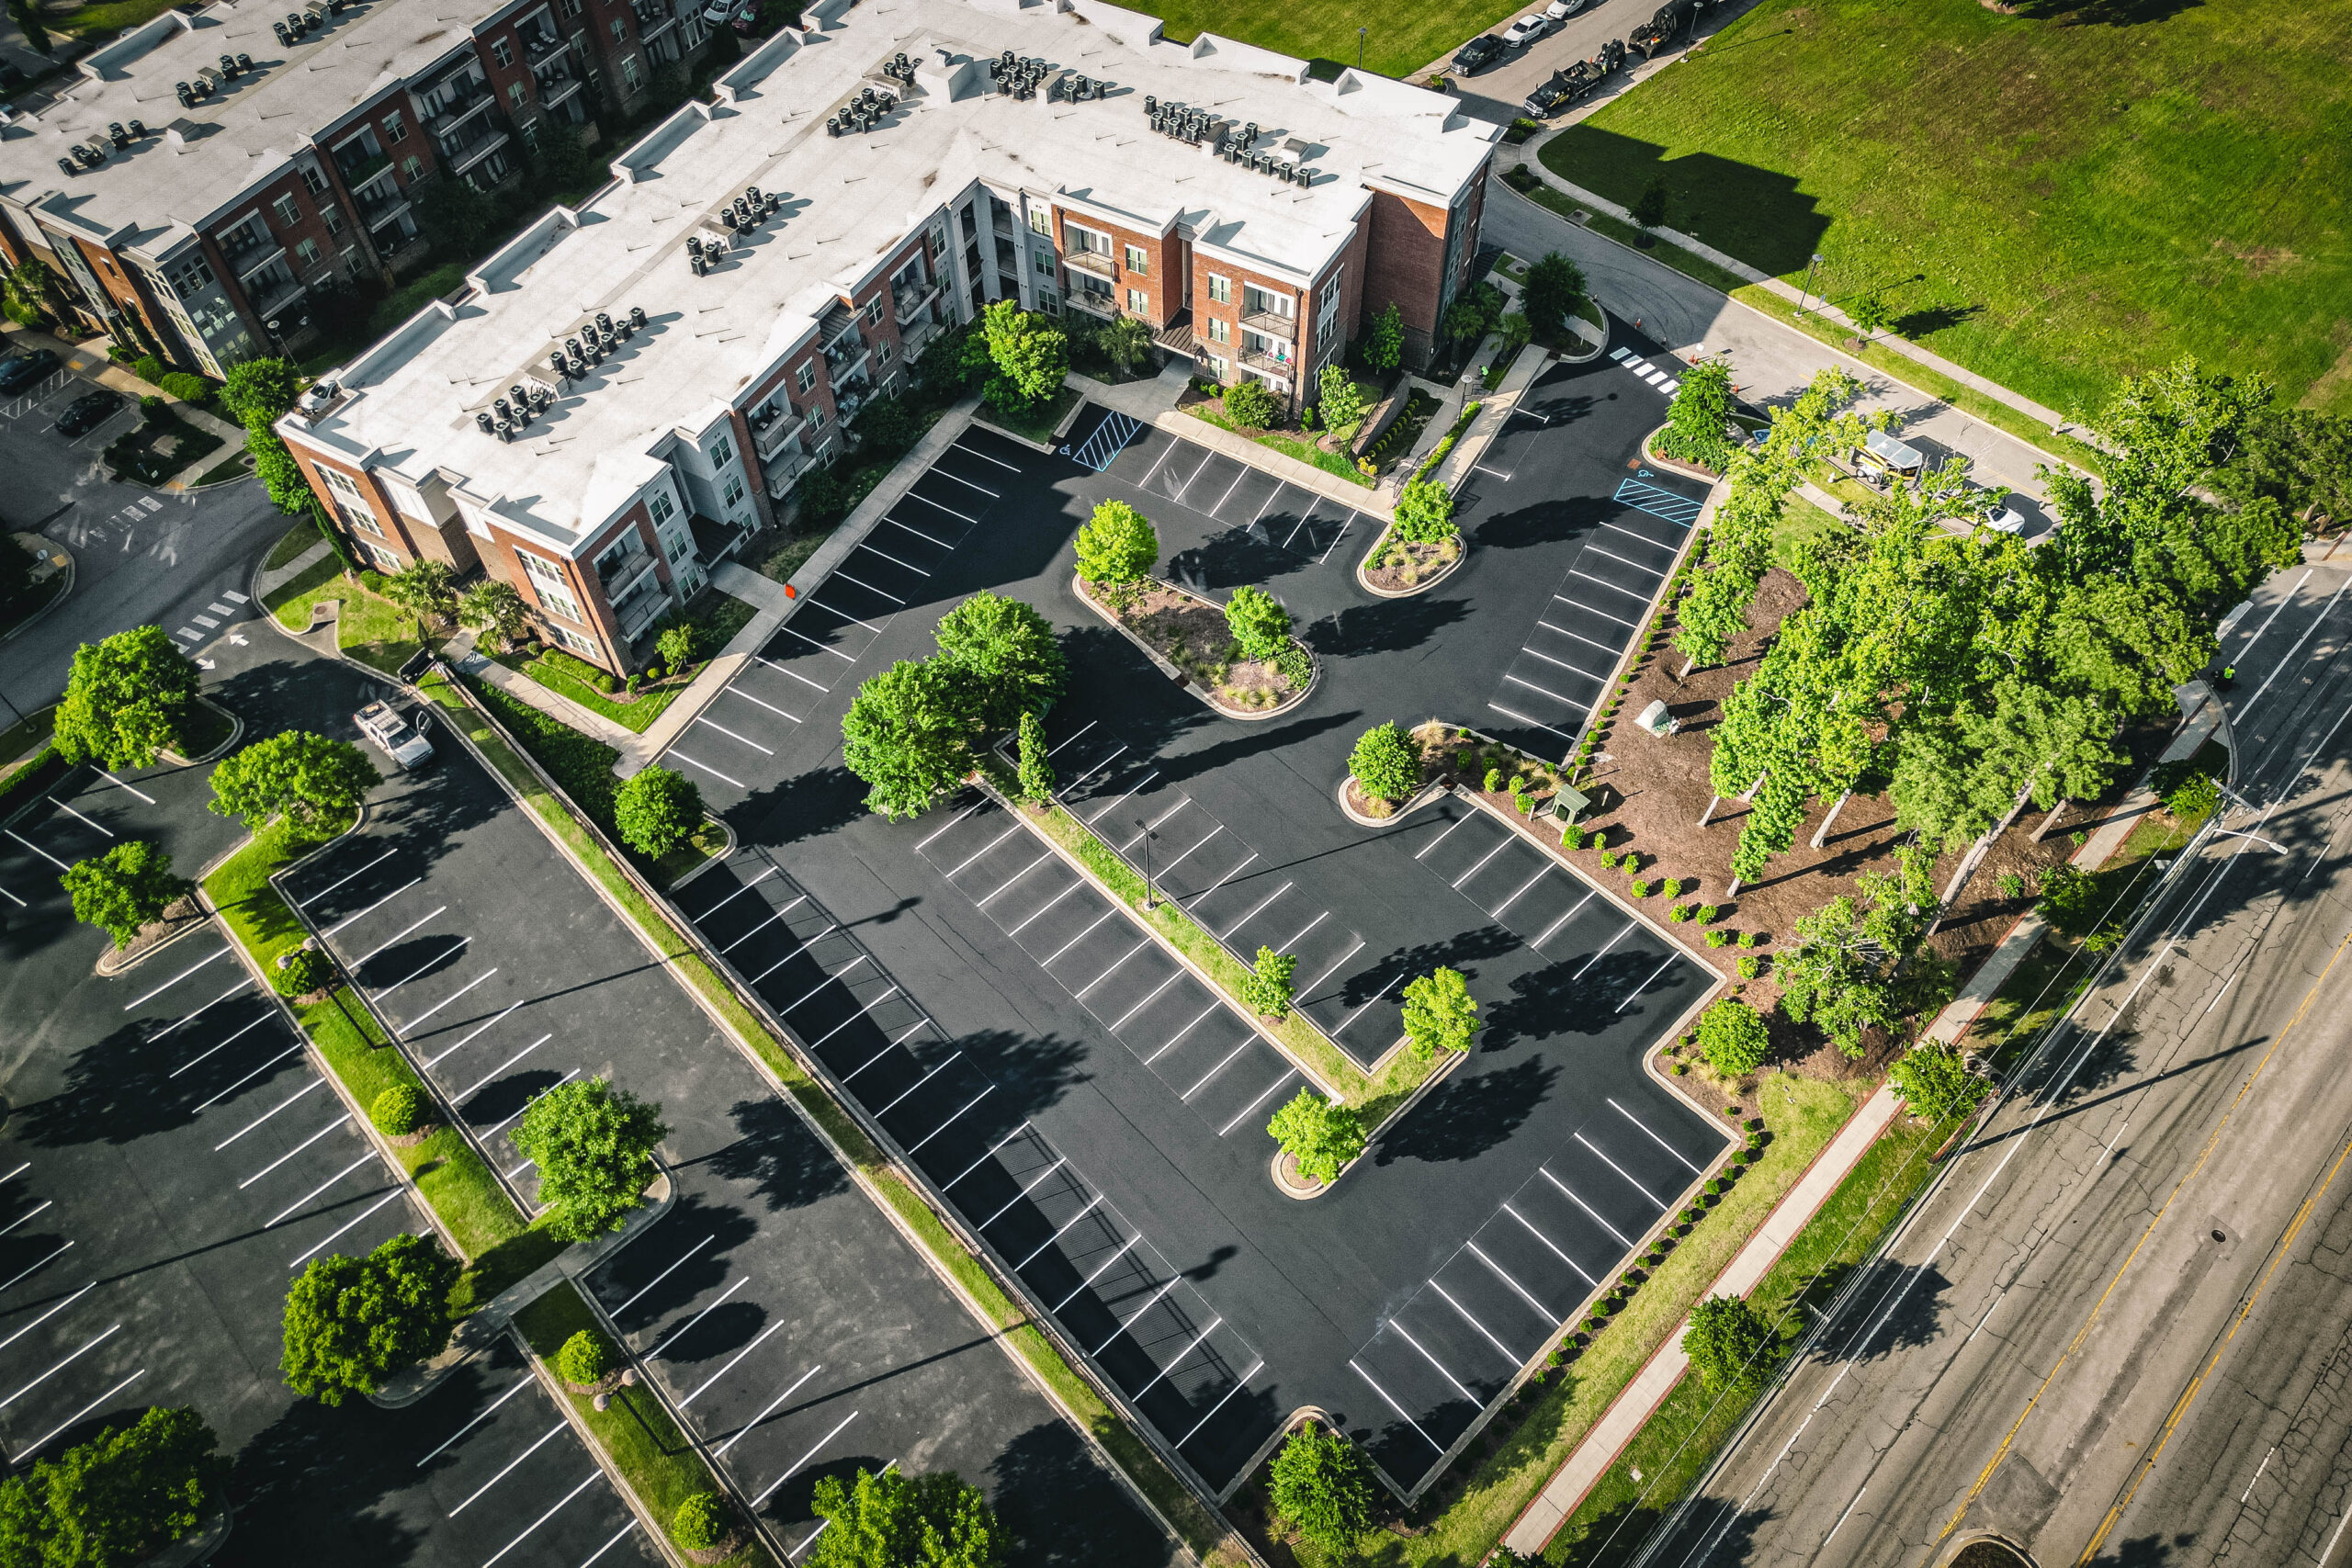
At one Charlotte apartment community, residents frequently crossed the main drive aisle between the leasing office and a central pool area. Drivers would often speed along this straight section, and residents reported several near misses, particularly in the evenings. After a site walk with the property manager, we recommended adding a painted refuge area at the midpoint of the crossing, with clear crosswalk lines and hatching. Since the installation, residents use the designated crossing and have a safe place to pause if traffic is approaching—feedback from both residents and management has been very positive, and traffic speeds have become more controlled in that section of the lot.
That’s the message we always convey to property managers during our site visits: a crossing without a protected pause point leaves the occupants of that property at risk, and a few well-placed stripes can solve that problem. We go on to explain below how we determine where refuge areas are appropriate, how we measure them, and how we ensure the markings will last.
Define the Refuge Before You Draw It
A pedestrian refuge is a striped area that provides people with a safe place to stand between two lanes of traffic. On an apartment site, we build it with painted lines, since raised curbs would catch the sweepers and plows. It’s in the middle of the crossing with crosswalk lines on either side and hatching in the center. Drivers interpret the hatching as a no-drive area, and pedestrians see it as a place to wait.
This matters because many crossings already have a crosswalk with no refuge at all. A plain crosswalk tells the driver where the pedestrian might cross but gives the pedestrian no refuge. We add the refuge when the crossing is long enough, busy enough, or difficult enough to see that a one-step crossing would be unsafe.
Match the Refuge to the Part of the Lot
Apartment communities have different crossing zones, and each requires separate treatment. We assess each zone in isolation and then bring the results together to produce one plan.
| Lot Location | Typical Problem | Refuge Approach We Use |
| Main entrance drive | Wide, two-way traffic and fast approach speeds | Center refuge with long hatching and an advance stop bar |
| Mailbox cluster | Residents cross with arms full and eyes on mail | Refuge on the side nearest the kiosk, with parking cleared back from the crossing |
| Trash corral | Residents cross at odd angles and in low light | Short refuge aligned with the walking path |
| Pool and clubhouse entry | Children and guests cross between parked cars | Wide refuge with extra hatching and a clear sight buffer |
| Long straight aisle between buildings | Drivers build speed with no visual break | Mid-aisle refuge that narrows the visual width of the lane |
Long straight aisles definitely warrant a look. Drivers will accelerate when they see an open lane, so a mid-block refuge serves two purposes: it protects pedestrians and slows traffic by altering the perceived width of the lane. We tend to put one in the middle of a row of buildings where foot traffic will cross.
Walk the Lot at Night Before You Mark It
The vast majority of property managers will do their lot inspections during the day. The residents, however, cross after work and after dark. We therefore ask the property manager to join us for a night walk before finalizing any layout. The night walk usually takes about 30 to 45 minutes depending on the size of the property, and we recommend that managers have a flashlight handy and note any areas they already have concerns about. This walk is critical to seeing where the light poles leave gaps, where shrubs will hide a crossing, and where headlights will glare into drivers’ eyes. We record all of those locations and then adjust the refuge position or marking size accordingly.
We also look at driver behavior. If vehicles approach the crossing faster than expected or stop on the crossing rather than before it, we adjust the stop bar and hatch length. A marking that works in the day and simply vanishes at night fails the people it’s meant to serve.
Use Exact Measurements for Every Element
Private property doesn’t get the same enforcement as public roads, though we use the national guidance as our starting point, as drivers will be familiar with it. The MUTCD guidance specifies a minimum gap of 6 feet between transverse crosswalk lines, and municipal summaries of the manual (e.g., this page on crosswalk line width) will have solid white lines ranging from 6 to 24 inches wide. Public agency pedestrian crossing guidance based on FHWA recommendations specifies a minimum refuge width of 4 feet and prefers 6 feet.
The table below sets out how we apply those references to apartment properties.
| Element | Our Measurement | Reason |
| Crosswalk lines | White, 6 to 12 inches wide, at least 6 feet apart | Marks the walking path clearly |
| Refuge width | 6 feet preferred, 4 feet minimum | Gives walkers, strollers, and wheelchairs room |
| Perimeter outline | Solid line, 4 to 6 inches wide | Defines the protected zone |
| Hatching | 45-degree lines, about 2 feet apart | Signals a no-drive area |
| Stop bar | About 4 feet before the crosswalk | Keeps cars off the crossing |
| Clear sight buffer | One stall width (about 9 feet) free of parked vehicles | Lets drivers see pedestrians early |
We check those figures on site before we do anything else. A tight aisle may force us to use the minimum refuge width, and a wide entrance may allow a longer hatch zone. Either way, we measure twice and mark once.
Keep the Refuge Accessible
Refuge areas will often connect to routes used by people using wheelchairs, walkers, and strollers. The 2010 ADA Standards require accessible routes to be at least 36 inches wide and to have a cross slope no steeper than 1:48. We check both measurements before painting. We also ensure that there is no thick material on the curb ramps and detectable warning surfaces, as the thick thermoplastic can alter the texture or edge of those features.
A refuge must have a direct link to the sidewalk or ramp on either end. If a parked car or landscaping bed blocks that link, the pedestrian steps back into the aisle, and the marking has no purpose. Where there’s a conflict, we’ll either move the marking or recommend removing a stall, and we’ll explain why so you can make your own decision.
Choose a Material That Fits the Crossing
Material choice affects both visibility and lifespan. Traffic paint is the cheapest and works well on lower-traffic aisles, but it wears through quickly at entrances where vehicles turn and brake. Thermoplastic lasts longer on high-traffic crossings because it forms a thicker layer, although it requires a clean, dry surface and is more expensive. Preformed tape is appropriate for the smaller crossings where you do need a consistent thickness. With whatever material we use, we incorporate retroreflective glass beads so the lines glow in headlights, which matters in areas where people walk home at night.
Prepare the Pavement for Carolina Conditions
Carolina conditions dictate how we prepare a surface. Yellow pine pollen blankets the pavement in Charlotte, Raleigh, Durham, and Greenville each spring, and paint won’t bond to a dusty surface. We sweep, blow, and wash the area until it’s clean. Piedmont red clay tracked in by construction vehicles is the same problem, so we remove that too. Coastal humidity in Wilmington, Charleston, and Myrtle Beach slows drying, so we check the forecast and apply only when the pavement is dry. Fall is often the best time of year across the Carolinas with stable temperatures and lower humidity.
We also sequence the work. We finish crack sealing, patching, and sealcoating first and apply the refuge markings last so they sit on a finished surface and stay sharp longer.
Install the Marking With a Clear Layout Process
We start off by chalking every edge and checking all the measurements against the plan. We then mask the hatching, spray the perimeter and crosswalk lines, and drop the beads whilst the material is still wet. We always check the final result from both a driver’s and a pedestrian’s point of view, as a marking that looks perfectly fine from the air can be completely confusing at eye level. If a line will crowd a stall or cross a drain, we’ll rectify it before the material sets.
Give Your Residents a Safer Crossing
A well-marked refuge will protect residents, strengthen your property’s image, and show prospective tenants that you take safety seriously. ProLine will plan, specify, and install refuge markings to suit your property’s exact layout and climate. Get in touch to arrange a site walk, and we’ll map your crossings and recommend the appropriate solution. Property managers looking to reconfigure their stalls can start with our guide to parallel parking striping and our post on angled parking striping.
Keep Pedestrian Refuge Areas Clearly Marked and Easy to Identify
Pedestrian refuge areas should give residents and visitors a clearly designated place to pause while navigating busy apartment parking lots. At ProLine Parking Lot Maintenance, we provide professional pavement striping and marking solutions to help multifamily communities establish visible pedestrian zones, improve traffic organization, and reduce confusion between drivers and pedestrians. Contact us to discuss your property’s parking lot marking needs.
Contact UsFrequently Asked Questions
How many parking spaces will we lose when we add a refuge area?
Most refuge areas will remove between zero and two spaces (depending on where the crossing is and how much clear space it requires). If it’s in a drive aisle or in a gap between the stall rows, we’ll typically remove zero spaces. If the sight buffer intrudes into a row of parked cars, we’ll usually remove the stall adjacent to the crossing and occasionally the one after that. We’ll count the spaces during the site walk and show you precisely what the trade-off is so you can compare the lost parking against the safety gain. Many managers find the improved resident safety worth the small loss of capacity.
Does a marked refuge area reduce our liability exposure?
A marked refuge will help demonstrate that you’ve taken reasonable steps to protect pedestrians, but it won’t absolve you of liability. Courts and insurers will look at the totality of the situation, including lighting, maintenance, signage, and your response to any complaints. We’d recommend keeping dated photos of the markings, a record of each inspection, and copies of your work orders. We’d also recommend speaking to your insurer or your lawyer about how the pavement markings fit into your risk profile. We’re not lawyers, but we can provide documentation to support your records.
How do we remove old markings that conflict with a new refuge area?
We remove the conflicting stripes before applying the new ones, as ghost lines are very confusing to drivers at night. The method of removing the old paint and thermoplastic depends on the substrate, and we use grinding, high-pressure water, or blasting to strip it off without damaging the asphalt. We won’t paint over the old lines with black paint, as that black paint will fade and the original line will reappear under the headlights. We clean the surface, let it dry, and then lay out the new markings from a fresh chalk plan. That extra step adds cost and time, but it prevents the mixed messages that lead to near misses.
How do hurricanes and heavy storms affect pavement markings in the Carolinas?
Heavy rain, standing water, and debris from a storm can all affect markings (they can dull them or lift them). After a major weather event, we will inspect the refuge areas for peeling, fading, or loose material and check that the drainage is still working. Coastal properties in the Wilmington, Charleston, and Myrtle Beach areas will have more salt, sand, and moisture exposure, so they will require more frequent checks. We will schedule repairs once the pavement has dried, and we will pressure wash the surface before applying the new material so it bonds properly. A quick post-storm check will often catch a small failure before it spreads.
Can we phase the work so residents keep access to parking?
Yes, we do phase the refuge marking to keep the disruption as low as possible. We split the lot up into sections, close one section at a time, and mark the crossings in a phased sequence. Residents are given notice in advance, and we have cones and barriers in place to keep the cars out of the wet. We tend to work during mid-morning, when fewer residents are leaving or returning, and we coordinate with your management team. A good plan allows us to get the job done without anyone having to park off-site.
Does ProLine mark pedestrian refuge areas for properties outside the Carolinas?
We work on apartment communities, HOAs, and commercial properties across the country, and we tailor each project to the local climate, codes, and traffic. A property in the Southwest will have very different heat and material issues than a property in the Midwest, and we plan accordingly. We can also assist owners with multiple properties to achieve a consistent marking standard across their portfolio. Send us your location, a site plan or photos, and the crossings you’re concerned about, and we’ll tell you what a safe, durable layout would look like.