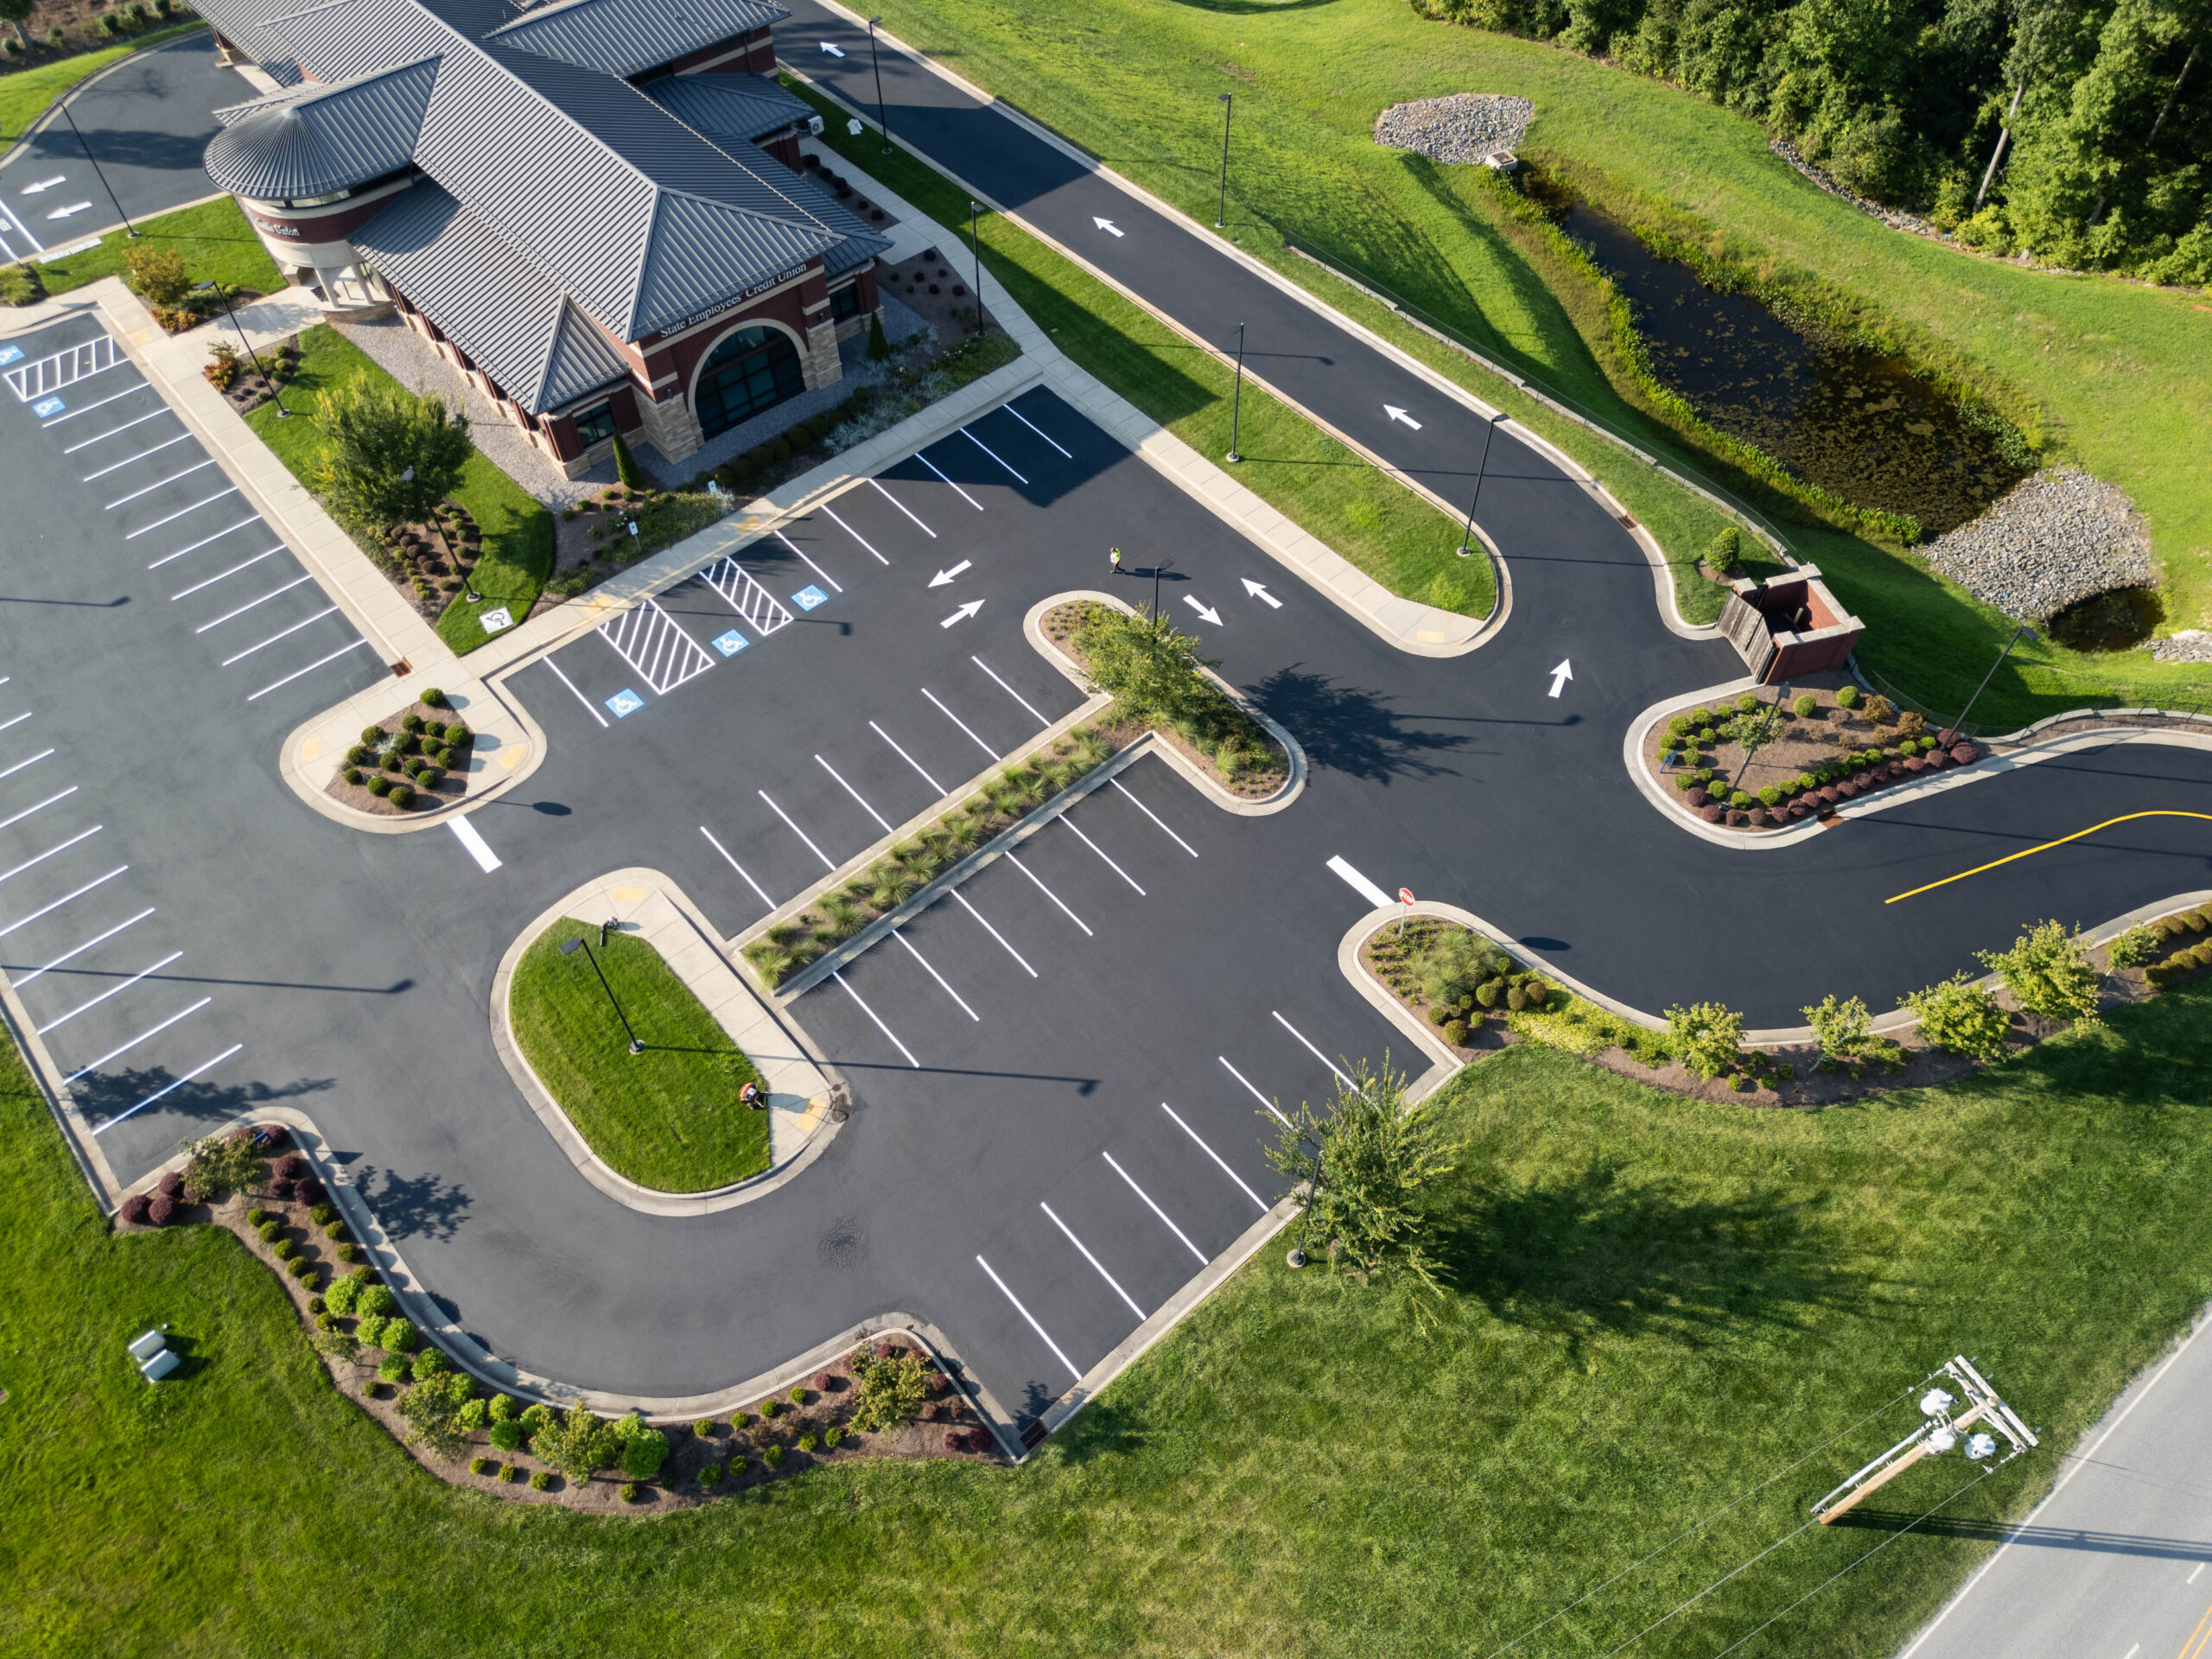
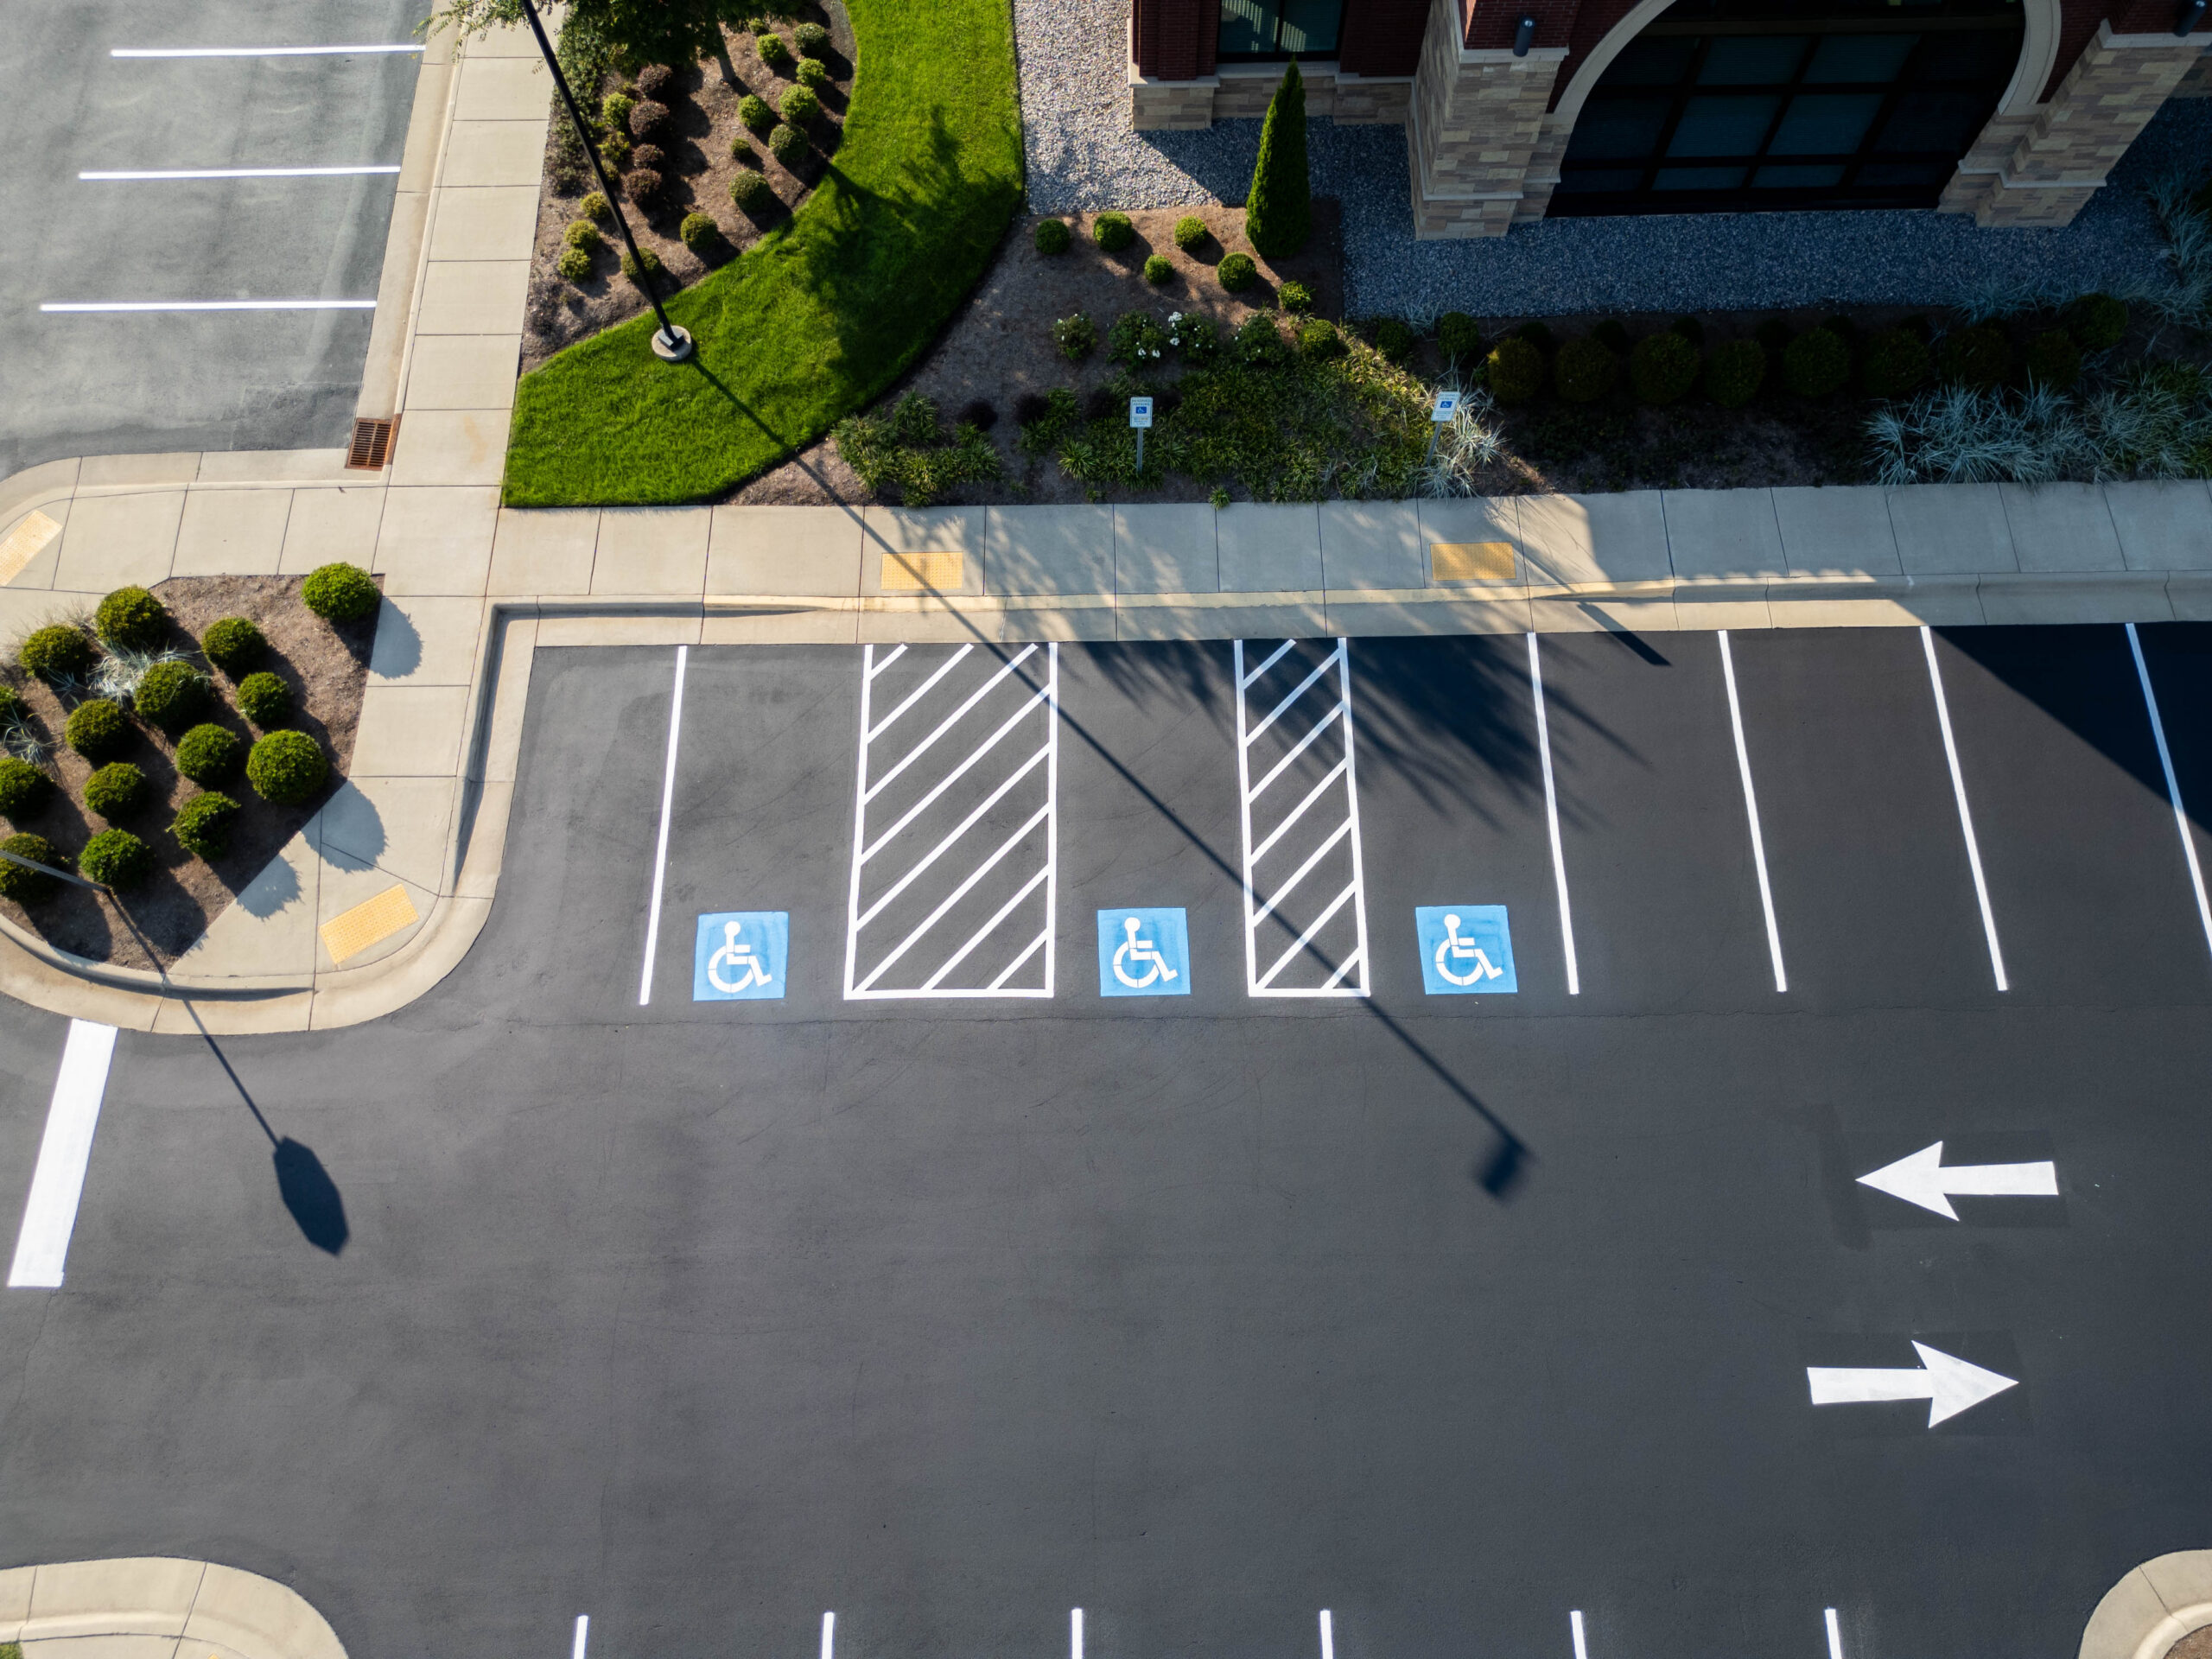
The Town of Indian Trail, NC, has a 24-foot aisle for the 90-degree stalls and only a 12-foot one-way aisle for the 45-degree stalls. That 12-foot aisle is the reason so many property managers in Charlotte, Raleigh, Greenville, and Columbia come to us and ask us to stripe the angled stalls along the very tight frontages we have, the retention ponds, and the older one-way loops. We’re ProLine Parking Lot Maintenance. We stripe multi-family communities all over North and South Carolina, and we serve property owners throughout the country. This guide will walk you through how we plan, measure, and paint the angled stalls so your residents can park easily and your lot remains compliant.
Quick Overview
- Angled stalls save on aisle width rather than stall count, so you want to pick them on the basis of flow and fit.
- Pick 45 for the tightest strips and 60 for the easier turn-in.
- Set one-way travel and arrows in before we paint a single stall line.
- Expect painted lines approximately 27 feet long at 45 degrees and 23 feet long at 60 degrees.
- Give every angled accessible stall its own access aisle on the passenger side.
- Keep fire lanes separate, as a one-way angled aisle is unlikely to meet the fire access width.
Why Angled Striping Fits Multifamily Properties
We tell every property manager the same thing at the outset: angled stalls don’t generally deliver any extra parking. The Indian Trail data shows a 90-degree row will get you approximately 11 stalls per 100 feet, a 60-degree row about 9 or 10, and a 45-degree row about 8. What angled striping does provide is a narrower aisle, a much easier turn-in for a resident with groceries or a stroller, and a layout that has every car going the same way. That is a very real benefit on long, thin strips of pavement alongside buildings, along the drainage, and in older communities where the original asphalt simply didn’t match a modern 24-foot module.
Choose the Angle Before Any Paint Touches Pavement
The angle controls all the other numbers on the lot, so we start with that. A 45-degree layout will fit in the tightest space and gives you a 12-foot aisle. A 60-degree layout will give the SUVs and pickups a much more gradual turn-in but requires a wider aisle, and we don’t use 75 degrees very much at the apartments as the aisle width starts to get into the 90-degree range. Local codes will vary so we look at the stall schedule from Indian Trail and compare it to the Rolesville parking standards which call for 14 feet at 45 degrees and 18 feet at 60 degrees for one-way travel.
| Parking Angle | Width Along Aisle | Depth From Curb | One-Way Aisle (Indian Trail) | One-Way Aisle (Rolesville) | Double-Loaded Module | Stalls per 100 ft of Row | Painted Line Length |
| 45 degrees | 12.7 ft | 19.1 ft | 12 ft | 14 ft | 49.2 ft | About 8 | About 27 ft |
| 60 degrees | 10.4 ft | 20.1 ft | 14.5 ft | 18 ft | 57 ft | About 9 to 10 | About 23 ft |
| 90 degrees | 9 ft | 18 ft | 24 ft (two-way) | 24 ft (two-way) | 60 ft | About 11 | 18 ft |
The two towns differ by 2 to 3.5 feet on the one-way aisle, which can make it unclear which code to follow. The best approach is to start with your approved site plan and compare it to the current local code in your city or county. Most communities post their parking standards online, or you can reach out directly to your local planning or zoning department for guidance. If you are unsure who to contact, the local city hall or building department is a good place to start. We make sure to check the exact figures with the jurisdiction before we go and mark the first stall, so your lot will meet all the applicable requirements.
Set the Direction of Travel First
An angled stall only works if every driver is coming in with the nose of their vehicle pointing in the direction that the stall opens. If they come in from the wrong direction, the turn becomes a very sharp swing across the aisle, and that’s where the mirrors and bumpers get clipped. We therefore stripe the circulation pattern prior to the stalls. Each aisle entrance has a directional arrow, and each exit has a stenciled “DO NOT ENTER” or “ONE WAY” message so that the residents don’t mistake an exit for an entrance. We follow the arrow and symbol layouts in MUTCD Part 3 markings as the residents will be familiar with those from the public roads.
We also have every row on one side of an aisle all pointing in the same direction. Rolesville’s code has a useful caveat in this respect: when a designer has the stalls on either side of a travel lane angled in opposite directions, the travel lane becomes 24 feet. If your aisle is 12 to 14 feet, you won’t be able to fit opposing angles, and we’ll tell you that before we quote the job.
Layout and Line Work, Step by Step
Angled layouts fail when the crews are just eyeballing the angle. We start by snapping a baseline parallel to the curb/aisle edge and then measure the stall spacing along that baseline. At 45 degrees, we step off 12.7 feet between lines, and at 60 degrees we step off 10.4 feet. A fixed angle template or laser is used to hold each line at the correct angle so that row 20 is exactly the same as row 1.
The vast majority of the residents don’t appreciate that the painted line extends well beyond the depth of the stall. A 45-degree stall requires 19.1 feet of depth and a line of approximately 27 feet. A 60-degree stall requires 20.1 feet of depth and a line of about 23 feet. That’s the reason why angled striping uses more paint than a 90-degree lot of the same size, and that’s why we measure line footage prior to putting a schedule together.
| Marking | Where We Place It | Specification We Follow |
| Stall lines | Along each row at the measured spacing | White, typically 4 inches wide, at the chosen angle |
| Directional arrows | Each aisle entrance and mid-aisle on long runs | MUTCD arrow shapes, centered in the lane |
| ONE WAY and DO NOT ENTER stencils | Aisle exits and entrances | Large legends placed where drivers see them early |
| End-cap hatching | Wedge where a row meets a drive lane | Diagonal white lines to keep the wedge clear |
| Accessible symbol and aisle | Angled accessible stalls | Symbol in the stall, hatched aisle on the passenger side |
| Fire lane | Where the fire official requires it | Red curb or pavement marking per local code |
End Caps, Curb Lines, and Transitions
The ends of the rows are the source of more complaints than the stalls themselves. At the point where an angled row meets a main drive lane, there’s a triangular wedge of pavement that is too small to park in and too small to leave a car in. That wedge is striped with diagonal hatching to keep the cars out of the turning path. Where the row ends at a building, the depth of the stall is measured from the face of the curb or the wheel stop rather than from the edge of the pavement so that the front of the car doesn’t overhang onto the sidewalk. Where you have a 90-degree stall at the end of a row, you transition into it with one slightly widened stall so that the driver doesn’t clip the last angled line.
Accessible Stalls in an Angled Row
Accessibility rules change when you have tilted stalls, and a lot of the older striping work just doesn’t take that into account. The ADA parking requirements specify that in the case of angled van accessible spaces, the access aisle must be on the passenger side. They also state that two accessible spaces can share one access aisle except in the case of angled parking, where each angled accessible stall will require its own access aisle. Car spaces require an access aisle of at least 60″, and van spaces require either a 132″ stall with a 60″ access aisle or a 96″ stall with a 96″ access aisle. We position these stalls at the end of the row closest to the building entrance, connect each access aisle to a sidewalk ramp, and hatch the aisle so that no one can park in it.
Keep Fire Access Separate From Angled Aisles
A 12- to 14-foot one-way angled aisle serves the residents, not the fire trucks. That’s the requirement under the NC fire code as set out in this NC fire code review from the Office of State Fire Marshal. The code requires fire apparatus access roads to be at least 20 feet wide and unobstructed, and the fire official can require more. Most of the SC jurisdictions will have adopted similar language in the International Fire Code with local amendments. We therefore start with the fire route, stripe it red where the fire official requires it, and build the angled rows around it. If an angled row would cut into that 20-foot width, we will either shift the row or alter the angle rather than have a dispute with the fire marshal down the line.
Carolina Weather, Sealcoat, and Scheduling
Humidity, pollen, and the sudden afternoon storm are the three things that dictate our schedule throughout the Piedmont, the Upstate, and the Lowcountry. We pressure wash the paint off the pavement to remove the heavy spring pollen before we lay out the lines. If a lot also requires sealcoating, we stripe after the sealcoat has cured, and the cure time is dependent on temperature and humidity, so we check each lot rather than go by a set rule. We’ll also never paint when the pavement is damp, as the moisture will compromise the adhesion and reduce the life of the line.
Phasing the Work Around Residents
Residents still need a place to park whilst we’re working. We divide up the lot into sections, put up the notices prior to each phase, and then move the cars into the open areas. To keep everyone informed and minimize confusion, we recommend sending out a written notice to residents at least a week before work begins in their area, followed by reminder notices the day before each phase starts. Include clear dates, times, affected areas, alternative parking options, and contact information for questions. If your community uses email, text alerts, or a resident portal, we suggest using all available channels in addition to posting notices on doors and in common areas. Here is a sample notice you can customize:
“Notice of Parking Lot Restriping – Please Read
Dear Residents,
We will be restriping the parking lot in phases beginning [insert date]. Please move your vehicles from the designated section by [insert time], and park in the overflow areas or other open sections as directed. Signs will be posted to guide you. If you have any questions or need assistance, contact [insert property manager contact]. Thank you for your cooperation as we improve our community parking.”
Where a community has a gravel or grass lot, our guide to overflow parking areas will tell you how that space is marked so it can take the displaced cars. Where the existing aisles are very tight, our guide to narrow drive aisles will show you how a one-way conversion will keep the traffic flowing and the corners clear.
Why Property Managers Choose ProLine
Angled striping penalizes poor measurement, and the residents will see every single crooked line. We bring a repeatable layout process, code-compliant planning, and clean finished lines to communities from Charlotte and Raleigh through to Charleston and Myrtle Beach, and we apply the same methodology to all of our multifamily projects throughout the country. If your angled stalls are all crooked, your arrows have all gone, and you’re looking at a very tight 90-degree lot, we’ll start with a free site assessment and provide you with your exact stall count, your exact aisle width, and a full scope of work.
Get Angled Parking Spaces Striped the Right Way
Properly marked angled parking spaces help apartment communities maintain organized parking layouts, improve traffic flow, and make parking easier for residents. At ProLine Parking Lot Maintenance, we provide professional line striping solutions tailored to your multifamily property’s layout and parking needs.
Contact UsFrequently Asked Questions
Can we convert an existing 90-degree lot to angled stalls without repaving?
Yes, we can do the layout with striping in most cases, but the old lines have to go first. They’re removed by grinding or high-pressure water blasting, as the black paint will fade over time and leave ghost lines, which are a hazard to drivers in the rain and at night. Removal of the old lines adds labor and cost, so we’ll run a stall count prior to recommending the conversion. A conversion can at times result in a loss of a few stalls, and that is something that does matter when your leases are on a per-unit basis with a specific number of stalls. We’ll provide you with the before and after stall count in writing so you can make your decision on the basis of full information.
Do we need city or county approval before changing our parking layout?
Re-marking to conform with the approved site plan generally requires no approval at all. If you’re changing the angle or the stall count, however, that will trigger a review. A number of the Carolina towns have their own stall and aisle standards (Rolesville being a case in point), and a plan that falls below the required parking count can create a zoning issue. We’d recommend you get in touch with the local planning department prior to us starting, and we’ll assist by producing a dimension schedule which will show the proposed stalls, aisles, and accessible spaces. If a fire lane is in play, we’ll also have the fire marshal look at the layout. That’s a very small step to protect your community from a very expensive restripe down the line.
How do we keep residents from backing into angled stalls?
Backing into an angled stall is one of the most frequent problems we encounter, and it’s a genuine hazard. The reversing vehicle swings its back end into the oncoming lane, and the driver is effectively blind to traffic, which a head-in driver would have a full view of. We deal with this by having stenciled arrows at the aisle entrance, clear one-way legends, and signs that say HEAD-IN PARKING ONLY. A number of property managers will also include a brief line in the lease or a friendly notice at move-in, and that is far more effective than a threat of a tow. Where wheel stops are in place, we will paint the stall number on the face of the stop so the resident can see it as they pull in nose first.
How do we stripe angled stalls on curved drives or around retention ponds?
Curves require a different method, because parallel lines no longer sit the same distance apart. We hold the stall width at the curb line and let the stall taper slightly toward the aisle on the inside of a curve, which keeps each stall usable without crowding its neighbor. We measure along the curb arc instead of a straight baseline, then use a laser or string line to set each angle. Where the curve gets too tight for a full stall, we leave a hatched wedge unmarked instead of forcing a bad space. Many apartment communities around Raleigh and Greenville wrap parking around ponds and tree preserves, so we plan for these curves on a regular basis.
How long do angled markings last, and when should we recoat?
Standard traffic paint on the busy aisles will last one to two years; thermoplastic will typically last four to seven years. Angled stalls will wear the most at the stall mouth (where the tires turn and scrub the line), and the arrows and stencils at the entrance to the aisle will wear faster than the stall line itself. The strong Carolina sun and the frequent rain will also cause the paint to fade much quicker than many a manager would anticipate. We recommend an annual walk of the lot, and we link the recoat to your sealcoating cycle so you only pay for mobilization once. For the high-wear areas such as the ends of the aisles and the accessible symbols, thermoplastic will often pay for itself by the second cycle.
What should we send you before a site visit?
Just send us your site plan or CAD file, your approved parking count, and any stall list or unit map that you have. Photos of the existing striping, a note on any gated areas, and any fire lane plan will all help us to put together a more accurate scope. We’ll also need to know about move-in seasons, any major events, and quiet hours, as those all affect the schedule. As part of the free site assessment, we’ll measure each row and aisle, check the pavement and identify any code issues. You’ll then get a full proposal with stall counts, materials, and a work sequence that works for your community.