The 2010 ADA Standards limit the slope of an accessible parking space to 1:48 in every direction (approximately 2%). Rooftop parking decks are generally pitched at about 1/4″ per foot to get the rainwater towards the drains, and that’s also approximately 2%. These two figures often overlap on almost every apartment deck we stripe, which is why rooftop striping requires a bit more planning than a ground-level lot.
We’re the guys that stripe multifamily properties all over North and South Carolina (from the podium decks in the South End of Charlotte right through to the rooftop levels near the peninsula in Charleston). This article is going to look at how we deal with the surface, the layout and the weather so that your deck markings stay accurate and visible.
Quick Overview
- Rooftop decks use coated concrete, and the coating determines what paint we can use.
- Floor drains, expansion joints, and slope limits all affect the stall layout, more so than they do on a ground lot.
- Accessible stalls need a slope of 1:48 or less, and van routes need 98 inches of vertical clearance.
- Direct sun, afternoon storms, and coastal salt air all tend to shorten the life of deck paint in the Carolinas.
- We coordinate the striping with the waterproofing work to avoid damaging the membrane underneath.
Why Rooftop Decks Need a Different Striping Approach
A ground-level lot is on compacted stone and asphalt, and you can essentially mark it anywhere you like. A rooftop deck above the living area forms a roof over the apartments below. A deep scratch, a solvent spill, or a drilled anchor can compromise the waterproofing and let water into a resident’s ceiling. We treat every deck as a roof first and a parking surface second, which changes how we approach the paint, the tools, and the layout.
Rooftop decks also have no shade. The surface is exposed to the sun from sunrise to sunset, and the concrete underneath it absorbs the heat and radiates it out slowly. The paint on the deck is exposed to far more UV than the paint on a deck under a tree canopy or next to a building. When we’re planning striping on a Raleigh, Greenville, or Columbia property, we’ll select materials and schedules to account for that constant exposure.
Matching the Paint to the Deck Surface
We start every rooftop project by identifying the deck surface, because the wrong paint can soften a membrane or peel within months. The table below shows the surfaces we see most frequently and how we modify our approach for each. We always follow the coating manufacturer’s guidance and, where possible, test a small patch before committing to the full deck.
| Deck Surface | Preparation We Perform | Paint Approach | What We Watch For |
| Sealed bare concrete | Pressure wash and confirm the sealer has cured | Traffic paint approved for sealed concrete | New sealers can repel paint and cause peeling |
| Concrete with urethane traffic membrane | Sweep, wash, and follow the membrane maker’s cleaning steps | Paint the membrane manufacturer approves | Harsh solvents can soften the topcoat |
| Concrete with broadcast aggregate coating | Broom, blow, and vacuum loose grit | Heavy-bodied paint, often in two passes | Rough texture uses more paint and hides edge sharpness |
| Asphalt over a waterproofed podium | Sweep and verify the asphalt has completed its cure window | Standard traffic paint | Fresh asphalt oils can bleed through early coats |
We never grind, shot blast, or scarify a rooftop deck to improve paint adhesion, as those methods will remove coating thickness and expose the waterproofing. For warranty-safe prep, we stick with non-abrasive methods: thorough sweeping, non-caustic washing, and careful removal of loose debris, ensuring the surface is clean without damaging the membrane. We always use compatible products and avoid anything that could void your coating warranty. If you ever have a question, we recommend confirming cleaning and prep methods directly with your coating manufacturer or contractor. That is the way to protect your warranty and your residents’ ceilings.
Layout Rules Unique to Rooftop Decks
The deck layout uses pretty much the same stall dimensions you’d find on any apartment lot, but the structure imposes a number of constraints we have to work within. We start by locating every floor drain, then draw a keep-clear zone around each one, since a parked car over a drain can trap water and create a pond. We then mark each expansion joint and cut our stripes to terminate at the edge of the joint rather than cut across it. Any paint that bridges a moving joint will crack and peel within a season.
Slope drives the accessible stall layout. The Access Board parking guide has surface requirements for accessible spaces and access aisles, and a deck that slopes toward a drain can exceed the 1:48 limit if the crew puts a stall in the wrong spot. We check the slope with a digital level before painting, and we move the accessible stalls to the flattest area possible adjacent to the elevator or stair core. We also check that we have 98″ of vertical clearance along the van-accessible route, as rooftop access ramps and covered stair towers can create low points.
Other structural features are equally important. Column bases, light pole footings, and stair tower entries all take up width, so we create clear buffers around them rather than trying to fit stalls up against them. The table below summarizes the rooftop-specific layout checks we do before the first stripe goes down.
| Layout Check | Why It Matters on a Rooftop | What We Do |
| Floor drains | Parked cars can block drainage and cause ponding | Mark a keep-clear zone around every drain |
| Expansion joints | Moving joints crack paint that crosses them | Stop stripes at the joint edge |
| Accessible stall slope | Drainage pitch can exceed 1:48 | Measure with a digital level and relocate the stall if needed |
| Vertical clearance | Ramps and stair towers create low spots | Verify 98 inches on the van route |
| Columns and light bases | They narrow the usable stall width | Add buffer markings and adjust stall spacing |
| Ramp transitions | Steeper grades increase slip risk | Add anti-skid additive to the paint |
How We Stripe a Rooftop Deck Step by Step
We do all our rooftop work early in the day so the deck is dry and the temperature is moderate. We sweep the whole deck and blow out all debris from the corners and drain areas. We then measure the layout from fixed reference points (stair tower walls, column lines, etc.), since the deck plans don’t always match the actual as-built. We snap chalk lines for every stall, aisle, and arrow and confirm the layout with your property manager before spraying.
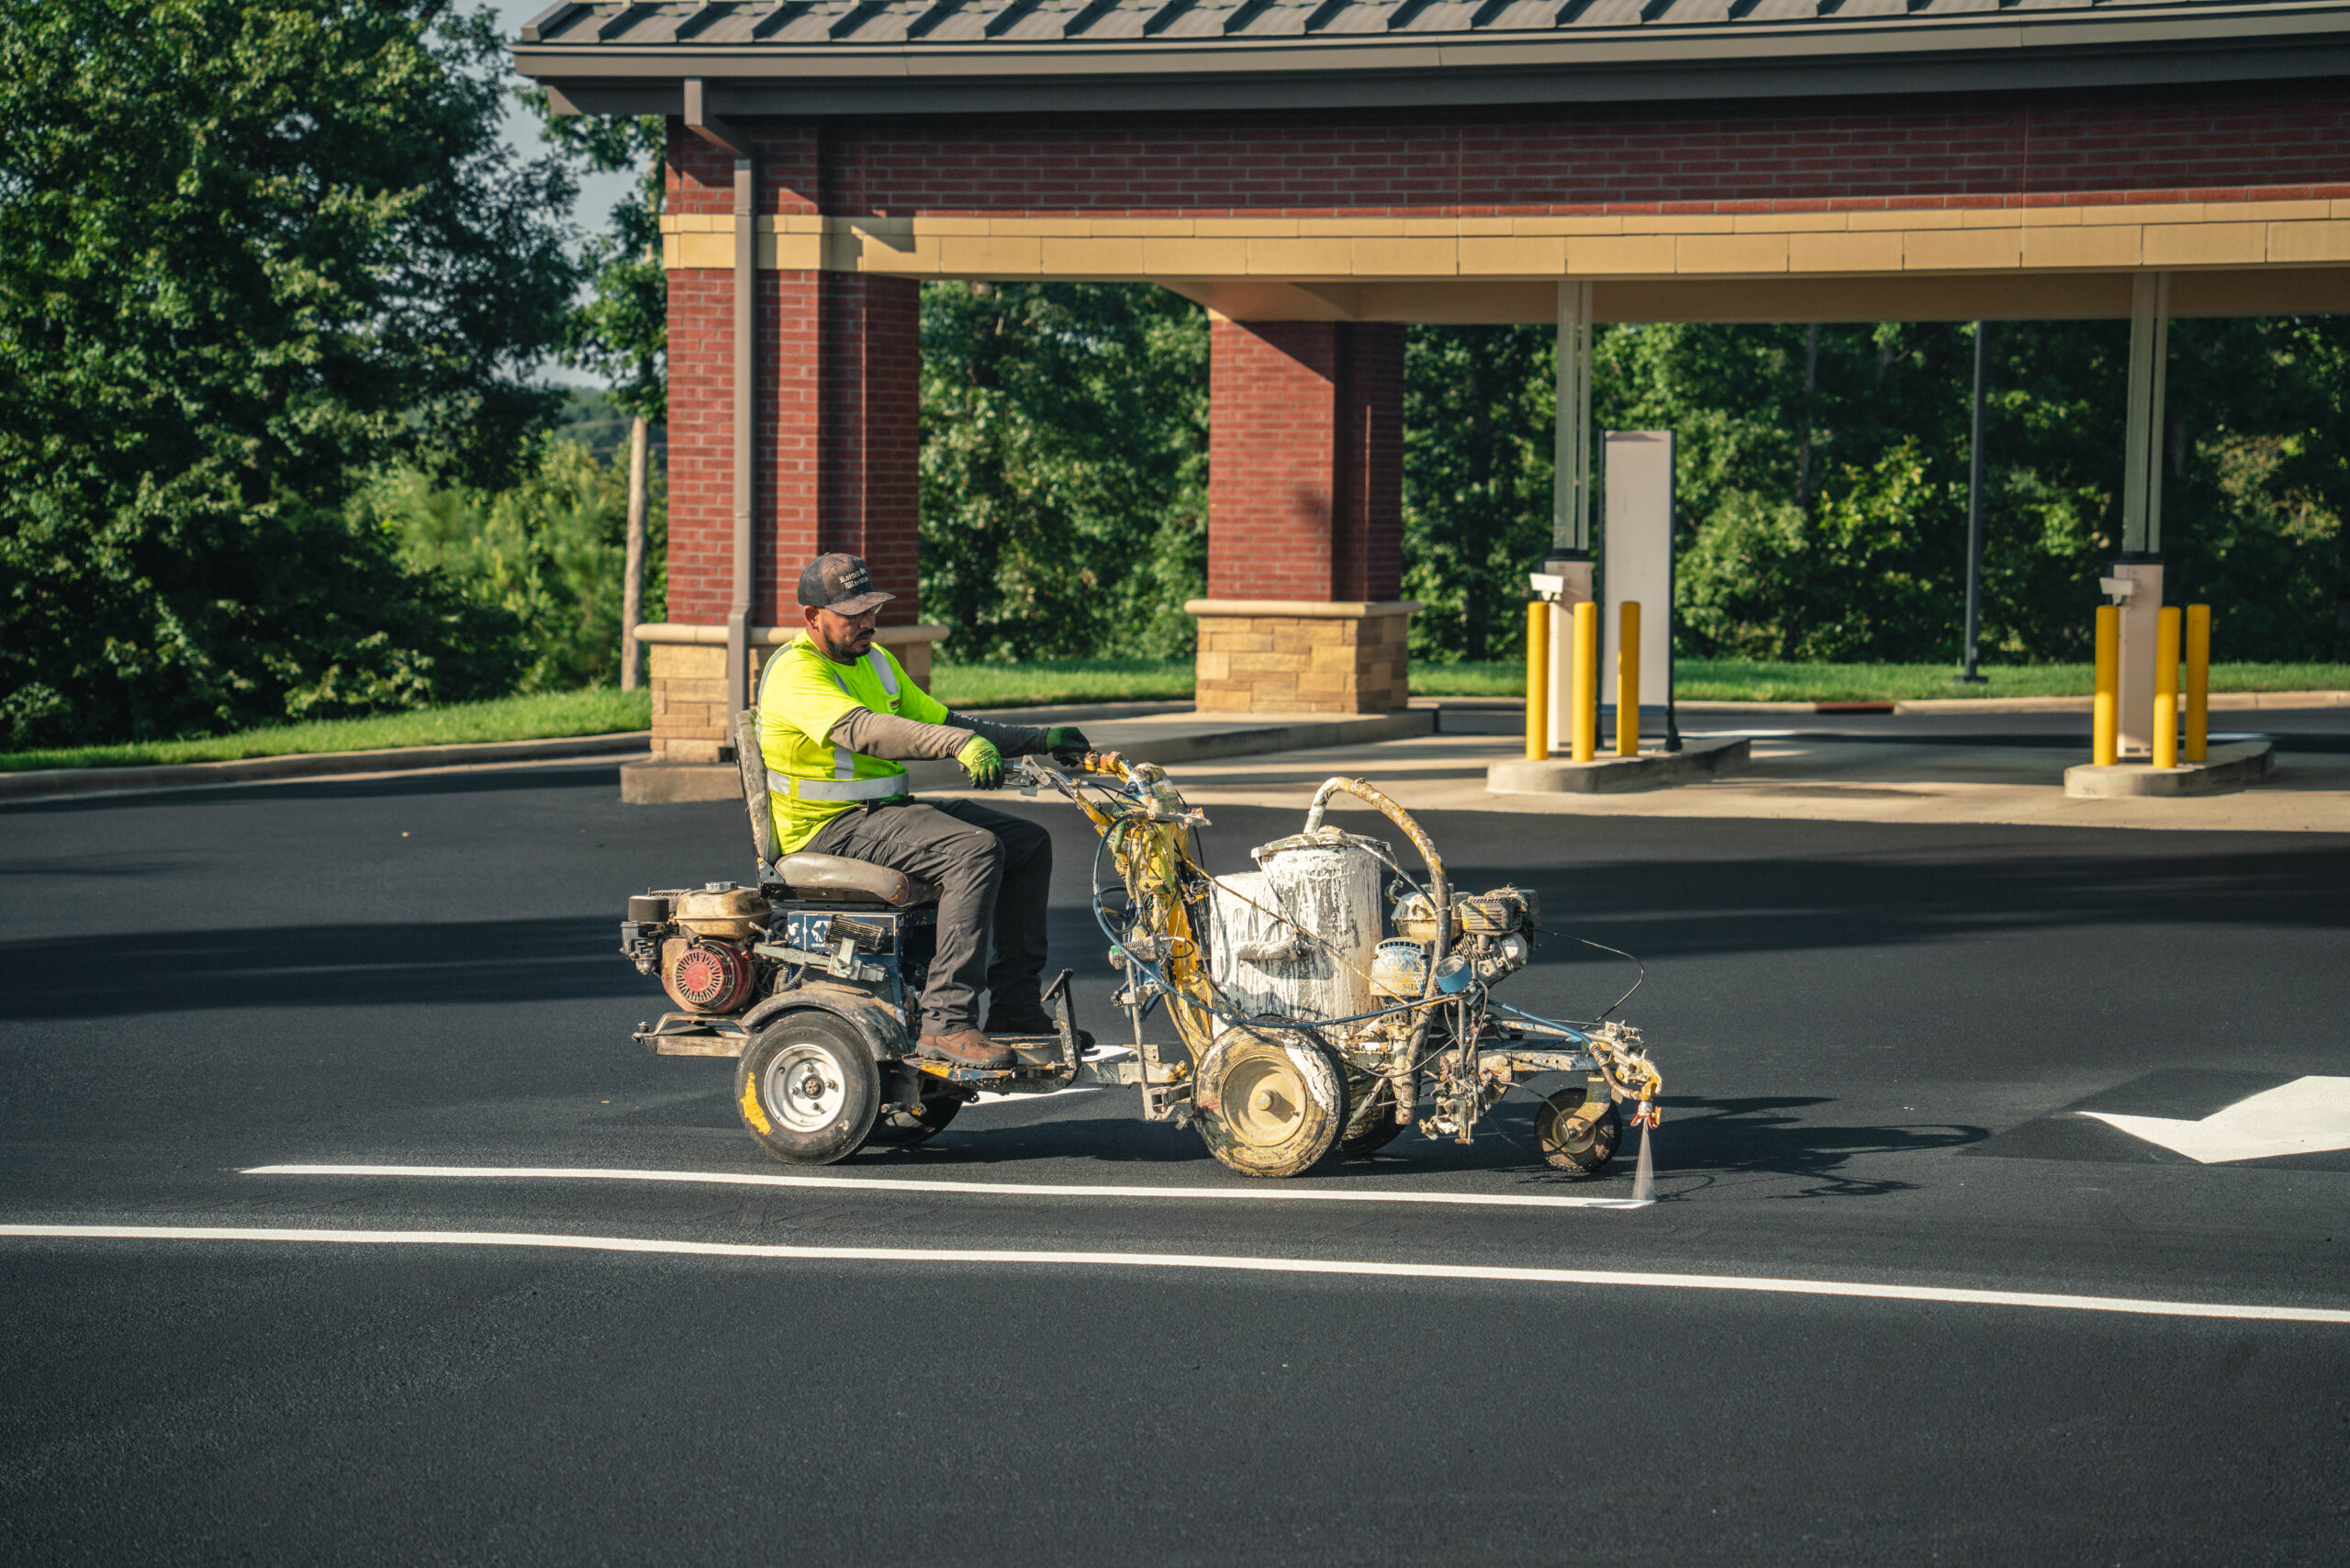
Once the layout’s approved, we go in with the striping machine (appropriate to the size of the deck) and hand-brush the cut lines right up to the drains and joints. On the ramps and crosswalks, we’ll incorporate an anti-skid additive so that the paint has grip when wet. Otherwise, the paint would become very slick when wet, as a smooth surface becomes slick when rain falls on it. We cone off the area until the paint has cured, and we direct residents to open the levels so no one is trapped in the building.
Carolina Weather and Rooftop Exposure
The Carolinas present a range of conditions that really strain rooftop paint. In the summer, the heat in Charlotte, Columbia, and Greenville is pretty severe, and the decks get very hot. We get out there early to ensure the paint has cured before the deck hits its peak temperature. Afternoons in the Piedmont and the Triangle can see thunderstorms move in quickly, and we’re always watching the radar because a sudden downpour could wash uncured paint into a drain. On the coast in Charleston, Wilmington, and Myrtle Beach, the salt air and humidity really do take their toll on exposed stripes, so we recommend more frequent inspections on those properties.
Hurricane season adds another consideration: windblown rain and debris can scuff and stain a deck, and storm clean-up crews will occasionally drag equipment across fresh markings. We recommend that property managers schedule major restriping during the drier periods of spring and fall so the paint has time to cure before peak storm season.
Coordinating Striping With Other Property Work
Rooftop striping works best when you coordinate it with the rest of your property plan. Decks often serve as fire apparatus access, and our guide on marking emergency vehicle turning areas explains how we handle red zones and keep-clear markings in those spaces. Mixed-use communities that share a deck with retail tenants or neighboring owners need clear rules about who uses which levels, and our article on shared parking agreements striping shows how we translate those agreements into pavement markings. The National Parking Association also publishes industry resources that help owners plan and maintain parking structures.
Protect Your Deck With ProLine
A rooftop deck is a deck that you have to strip carefully, and you will get punished if you take shortcuts. At ProLine Parking Lot Maintenance, we service apartment communities throughout NC and SC with a process specifically designed to protect your waterproofing and maintain your coating warranty. We follow all manufacturer recommendations and use only warranty-safe prep and application methods to prevent leaks and avoid compromising your deck’s integrity. Our focus is to give property managers total peace of mind, ensuring your residents and your investment are both well protected. Give us a call, and we’ll come out to do a site assessment, inspect your deck surface, measure your slopes, and provide a full striping plan.
Keep Apartment Rooftop Parking Decks Clearly Marked
Rooftop parking decks need clear pavement markings to help residents navigate parking spaces, drive aisles, pedestrian paths, and restricted areas. At ProLine Parking Lot Maintenance, we provide professional parking lot striping and pavement marking services to help multifamily property managers maintain organized and easy-to-navigate parking facilities. Let us help keep your rooftop parking deck properly marked and functional.
Contact UsFrequently Asked Questions
How often should we restripe a rooftop parking deck?
Most rooftop decks need fresh striping every 2-3 years, although in some cases sun exposure and high turnover can shorten that window. Decks near the coast (Charleston and Wilmington, for example) often need it done more frequently because salt air and humidity affect the striping. We’d recommend walking the deck twice a year (once in spring, once in fall) and looking for thin edges, missing arrows, or stalls that have blended into the surface. As soon as you see any of those signs, you should do a touch-up, as it’s a lot cheaper than waiting until the residents are all parking crookedly.
Can we install wheel stops on a rooftop deck?
Yes, the installation method is very important. Traditional wheel stops use anchor bolts that go through the surface, and on a roof those holes can easily compromise the waterproofing and lead to leaks into the units below. We’d recommend adhesive-mounted wheel stops, or you could go without them and use clear stall lines and curb edges. Either way, we’d urge you to check with your waterproofing contractor first to ensure you don’t compromise your coating warranty.
How should we mark electric vehicle charging stalls on a deck?
We mark charging stalls with a distinct color or pavement symbol so residents can identify them instantly, and add stenciled text (EV CHARGING ONLY) where your community policy requires it. Charging points on a deck need a clear path for the cord and a protected area around the equipment, so we recommend finalizing the charger locations before we paint. Some communities will also add a hatched buffer on one side to prevent the adjacent car from blocking the cord reach. We work with your electrician to ensure the paint layout aligns with the final equipment positions, so there’s no need to repaint afterward.
Do we need to remove old lines before we repaint the deck?
In most instances, we don’t remove the old lines at all, as aggressive removal can damage the deck coating. If the existing lines are sound and still bonded, we simply clean them out thoroughly and paint over them. Where the layout has changed and the old lines would confuse drivers, we’ll either cover them with a matching surface paint or use a removal method the coating manufacturer accepts. We never grind or blast a rooftop deck, and we always explain the options to you before starting so you can choose what fits your budget and warranty.
How long does a rooftop striping project take, and how should we plan for residents?
A standard apartment deck takes one to two days (depending on the number of levels, the number of stalls, and the weather). We generally work one section at a time so residents have access to a portion of the deck at all times, and we work with your management team on the schedule. You’ll need to inform residents well in advance (several days), post notices at the elevators and stairwells, and identify an alternate parking area for the duration of the work. We’ll also advise on the paint’s curing time so residents know when they can drive across the new paint without leaving tire marks.
What drives the cost of striping a rooftop parking deck?
Four factors drive the price: total deck area, surface type, number of markings, and the amount of layout work. A deck with broadcast aggregate coating will use more paint than a smooth concrete deck. A deck with many accessible stalls, arrows, and hatched areas will require more layout work than a simple stall layout. Access is also a factor: a deck that requires equipment to be hauled up by elevator will take longer than one with direct ramp access. We provide a full itemized estimate after a site visit so you can see exactly what you’re paying for and which items will extend the life of your markings.