How to Mark Emergency Vehicle Turning Areas at Multifamily Properties
The International Fire Code requires an approved turnaround on any dead-end fire apparatus access road over 150 feet, and both NC and SC base their fire codes on that. However, specific requirements and enforcement can vary by city or county, so property managers should always check with their local fire marshal for the standards that apply to their site. On a multi-family property, that rule often comes down to a single drive aisle behind the building, and the residents will park in that aisle the moment the paint starts to fade. We at ProLine Parking Lot Maintenance do a lot of striping for apartment communities from Charlotte to Charleston, and we’ve seen that same pattern time and time again. The pavement is code-compliant on paper; the markings aren’t. The markings don’t tell the driver where a fire truck needs to swing. This guide is all about how we mark the emergency vehicle turnaround areas so that they are clear, visible, and ready when the fire department arrives.
Quick Overview
- Fire codes require a turnaround on any dead-end access road over 150 feet long.
- Standard configurations include a 120 ft hammerhead, a 60 ft “Y,” and a 96 ft diameter cul-de-sac.
- Red paint, stenciled lettering, and cross-hatching all work together to keep the full turning path open.
- Carolina humidity, pollen, and summer heat affect when and how we apply the paint.
- Local fire marshals have the final say, so we’ll confirm the layout before we paint.
Why Marking Matters as Much as Paving
A turning area will only work if it’s empty. A single parked sedan on the edge of a hammerhead will effectively block the entire turn. The IFCC provides the framework for fire apparatus access roads (20-foot minimum width, 13-foot 6-inch vertical clearance, and an approved turnaround for long dead ends). The paving contractor does the paving; the striping contractor tells the drivers how to use it.
We treat every turning area as a communication issue. A resident pulling up into a large unmarked pavement bulb at 9pm is not going to be thinking ‘fire access’; they’re going to be thinking ‘there’s more parking.’ The red perimeters, stenciled text, and diagonal hatching eliminate that ambiguity. When markings are unambiguous, the property manager will have far fewer disputes about towing and can spend their time on the rest of the community.
Turnaround Layouts and What Each One Requires
Before laying down a single stripe, we establish what type of turnaround your site uses. The dimensions below come from the standard turnaround diagrams in Appendix D of the code, and you can compare them against the Appendix D turnaround table, which many jurisdictions adopt. Local amendments will, of course, vary, so we always check the layout with your fire marshal. Charlotte, Raleigh, Greenville, and Charleston all have their own review process.
| Turnaround Type | Standard Dimension | Common Multifamily Location | What We Mark |
| Hammerhead (T-shaped) | 120 feet overall, with a 20 foot wide leg | End of a rear drive aisle between buildings | Red perimeter on both legs and the full head of the T |
| Y-shaped turnaround | 60 feet per leg, 20 feet wide | Corner lots with limited depth | Red perimeter on all three legs and a center hatch zone |
| Cul-de-sac bulb | 96 feet in diameter, with a 28 foot typical inside radius | Larger garden-style communities | Red curved perimeter and a hatched island if one exists |
| Hydrant zone | 26 feet minimum road width near a hydrant | Any aisle with a hydrant on the road | Red box around the hydrant with extra stenciled lettering |
We measure each layout on site and sketch it onto the plan before we mark it. A common error is painting the fire lane only where the curb is, which leaves the sweep area completely open to parking. We mark the actual path the truck will take, and we extend the red line out to the full width of the approved turning area.
Marking Elements and Specifications
A good turning area will use a number of marking elements. Each one has a different message and a different function. The table below shows the specs that we use as our baseline, and we will, of course, adjust them to meet your local fire marshal’s requirements.
| Marking Element | Specification We Apply | Purpose |
| Red perimeter line or curb | Fast-dry red traffic paint, full length of the turning area edge | Defines the no-stop boundary |
| Fire lane stencil | White lettering reading NO PARKING FIRE LANE, commonly 12 inches tall, spaced every 25 to 50 feet | Gives drivers the rule in plain words |
| Cross-hatching | Diagonal lines at 45 degrees inside the turning sweep | Blocks parking where no curb exists |
| Directional arrows | White arrows on the approach lane | Shows the entry and exit path |
| Hydrant keep-clear box | Red outline with stenciled text | Protects the hydrant and the 26 foot width |
| Reflective glass beads | Dropped into wet paint on the perimeter | Improves visibility at night |
We’ll match these markings with fire lane signs where your fire marshal requires them. Paint alone is rarely sufficient for enforcement, as towing is governed by the presence of signs. We’d recommend you check your local rules prior to arranging a tow company. The NC State Fire Marshal and the SC Fire Marshal’s office will provide you with state-level code guidance, and your local fire department will generally deal with the local specifics.
To help you enforce no-parking rules in turning areas confidently and consistently, we suggest establishing a clear warning process. Post signage that states the area must remain clear at all times, and include the towing policy in your resident handbook and lease documents. When you observe a violation, start with a written warning notice placed on the vehicle or delivered to the resident. Keep documentation of each violation, including photos and the time of the incident, so you have a record if towing or further action is needed. Regular reminders to residents—especially at move-in or when repainting—also help. By following a standard documentation and warning process, you can handle violations fairly and reduce disputes if towing becomes necessary.
How We Mark a Turning Area Step by Step
We start with a pre-striping walk. The crew checks the approved layout, notes every car parked on the surface, and checks the pavement for oil, debris, and standing water. We then blow or sweep the surface clean, as dust and pollen will adversely affect paint adhesion. We then lay out the perimeter with chalk lines and measuring wheels so the red edge follows the approved layout rather than the existing wear pattern.
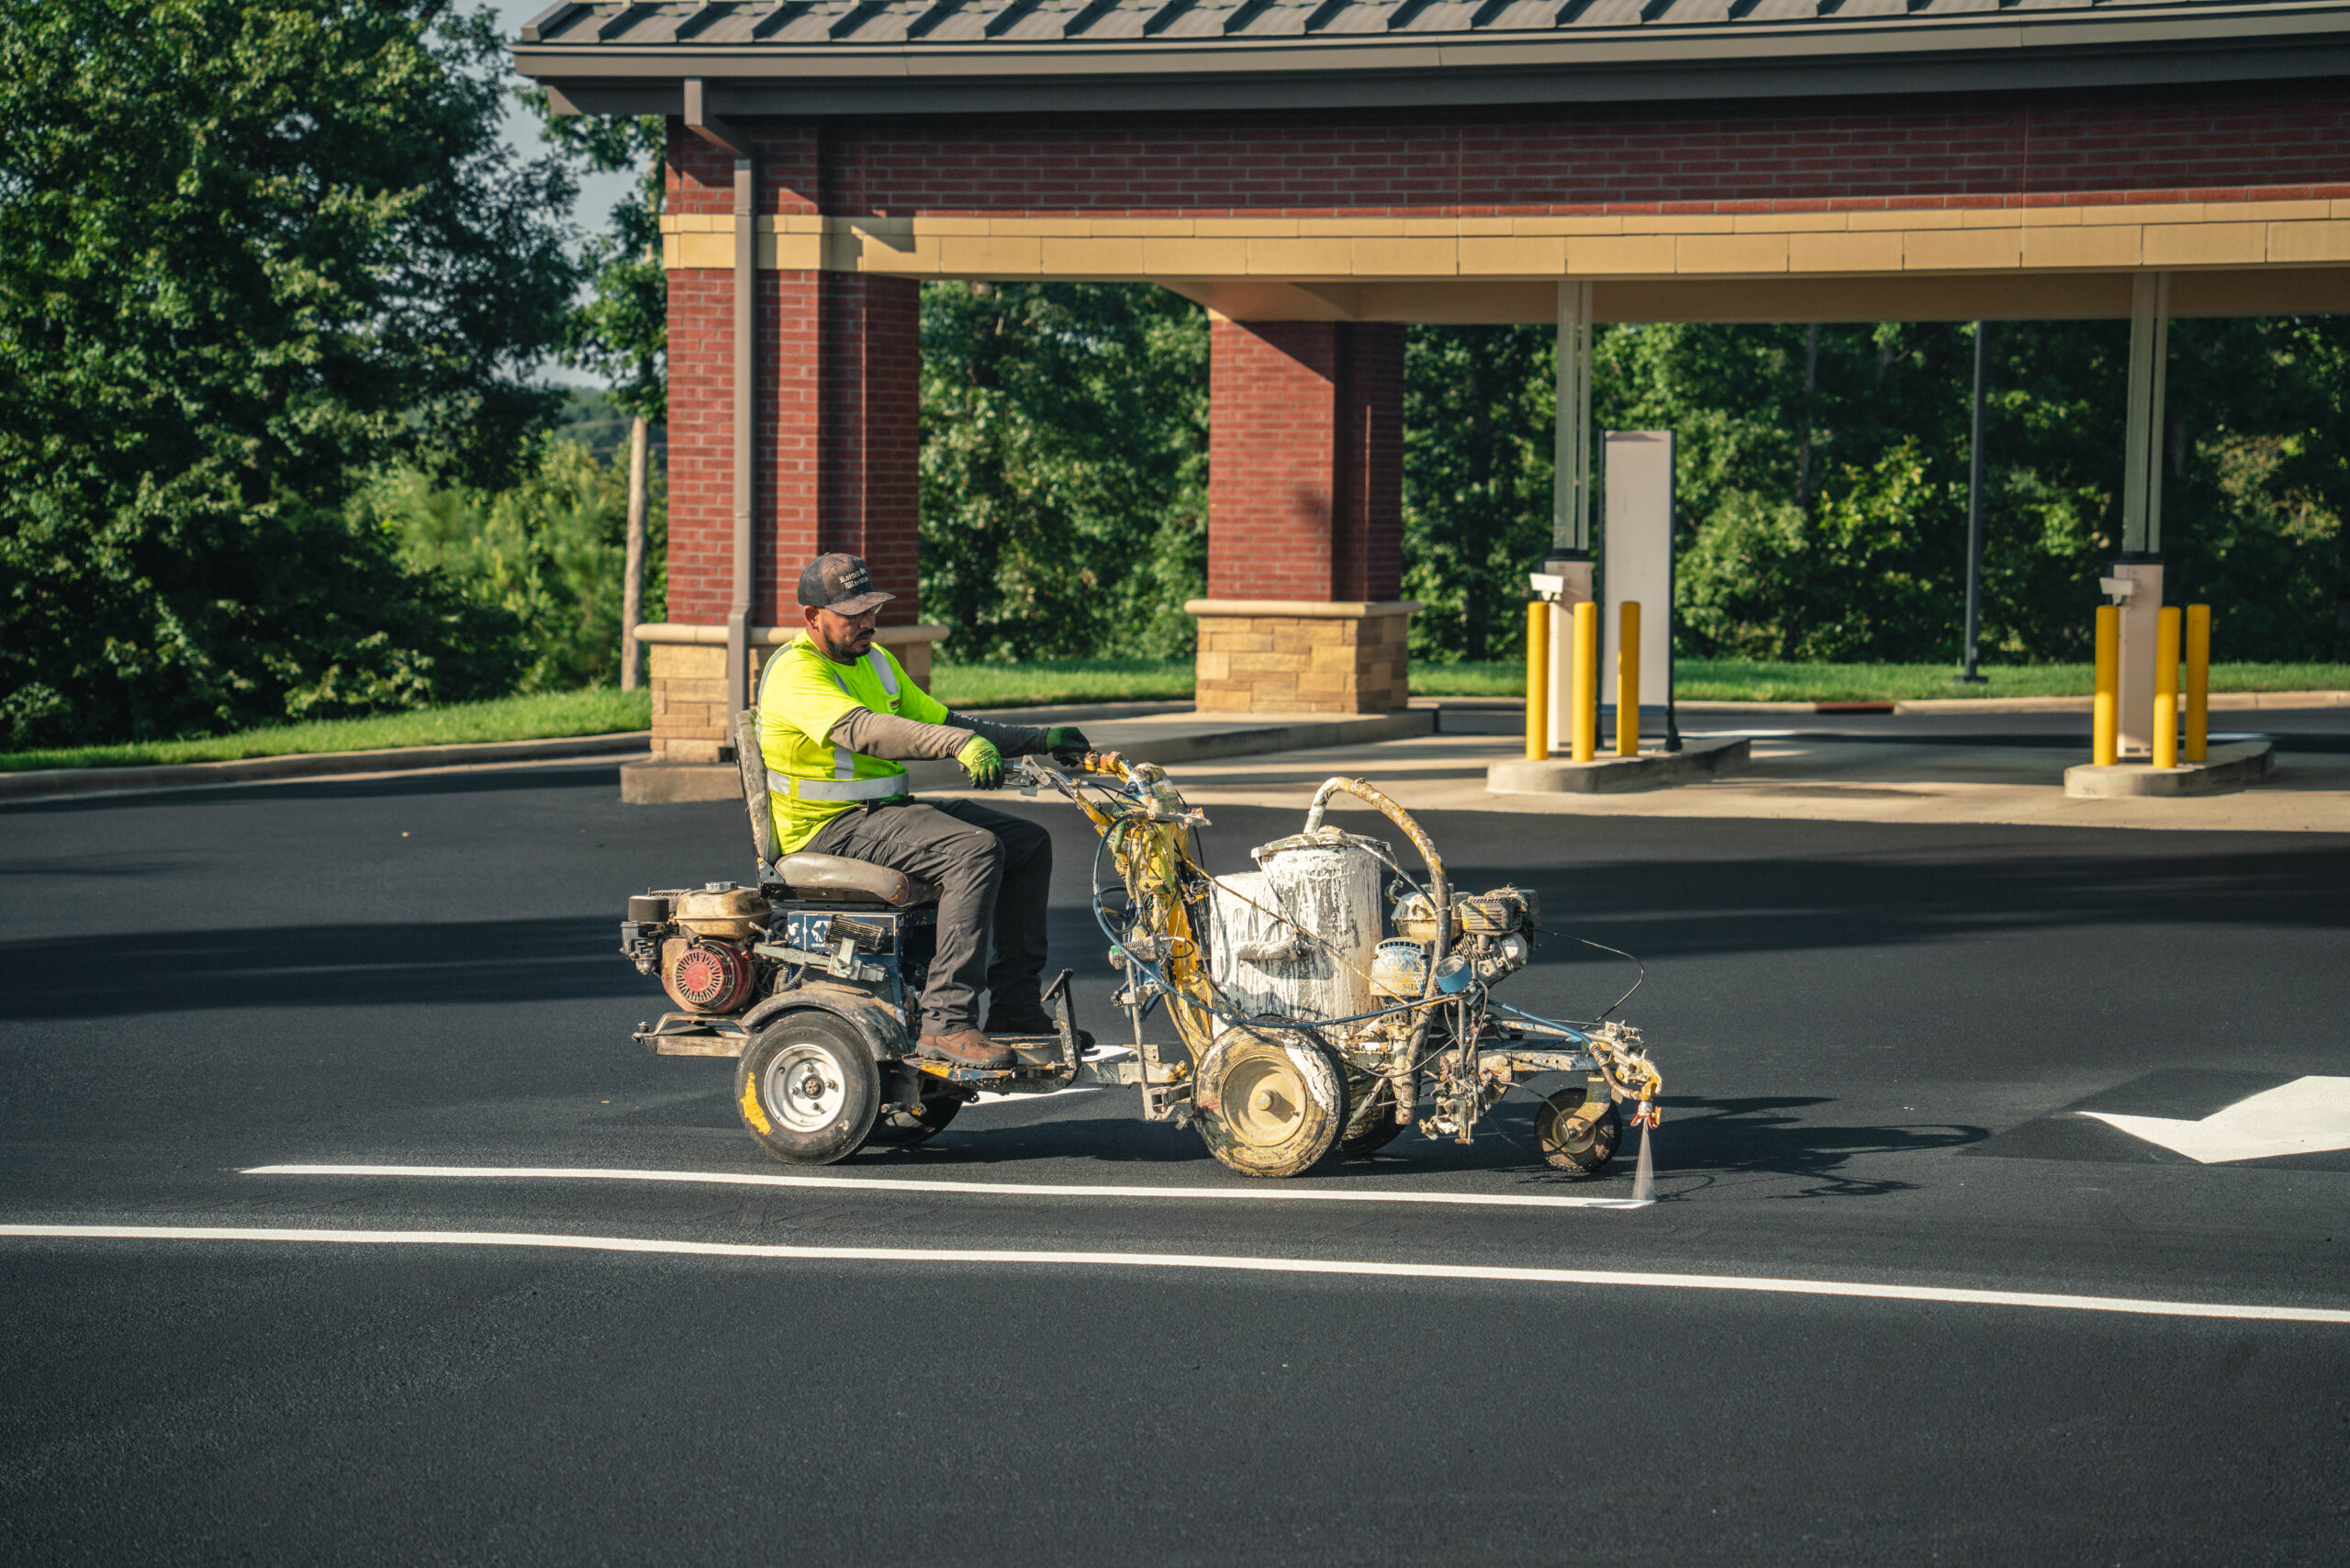
After laying out the perimeter, we spray the red perimeter with a striping machine and drop the reflective beads into the wet paint. We then position the stencils for the lettering, apply the white paint, and cut in the cross-hatching with a straightedge so all the diagonal lines are parallel. We cone off the area until the paint has set, then photograph the finished work so you have a record for your fire marshal and insurance file. That documentation takes only a few minutes and saves you hours if an inspector comes along and asks what you’ve installed.
Carolina Conditions That Change the Work
Striping in the Carolinas is different from striping in the Midwest, and we factor that in. Morning dew in Charlotte, Greensboro, and Columbia often leaves the pavement damp through mid-morning, so we wait for a dry surface rather than going out early. Spring pollen will be all over the asphalt in the Piedmont and the Triangle, and we’ll wash it off before spraying. On the coast in Wilmington, Myrtle Beach, and Charleston, we have afternoon storms and humidity to contend with, so we generally work in the morning window and constantly watch the radar.
Summer heat helps the paint dry quickly, but it also exposes every weak spot in a patch or an old seal coat. If you see a raised seam or a scuffed surface in a turning area, you’ll flag it before painting, as red paint on failing pavement tends to peel quite early. Turning areas also get more tire abuse than straight aisles, so we’ll lay out the route to avoid the worst wear areas where possible, within the constraints of the approved geometry.
Coordinating Fire Lane Markings With the Rest of Your Lot
A turning area doesn’t exist in isolation. The approach aisle, adjacent stalls, and adjacent crosswalks all affect how the driver interprets the space. We always recommend that when you’re re-striping a fire lane, you look at the whole striping plan, as the new red paint next to faded white stall lines may send a conflicting message. Our article on tire scuffing and markings explains why turning areas lose their paint much faster than straight aisles. Properties with a neighbor on the other side of the road should also review our article on shared parking striping, since a turning area that straddles a property line requires agreement from both sides.
Keep Your Fire Lanes Ready With ProLine
A clear turning area protects the residents, the firefighters, and your liability record. ProLine Parking Lot Maintenance serves multifamily communities throughout NC and SC, and we mark fire lanes in accordance with your approved plans and local code. Get in touch for a site assessment, and we’ll measure your turning areas, recommend the right markings, and schedule the work to suit your residents. Most projects can be completed within a few days, depending on property size and weather conditions, and we work with you to minimize disruption. Pricing is based on the square footage and specific marking requirements, and we always provide a detailed quote upfront so you can plan and budget accordingly. Contact us for a customized estimate tailored to your property’s needs.
Keep Emergency Vehicle Turning Areas Clearly Marked
Clearly marked emergency vehicle turning areas help keep multifamily properties accessible for fire trucks, ambulances, and other emergency responders. At ProLine Parking Lot Maintenance, we provide professional parking lot striping and pavement marking services to help property managers maintain organized access routes and clearly defined turning spaces. Let us help keep your apartment community properly marked and accessible.
Contact UsFrequently Asked Questions
Who approves the layout before we repaint a fire lane or turning area?
Your local fire marshal or fire prevention office has the final say on the layout, and approval will generally be based on the original site plan on file. We recommend getting a copy of that plan (or the last inspection report) before you go any further. If the property has changed since the last inspection (e.g., new buildings, new gates, a reconfigured lot, etc.), you may need a new review before you repaint. We’ll help the property manager gather the measurements and photos the fire office requires so you can put together a complete package and avoid repainting the same area twice.
Can residents park in a marked turning area at any time?
No, a marked fire lane or turning area must remain clear at all times (day or night), even if there is no emergency. The point of the marking is to keep that space available if a fire truck arrives at any time. That has to be clearly stated in the lease, included in the community handbook, and reinforced with residents at move-in. We’d also recommend a written warning process prior to towing as a matter of course, as that will protect you if a resident later challenges a tow.
How often should we repaint a fire lane?
Most fire lanes need a fresh coat every 1-3 years, and the interval will be dictated by traffic, sun exposure, and how often the surface is trodden on. The turning areas adjacent to the dumpster enclosures and at the building entrances will wear much faster than the quiet corners, so we inspect those more frequently. A good rule of thumb is to walk the site twice a year and look out for faded red, missing letters, or gaps in the hatching. If any of those things are apparent, we recommend getting it touched up rather than waiting for the next inspection to pick it up.
What can we do if our turning area is too small for a ladder truck?
Start by asking your fire department for a written statement as to what apparatus serves your property and what turning dimensions it requires. Many departments will come out, walk the site with you, drive a truck around to check the turning dimensions, and tell you exactly which corners and obstructions are the problem. Common fixes include removing a few parking stalls, trimming a landscape island, cutting back a curb, or moving a dumpster pad. We can restripe the site once the changes are made, and we can coordinate with your paving contractor if the work involves new paving or a curb cut.
Is thermoplastic better than paint for fire lane markings?
Thermoplastic will last longer in areas of heavy wheel traffic, but it’s more expensive and requires a clean, sound surface for proper adhesion. Traffic paint is cheaper, dries quickly, and is perfectly adequate for most multifamily fire lane applications we see, which are of moderate use. We’ll often use paint for the perimeter and hatching and only consider thermoplastic for high-wear areas, such as a tight corner that both trucks and residents use every day. We look at the pavement condition, your budget, and your repaint schedule before we recommend what you should use, so you only pay for the level of durability you need.
Do we need to notify residents before we restripe a turning area?
Yes, we recommend written notice at least 48 to 72 hours before the work, with the date, the time window, and the exact area residents need to clear. Parked cars inside a turning area block the paint crew and force us to skip sections, which leaves gaps in the fire lane. You can post notices at building entrances, send an email or text through your resident portal, and place a flyer on each vehicle the day before. We also tell residents how long the paint needs to dry, so nobody drives across fresh markings and tracks red paint across the lot.